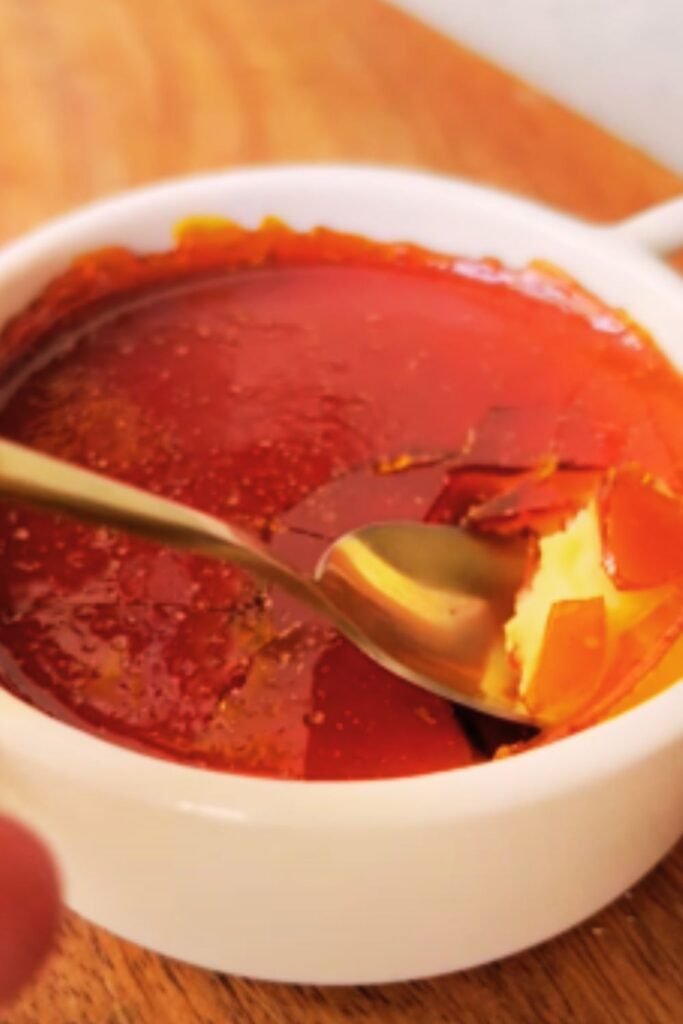
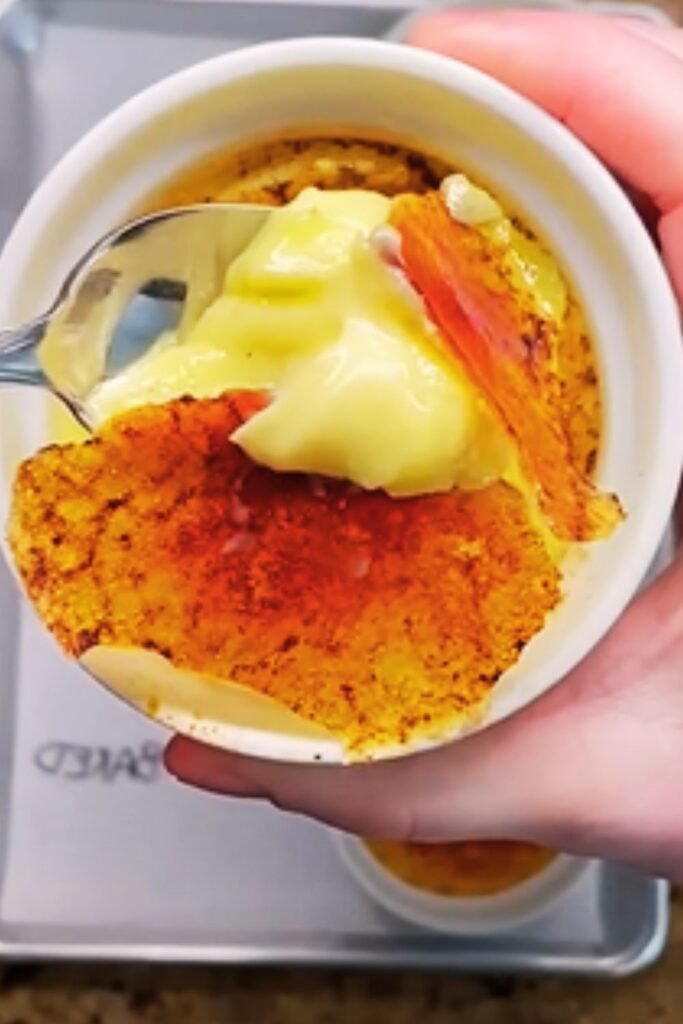
There’s something undeniably magical about cracking through the glassy, caramelized surface of a perfect crème brûlée to reveal the silky custard beneath. As someone who has spent years perfecting this classic French dessert, I can tell you that while it may seem intimidating at first, creating restaurant-quality crème brûlée at home is absolutely achievable. Today, I’m sharing everything I’ve learned about making this elegant dessert, from selecting the finest ingredients to achieving that perfect “crack” everyone loves.
What is Crème Brûlée?
Crème brûlée, which translates to “burnt cream” in French, is a dessert consisting of a rich custard base topped with a layer of hardened caramelized sugar. The contrast between the cool, smooth custard and the warm, crackling sugar crust creates a sensory experience that has delighted diners for centuries.
Dating back to the 17th century, crème brûlée has an interesting history with both France and England claiming to be its birthplace. The earliest known recipe for a dessert called “crème brûlée” appears in François Massialot’s 1691 cookbook. However, a similar dessert called “burnt cream” was served at Trinity College, Cambridge in the 1600s. Regardless of its origins, this dessert has stood the test of time for good reason.
The Science Behind the Perfect Custard
Before diving into the recipe, let’s understand what makes a great crème brûlée work on a molecular level. The custard’s texture relies on the precise coagulation of egg proteins and the thickening properties of egg yolks. When heated gently, proteins in the egg yolks unwind and connect, creating a network that traps the liquid ingredients and forms a gel.
The key scientific principles involved are:
- Protein denaturation: Egg proteins change structure when heated
- Emulsification: Egg yolks help bind the fat in cream with water-based ingredients
- Gelation: The network of proteins that creates the custard’s structure
Understanding these principles helps explain why temperature control is absolutely crucial when making crème brûlée.
Essential Equipment
Having the right tools makes creating crème brûlée much easier:
- Ramekins: Traditional porcelain ramekins (4-6 oz) provide ideal heat distribution
- Kitchen torch: For caramelizing the sugar topping (a broiler can work in a pinch)
- Water bath setup: A deep baking dish or roasting pan
- Instant-read thermometer: For precise temperature monitoring
- Fine mesh strainer: To ensure a silky-smooth custard
- Vanilla bean scraper (optional): For removing seeds from whole vanilla beans
Ingredients Breakdown
The beauty of crème brûlée lies in its simplicity. With just a handful of ingredients, quality matters tremendously. Here’s what you’ll need for 6 servings:
| Ingredient | Quantity | Notes on Selection |
|---|---|---|
| Heavy cream | 2 cups (473 ml) | Choose cream with at least 36% fat content for richness |
| Egg yolks | 5 large | Farm-fresh eggs will provide better color and flavor |
| Granulated sugar | 1/2 cup (100g) divided | 1/4 cup for custard, 1/4 cup for topping |
| Vanilla bean or extract | 1 bean or 1 tbsp extract | Vanilla beans provide superior flavor and visual appeal |
| Salt | 1/4 teaspoon | Fine sea salt works best |
| Water | For water bath | Filtered water prevents mineral deposits on ramekins |
Vanilla Options Compared
| Type | Flavor Profile | Visual Impact | Cost | Best Used In |
|---|---|---|---|---|
| Vanilla Bean | Complex, floral, depth | Beautiful specks | High | Special occasions |
| Vanilla Extract | Good all-around flavor | No visible specks | Moderate | Everyday baking |
| Vanilla Bean Paste | Rich flavor with specks | Visible specks | Moderate-high | Best compromise |
| Vanilla Powder | Concentrated flavor | Subtle specks | High | Recipes where liquid affects texture |
| Imitation Vanilla | One-dimensional | None | Low | Not recommended for crème brûlée |
Step-by-Step Preparation Method
Preparing the Custard Base
- Preheat your oven to 325°F (163°C).
- Prepare your cream mixture:
- Pour the heavy cream into a medium saucepan.
- If using a vanilla bean, split it lengthwise and scrape out the seeds. Add both seeds and pod to the cream.
- If using extract, you’ll add it later.
- Heat the cream over medium-low heat until it begins to steam and small bubbles form around the edges. Do not boil.
- Remove from heat and let steep for 15 minutes if using a vanilla bean.
- Prepare the egg mixture:
- In a medium bowl, whisk egg yolks until just blended.
- Gradually whisk in 1/4 cup sugar until the mixture is pale yellow and slightly thickened (about 2 minutes).
- If using vanilla extract, add it now.
- Combine mixtures:
- Remove the vanilla bean pod from the cream if used.
- Very slowly pour the warm cream into the egg mixture while constantly whisking.
- This gradual process, called tempering, prevents the eggs from cooking and curdling.
- Strain the mixture through a fine-mesh sieve to remove any bits of cooked egg.
- Prepare the water bath:
- Arrange ramekins in a deep baking dish or roasting pan.
- Pour the custard mixture into the ramekins, filling them about 3/4 full.
- Place the baking dish on the oven rack.
- Carefully pour hot water into the baking dish until it reaches halfway up the sides of the ramekins.
- Bake properly:
- Bake for 30-35 minutes, until the custards are set but still slightly jiggly in the center.
- The internal temperature should reach 170-175°F (76-79°C).
- Properly cooked custard will have a slight wobble in the center but not appear liquid.
- Cool and chill:
- Carefully remove the ramekins from the water bath.
- Let cool at room temperature for 30 minutes.
- Cover each with plastic wrap (directly on the surface to prevent skin formation).
- Refrigerate for at least 4 hours, preferably overnight.
Creating the Caramelized Top
This is where the “brûlée” part happens, and it’s crucial to get right:
- Prepare ramekins:
- Remove ramekins from refrigerator 30 minutes before serving.
- Blot any moisture from the tops with a paper towel.
- Add sugar coating:
- Sprinkle 1-2 teaspoons of granulated sugar in an even layer on each custard.
- Rotate and tap the ramekin to distribute the sugar evenly.
- Pour off excess sugar.
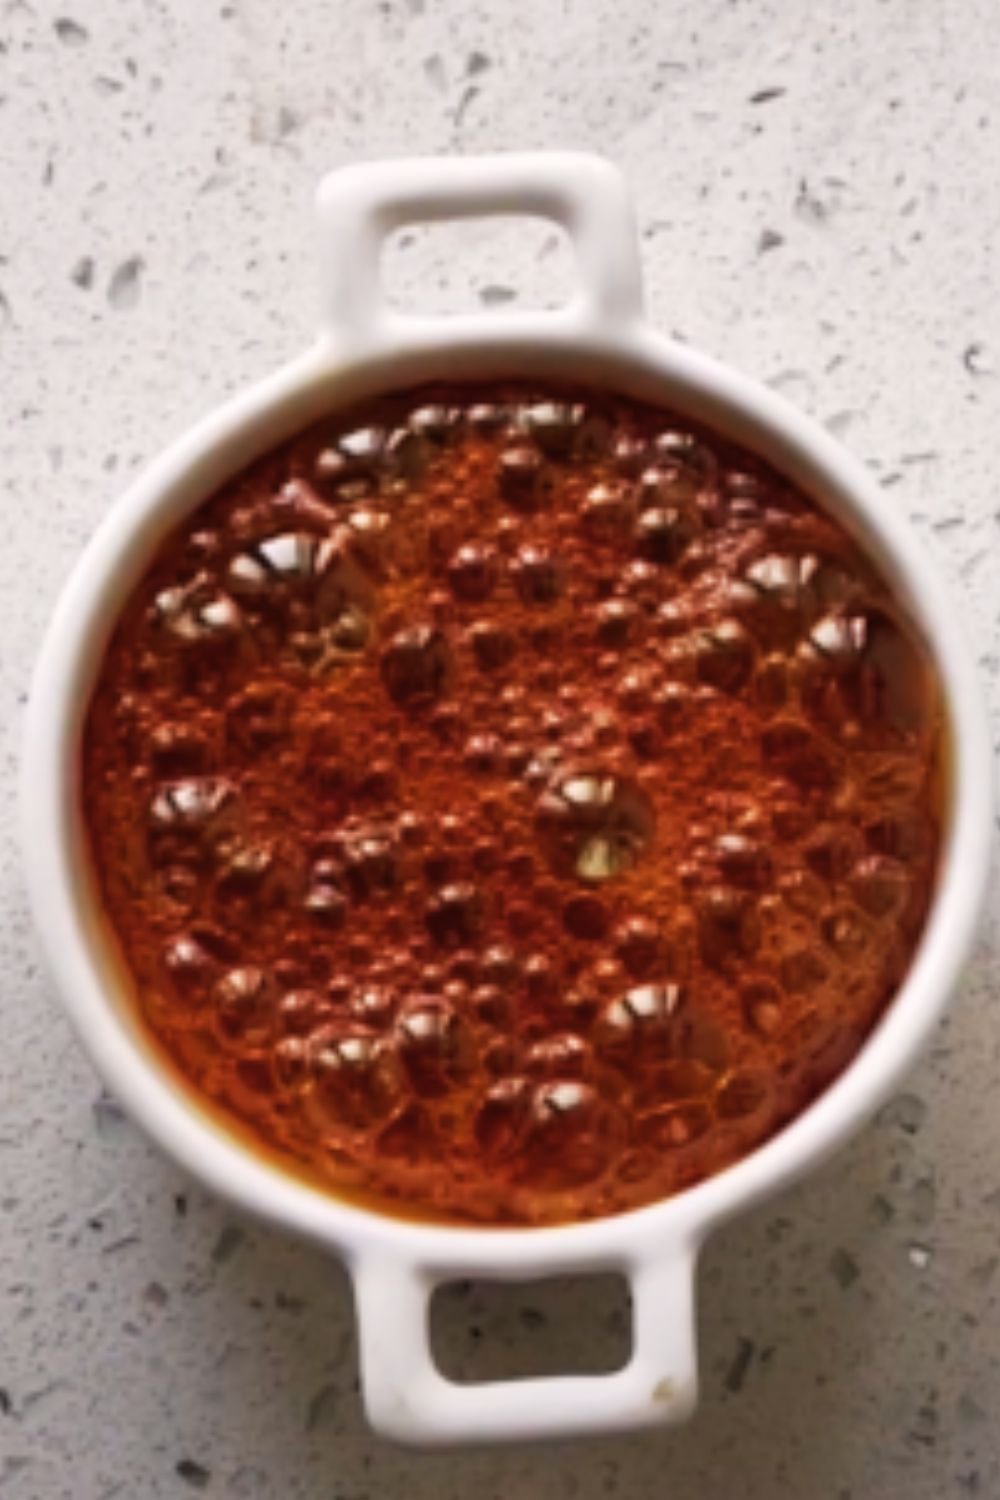
- Caramelize the sugar:
- Hold a kitchen torch 2-3 inches from the surface.
- Move in small circles to melt and caramelize the sugar.
- Aim for an even, amber-colored crust.
- Let stand 2-3 minutes before serving to allow the sugar to harden completely.
Troubleshooting Common Issues
Even experienced chefs occasionally run into problems with crème brûlée. Here’s how to solve the most common issues:
Custard Problems and Solutions
| Problem | Likely Cause | Solution |
|---|---|---|
| Custard too firm | Overcooked | Lower oven temperature by 10°F and reduce cooking time |
| Custard too loose | Undercooked | Increase baking time by 5-minute increments |
| Curdled texture | Eggs cooked too quickly | Always temper eggs slowly and strain mixture |
| Weeping custard | Overcooked or water in water bath splashed in | Use a water bath shield and remove at proper temperature |
| Skin on top | Improper storage | Cover directly with plastic wrap while cooling |
| Eggy flavor | Low-quality eggs or vanilla | Use fresh eggs and real vanilla bean/extract |
Sugar Topping Issues
| Problem | Cause | Solution |
|---|---|---|
| Sugar won’t caramelize | Too much moisture | Blot tops thoroughly before adding sugar |
| Sugar burns too quickly | Torch too close | Hold torch farther away from surface |
| Uneven caramelization | Poor sugar distribution | Ensure even layer of sugar before torching |
| Sugar layer too thick | Too much sugar applied | Use only 1-2 teaspoons per ramekin |
| Bitter taste | Sugar burned | Use gentle, constant motion when torching |
Creative Variations
While traditional crème brûlée is perfect in its simplicity, these variations can add excitement:
Flavor Infusions for the Cream
- Espresso: Add 1 tablespoon instant espresso powder to the hot cream
- Citrus: Steep 2 teaspoons of zest (lemon, orange, or lime) in the hot cream
- Chocolate: Add 2 oz finely chopped dark chocolate to the hot cream and stir until melted
- Lavender: Steep 1 tablespoon dried culinary lavender in the hot cream, then strain
- Maple: Replace half the sugar with pure maple syrup
Alternative Sugar Toppings
- Demerara or turbinado sugar: Creates a more robust caramel flavor
- Brown sugar mixed with granulated sugar: Adds molasses notes
- Vanilla sugar: Infuses additional vanilla flavor into the crust
Seasonal Adaptations
- Spring: Add a tablespoon of rosewater to the custard
- Summer: Fold in a tablespoon of fresh berry puree before baking
- Fall: Infuse the cream with cinnamon, nutmeg, and star anise
- Winter: Add a tablespoon of Grand Marnier or Cointreau to the custard
Serving Suggestions
Crème brûlée is wonderful on its own, but these accompaniments can elevate the experience:
- Fresh berries (raspberries or blackberries work particularly well)
- Thin butter cookies or langue de chat
- A tiny scoop of sorbet for temperature contrast
- Candied citrus peel
- A light dusting of cocoa or cinnamon on the plate
- Edible flowers for visual appeal
For a special presentation, serve on a chilled plate with a sprig of mint and a few scattered berries around the ramekin.
Make-Ahead Tips
Crème brûlée is an ideal make-ahead dessert:
- The custard can be prepared and baked up to 3 days in advance.
- Store covered in the refrigerator until ready to serve.
- Always caramelize the sugar topping just before serving.
- For parties, prepare all the custards in advance and torch them dramatically in front of your guests.
Historical and Cultural Significance
Crème brûlée has a fascinating place in culinary history. While French in name, similar dishes appear across European cuisines. The English “burnt cream,” the Spanish “crema catalana,” and the Italian “crema catalana” all share similarities.
In the culinary world, crème brûlée is considered one of the five mother desserts of French cuisine, alongside:
- Mousse
- Soufflé
- Pastry cream
- Ganache
Learning to make a perfect crème brûlée opens the door to understanding the fundamentals of custards and egg-based desserts.
Nutritional Considerations
Let’s be honest—crème brûlée is an indulgence. Here’s the approximate nutritional breakdown per serving (based on 6 servings from the recipe):
| Nutrient | Amount per Serving |
|---|---|
| Calories | 320-350 |
| Fat | 27-30g |
| Saturated Fat | 16-18g |
| Cholesterol | 215-230mg |
| Carbohydrates | 15-18g |
| Sugars | 13-15g |
| Protein | 4-5g |
| Calcium | 8-10% DV |
| Vitamin A | 20-25% DV |
For those with dietary restrictions:
- Lactose intolerance: Consider using lactose-free cream
- Lower fat option: Substitute part of the cream with half-and-half (though texture will be affected)
- Sugar alternatives: While traditional sugar works best for the topping, the custard can be made with alternatives like monk fruit sweetener
Frequently Asked Questions
What’s the difference between crème brûlée and custard? Crème brûlée is a specific type of custard with a caramelized sugar top. All crème brûlées are custards, but not all custards are crème brûlées. The defining characteristic is that hard, crackable sugar crust.
Can I make crème brûlée without a torch? Yes, you can use your oven’s broiler. Place the sugar-topped ramekins on the highest rack about 2-3 inches from the broiler element. Watch constantly as they can burn in seconds. Rotate as needed for even browning.
Why did my custard curdle? Curdling happens when eggs cook too quickly. Always temper eggs by adding hot cream very slowly while whisking constantly, and always use a water bath when baking.
Can I make crème brûlée dairy-free? You can substitute full-fat coconut cream for heavy cream. The flavor will be different but still delicious, with a subtle coconut undertone.
How do I know when my crème brûlée is done baking? The edges should be set, but the center should still have a slight jiggle—similar to gelatin. An instant-read thermometer should register 170-175°F (76-79°C) in the center.
Can I freeze crème brûlée? While not ideal, you can freeze the baked and cooled custards (without the sugar topping) for up to 1 month. Thaw overnight in the refrigerator before adding sugar and torching.
Why is my crème brûlée runny even after refrigeration? It was likely undercooked. The custard needs to reach the proper temperature to set properly. If it’s already refrigerated and still runny, it unfortunately cannot be salvaged.
Can I use a different size ramekin? Yes, but you’ll need to adjust cooking times. Shallower dishes cook faster; deeper ones take longer. Watch for that slight jiggle in the center as your indicator.
The Perfect Crème Brûlée Recipe
Now that we’ve covered all the science, history, and techniques, let’s put it all together in one complete recipe:
Classic Vanilla Crème Brûlée
Prep time: 20 minutes
Cook time: 35 minutes
Chill time: 4 hours minimum
Total time: 5 hours
Servings: 6
Ingredients:
- 2 cups (473 ml) heavy cream
- 1 vanilla bean, split and scraped (or 1 tablespoon pure vanilla extract)
- 5 large egg yolks
- 1/2 cup (100g) granulated sugar, divided
- 1/4 teaspoon sea salt
- Hot water for water bath
Instructions:
- Preheat oven to 325°F (163°C).
- In a medium saucepan, combine heavy cream and vanilla bean (pod and seeds) if using. Heat over medium-low until steaming with small bubbles around the edges (do not boil). Remove from heat, cover, and let steep for 15 minutes.
- In a medium bowl, whisk egg yolks until just combined. Gradually whisk in 1/4 cup sugar until pale yellow and slightly thickened, about 2 minutes.
- Remove vanilla bean pod from cream. If using vanilla extract instead of bean, add it to the cream now.
- Very slowly pour the warm cream into the egg mixture while constantly whisking to prevent curdling.
- Strain the mixture through a fine-mesh sieve into a clean bowl or large measuring cup with a pour spout.
- Divide the custard among six 4-6 oz ramekins.
- Place ramekins in a deep baking dish. Pour hot water into the dish until it reaches halfway up the sides of the ramekins.
- Carefully transfer to the oven and bake for 30-35 minutes, until the custards are set but still slightly jiggly in the center.
- Remove ramekins from the water bath and cool at room temperature for 30 minutes.
- Cover each ramekin with plastic wrap, pressing it directly onto the surface of the custard to prevent a skin from forming.
- Refrigerate for at least 4 hours, preferably overnight.
- When ready to serve, remove ramekins from the refrigerator and let stand at room temperature for 30 minutes.
- Blot any moisture from the surface with a paper towel.
- Sprinkle 1-2 teaspoons of the remaining sugar evenly over each custard.
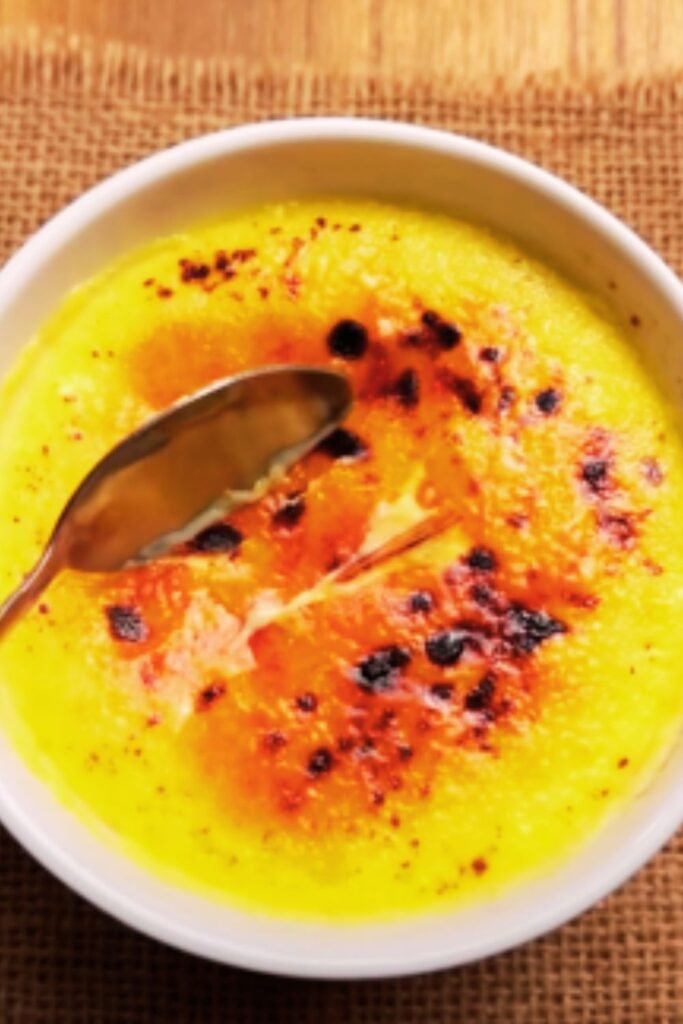
- Using a kitchen torch, melt the sugar by moving the flame in small circles about 2 inches above the surface until it bubbles, turns amber, and forms a hard crust.
- Allow the caramelized sugar to harden for 2-3 minutes before serving.
For an authentic presentation, serve immediately after caramelizing the sugar so your guests can experience that perfect contrast between the cool custard and warm, crisp topping.
Final Thoughts
Mastering crème brûlée is an accomplishment any home cook can be proud of. While it requires attention to detail and proper technique, the result is a dessert that rivals those found in fine restaurants. The joy of hearing that distinctive “crack” as your spoon breaks through the caramelized surface is matched only by the silky smoothness of the custard beneath.
I encourage you to practice this classic recipe until you feel comfortable, then begin experimenting with the variations. Whether you’re preparing it for a dinner party or a quiet evening at home, crème brûlée transforms any meal into a special occasion.
Remember, the key to perfect crème brûlée lies in patience—gentle cooking, proper chilling, and that final dramatic moment of caramelization. Take your time, follow the techniques outlined here, and you’ll create a dessert that will have everyone asking for your secret.
Q&A with a Pastry Chef
What’s the biggest mistake people make when preparing crème brûlée? The most common mistake is rushing the baking process or using too high heat. Custards need gentle, slow cooking to achieve that perfect silky texture. Always use a water bath and never skip the chilling step.
How can I tell if my custard is perfectly cooked without using a thermometer? Look for what I call the “jiggle test.” When you gently shake the ramekin, the edges should be set while the center should have a slight wobble, similar to set gelatin. If it moves like liquid, it needs more time.
What’s your secret ingredient for exceptional crème brûlée? I add just a tiny pinch of salt to my custard base. It’s not enough to make it taste salty, but it enhances the vanilla flavor and creates a beautiful balance with the sweetness.
Can I prepare crème brûlée for a large dinner party? Absolutely! The custards can be baked up to three days ahead and kept refrigerated. The caramelization should be done just before serving, which actually makes for a great presentation element at your party.
What’s your favorite variation of traditional crème brûlée? I love infusing the cream with Earl Grey tea. The bergamot adds a subtle citrus note that complements the vanilla beautifully without overwhelming the classic flavor profile.