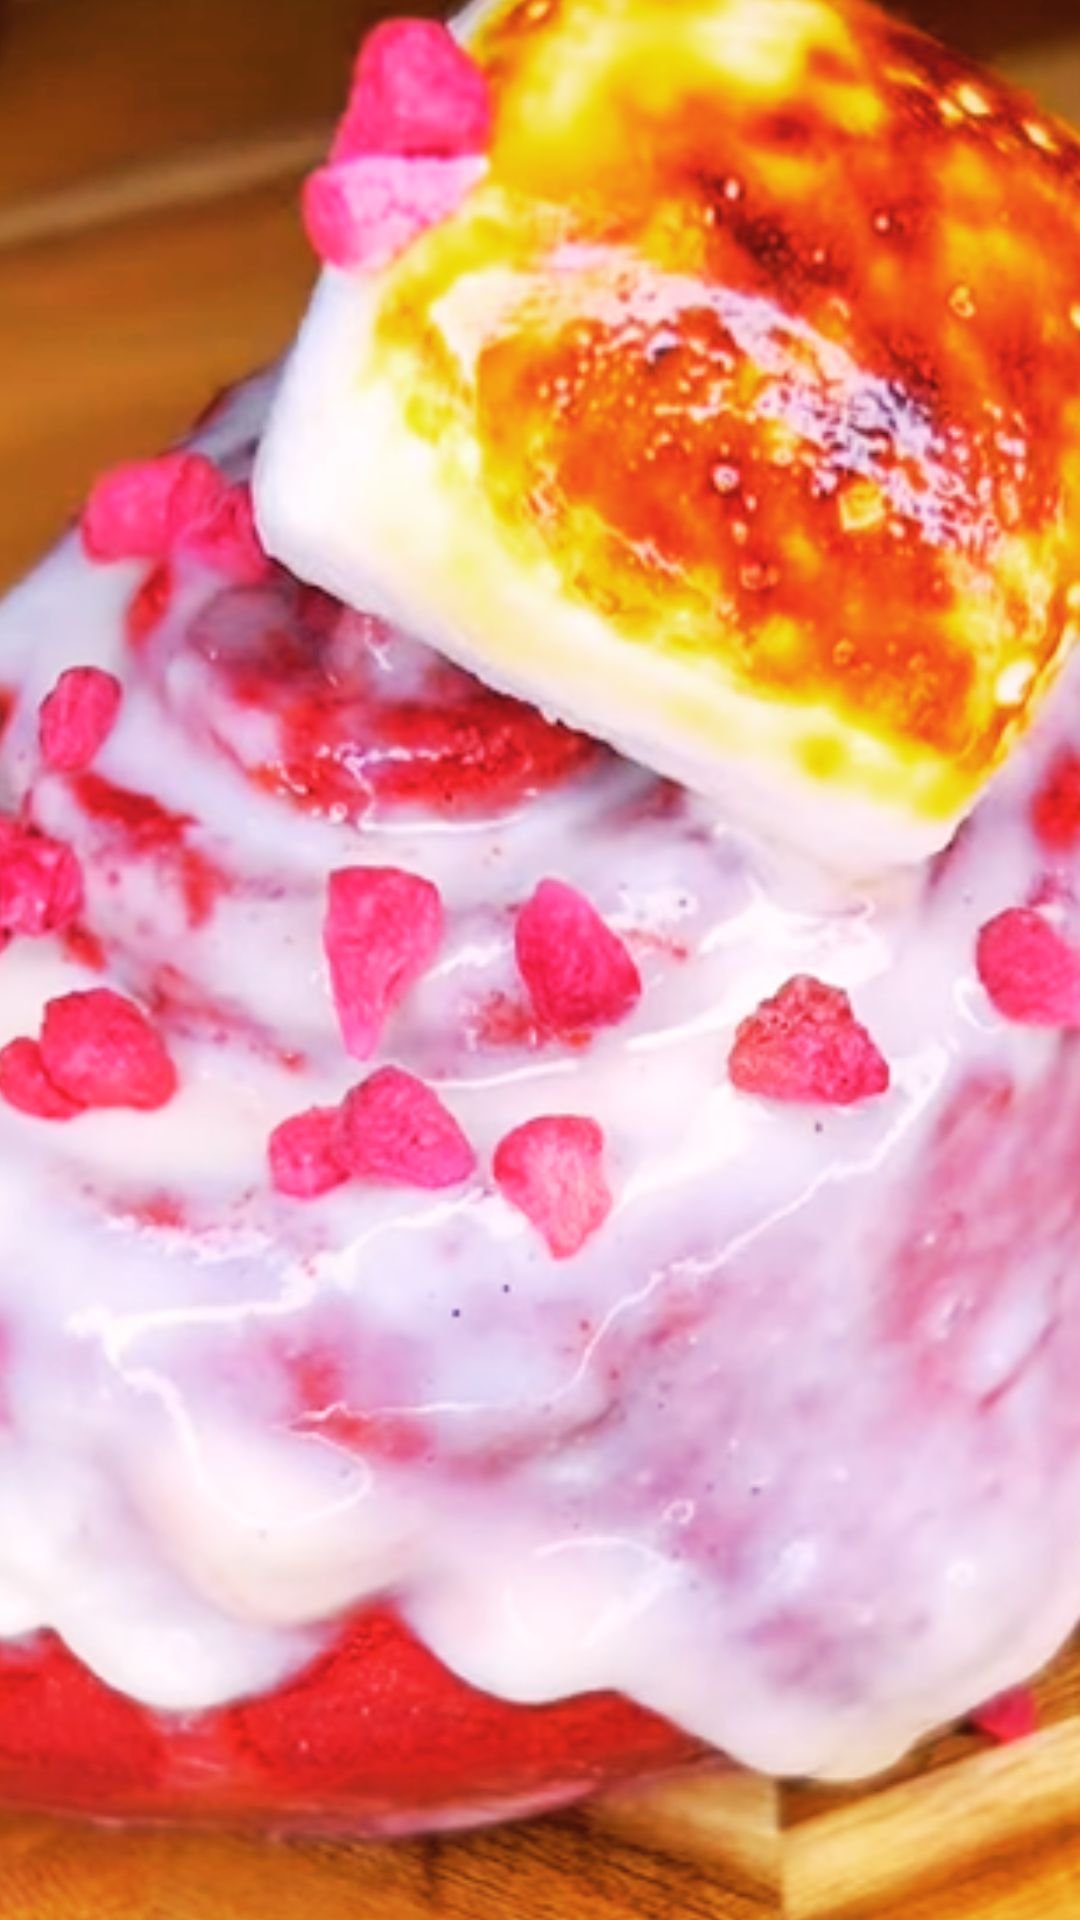
When I first discovered the magic of combining two beloved desserts – red velvet cake and cinnamon rolls – my kitchen became a wonderland of crimson swirls and cream cheese dreams. Red velvet cinnamon rolls represent the perfect marriage of classic Southern charm and comfort food nostalgia, creating a breakfast pastry that’s as stunning to look at as it is delicious to eat.These aren’t your ordinary cinnamon rolls. The distinctive cocoa undertones, vibrant red color, and tangy cream cheese frosting elevate this breakfast treat into something truly spectacular. I’ve spent countless mornings perfecting this recipe, and I’m thrilled to share every secret I’ve learned along the way.
What Makes Red Velvet Cinnamon Rolls Special
Red velvet cinnamon rolls combine the best elements of two iconic American treats. The dough incorporates the signature flavors of red velvet cake – a subtle chocolate taste enhanced by cocoa powder, the characteristic red color from food coloring, and a hint of tanginess from buttermilk. When rolled with cinnamon sugar and topped with luscious cream cheese frosting, these rolls become an irresistible indulgence.
The beauty of this recipe lies in its versatility. I’ve served these at holiday brunches, birthday celebrations, and cozy weekend mornings. They never fail to impress guests and create those memorable moments that revolve around sharing exceptional food.
Essential Ingredients and Their Roles
Creating perfect red velvet cinnamon rolls requires understanding how each ingredient contributes to the final result. Let me break down the key components that make this recipe exceptional.
Dough Components
| Ingredient | Quantity | Purpose | Substitution Notes |
|---|---|---|---|
| All-purpose flour | 4 cups | Provides structure and texture | Bread flour can be used for chewier texture |
| Active dry yeast | 2¼ teaspoons | Creates rise and fluffy texture | Instant yeast works equally well |
| Granulated sugar | ¼ cup | Feeds yeast and adds sweetness | Cannot be reduced without affecting rise |
| Buttermilk | 1 cup | Adds tanginess and tenderness | Regular milk + 1 tbsp vinegar as substitute |
| Unsalted butter | 6 tablespoons | Creates rich, tender crumb | Salted butter can be used, reduce added salt |
| Large eggs | 2 whole | Binds ingredients, adds richness | Room temperature eggs work best |
| Cocoa powder | 3 tablespoons | Provides chocolate flavor | Use unsweetened cocoa only |
| Red food coloring | 2 tablespoons | Creates signature red color | Gel coloring gives more vibrant results |
| Vanilla extract | 2 teaspoons | Enhances overall flavor profile | Pure vanilla recommended over artificial |
| Salt | 1 teaspoon | Balances sweetness, strengthens gluten | Sea salt or kosher salt preferred |
Filling Mixture
| Ingredient | Quantity | Purpose | Notes |
|---|---|---|---|
| Light brown sugar | ¾ cup | Main sweetening component | Dark brown sugar adds deeper molasses flavor |
| Ground cinnamon | 2 tablespoons | Signature spice flavor | Ceylon cinnamon preferred for delicate taste |
| Unsalted butter | 4 tablespoons | Helps filling adhere to dough | Must be softened for easy spreading |
| Cocoa powder | 1 tablespoon | Reinforces chocolate notes | Adds to red velvet profile |
Cream Cheese Frosting
| Ingredient | Quantity | Purpose | Tips |
|---|---|---|---|
| Cream cheese | 8 ounces | Creates tangy, rich base | Must be room temperature |
| Unsalted butter | ½ cup | Adds smoothness and richness | Also room temperature |
| Powdered sugar | 3 cups | Sweetens and thickens | Sift for smoothest texture |
| Vanilla extract | 2 teaspoons | Enhances flavor complexity | Pure vanilla essential |
| Heavy cream | 2-3 tablespoons | Adjusts consistency | Add gradually for perfect texture |
Step-by-Step Preparation Method
Preparing the Dough
I always start by activating my yeast to ensure my rolls will have that perfect, fluffy texture. In a small bowl, I combine the warm buttermilk (heated to about 110°F) with one tablespoon of the granulated sugar and sprinkle the yeast over the surface. After letting it sit for 5-10 minutes, the mixture should become foamy and fragrant – this tells me the yeast is active and ready to work its magic.
In my stand mixer bowl, I whisk together the flour, remaining sugar, cocoa powder, and salt. I create a well in the center and add the activated yeast mixture, melted butter, eggs, vanilla extract, and red food coloring. Using the dough hook attachment, I mix on low speed until the ingredients come together, then increase to medium speed for 6-8 minutes until the dough becomes smooth and elastic.
The dough should be slightly sticky but manageable. If it’s too wet, I add flour one tablespoon at a time. If too dry, I incorporate warm buttermilk gradually. The key is achieving a dough that springs back when gently poked.
First Rise and Shaping
After transferring the dough to a greased bowl and covering with a damp kitchen towel, I let it rise in a warm, draft-free location for about 1-1.5 hours until doubled in size. During colder months, I create a warm environment by placing the bowl on top of my refrigerator or in an oven with just the light on.
Once the dough has properly risen, I turn it out onto a lightly floured surface and roll it into a large rectangle, approximately 16×12 inches. The dough should be about ¼ inch thick for optimal roll thickness.
Creating the Perfect Filling
While the dough rises, I prepare my filling by combining the brown sugar, cinnamon, and cocoa powder in a medium bowl. I make sure the mixture is well combined and free of lumps – this ensures even distribution throughout the rolls.
I spread the softened butter evenly across the rolled dough, leaving about a ½-inch border on one of the long sides. Then I sprinkle the cinnamon-sugar mixture over the butter, pressing gently to help it adhere.
Rolling and Cutting Technique
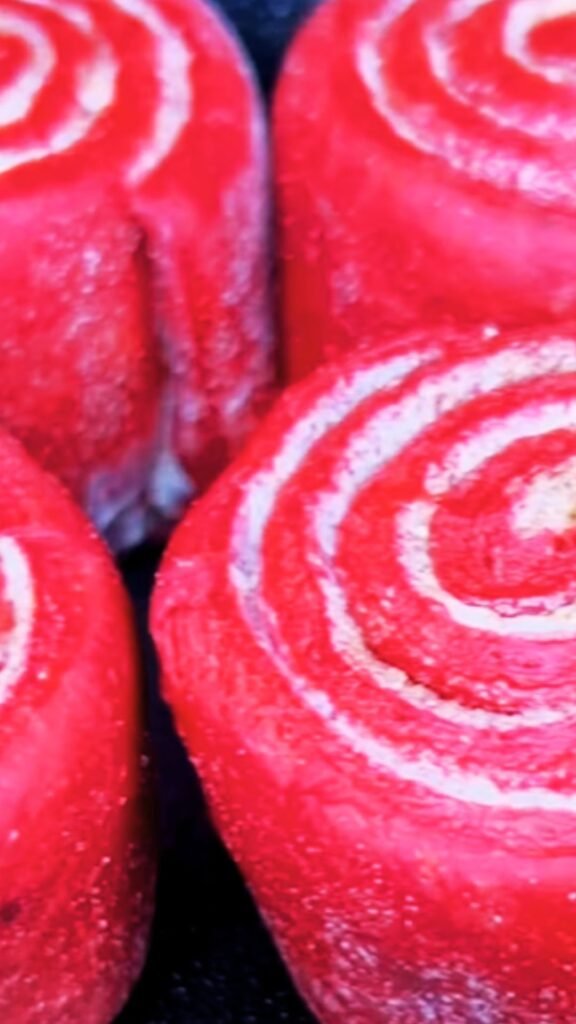
Starting from the long side opposite the border, I carefully roll the dough into a tight log, pinching the seam to seal. Using a sharp knife or dental floss (my preferred method for clean cuts), I slice the log into 12 equal portions, each about 1½ inches thick.
The dental floss technique involves sliding the floss under the log, crossing the ends over the top, and pulling quickly through the dough. This method prevents the rolls from getting squished and maintains their beautiful spiral pattern.
Baking Instructions and Techniques
Pan Preparation and Arrangement
I arrange the cut rolls in a greased 9×13-inch baking dish, leaving small spaces between each roll for expansion. For individual servings, I sometimes use a 12-cup muffin tin, placing one roll in each greased cup.
Before baking, I cover the arranged rolls with a kitchen towel and let them rise for another 30-45 minutes until they’re puffy and touching each other. This second rise is crucial for achieving that tender, pull-apart texture I love.
Optimal Baking Conditions
| Factor | Specification | Importance |
|---|---|---|
| Oven temperature | 350°F (175°C) | Even browning without burning |
| Baking time | 25-30 minutes | Until golden brown on top |
| Internal temperature | 190°F (88°C) | Ensures fully cooked center |
| Pan position | Center rack | Promotes even heat distribution |
| Doneness test | Golden brown, springs back when touched | Visual and tactile confirmation |
I preheat my oven to 350°F and bake the rolls for 25-30 minutes until the tops are golden brown and the internal temperature reaches 190°F. The rolls should spring back lightly when touched and sound hollow when tapped.
Mastering the Cream Cheese Frosting
The frosting can make or break these rolls, so I pay careful attention to technique and ingredient temperature. All ingredients must be at room temperature for the smoothest, most luxurious frosting.
I start by beating the cream cheese and butter together until light and fluffy, about 3-4 minutes with an electric mixer. Gradually, I add the powdered sugar, one cup at a time, beating well after each addition. Finally, I incorporate the vanilla extract and heavy cream, adjusting the consistency as needed.
The frosting should be spreadable but not too thin. If it’s too thick, I add cream one tablespoon at a time. If too thin, I add more powdered sugar gradually.
Troubleshooting Common Issues
Dough Problems and Solutions
| Problem | Cause | Solution |
|---|---|---|
| Dough won’t rise | Dead yeast, cold environment | Test yeast freshness, find warmer location |
| Dough too sticky | Too much liquid, humid conditions | Add flour gradually, 1 tablespoon at a time |
| Dough too dry | Not enough liquid, over-floured surface | Add warm buttermilk, 1 tablespoon at a time |
| Dense texture | Over-kneaded, old yeast | Use fresh yeast, knead until just smooth |
| Uneven color | Poor food coloring distribution | Mix coloring thoroughly into wet ingredients |
Baking and Frosting Issues
| Problem | Cause | Solution |
|---|---|---|
| Rolls too dry | Overbaked, insufficient rise time | Check doneness early, ensure proper rising |
| Burnt bottoms | Oven too hot, wrong rack position | Lower temperature, use center rack |
| Frosting too runny | Warm ingredients, too much liquid | Chill briefly, add more powdered sugar |
| Frosting separates | Temperature differences | Ensure all ingredients at room temperature |
| Uneven browning | Hot spots in oven | Rotate pan halfway through baking |
Storage and Reheating Guidelines
Proper storage ensures these rolls maintain their delicious quality for days after baking. I store unfrosted rolls covered at room temperature for up to 2 days, or frosted rolls in the refrigerator for up to 5 days.
Storage Methods
Room Temperature Storage: Cover unfrosted rolls tightly with plastic wrap or store in an airtight container. They’ll stay fresh for 2-3 days.
Refrigerator Storage: Frosted rolls should be covered and refrigerated. They’ll keep for up to 5 days and actually taste even better after the flavors meld overnight.
Freezer Storage: Both frosted and unfrosted rolls freeze beautifully for up to 3 months. I wrap individual rolls in plastic wrap, then place in freezer bags for best quality.
Reheating Techniques
For room temperature rolls, I warm them in a 300°F oven for 5-8 minutes. Frozen rolls can go directly from freezer to oven, adding 2-3 extra minutes to the warming time. Microwaving works for quick reheating, but I prefer the oven for maintaining texture.
Variations and Flavor Combinations
The beauty of this base recipe lies in its adaptability. I’ve experimented with numerous variations that each bring something unique to the table.
Flavor Variations
Orange Red Velvet: Add 2 tablespoons of orange zest to the dough and 1 tablespoon to the frosting for a citrusy twist.
Chocolate Chip Red Velvet: Fold ½ cup mini chocolate chips into the dough during the final minutes of kneading.
Espresso Red Velvet: Replace 2 tablespoons of buttermilk with strong espresso for a coffee flavor enhancement.
Cream Cheese Swirl: Add dollops of sweetened cream cheese to the filling before rolling for extra richness.
Frosting Alternatives
While cream cheese frosting is traditional, I sometimes experiment with other toppings:
- Vanilla Glaze: Simple powdered sugar, milk, and vanilla for a lighter option
- Cinnamon Cream Cheese: Add ground cinnamon to the standard frosting recipe
- Brown Butter Frosting: Brown the butter before making frosting for nutty depth
Serving Suggestions and Presentation
These rolls shine in various serving contexts, from casual family breakfasts to elegant brunch spreads. I’ve found that presentation can elevate the entire experience.
For special occasions, I like to serve them warm on individual plates with a fork and knife, allowing guests to savor each bite properly. The contrast between the warm, soft roll and cool frosting creates a delightful temperature interplay.
During holidays, I arrange them on a large platter as part of a dessert buffet, alongside fresh berries and coffee service. The vibrant red color makes them a natural fit for Valentine’s Day, Christmas, or any celebration where visual impact matters.
For casual morning, I serve them directly from the baking dish with plenty of napkins – they’re definitely a hands-on treat that brings people together around the table.
Nutritional Considerations
While these rolls are undoubtedly an indulgence, understanding their nutritional profile helps with mindful enjoyment.
Nutritional Information Per Roll
| Nutrient | Amount | % Daily Value |
|---|---|---|
| Calories | 385 | 19% |
| Total Fat | 12g | 15% |
| Saturated Fat | 7g | 35% |
| Cholesterol | 65mg | 22% |
| Sodium | 285mg | 12% |
| Total Carbohydrates | 65g | 24% |
| Dietary Fiber | 2g | 7% |
| Sugars | 35g | – |
| Protein | 7g | 14% |
These rolls are best enjoyed as an occasional treat rather than a daily breakfast option. The combination of refined flour, butter, and sugar makes them calorie-dense, but the joy they bring to special occasions makes them worth the indulgence.
Questions and Answers
Q: Can I make the dough ahead of time and bake later? Yes! After shaping the rolls, cover tightly and refrigerate overnight. Let them come to room temperature and complete the second rise before baking. This actually enhances the flavor development.
Q: Why aren’t my rolls red enough? Food coloring can fade during baking, and the amount needed varies by brand. I recommend using gel food coloring for more vibrant results, and don’t be afraid to add extra until you achieve the desired color in the raw dough.
Q: Can I use a different type of flour? All-purpose flour works best for the tender texture we want. Bread flour will make chewier rolls, while cake flour might make them too delicate. If you must substitute, use bread flour and reduce kneading time slightly.
Q: How do I know when the dough has risen enough? The dough should double in size and spring back slowly when gently poked with a finger. If it springs back immediately, it needs more time. If it doesn’t spring back at all, it may be over-proofed.
Q: Can I make these rolls without a stand mixer? Absolutely! Mix the ingredients by hand and knead the dough on a floured surface for 8-10 minutes until smooth and elastic. It requires more effort but produces equally delicious results.
Q: What’s the best way to achieve even slices? Use unflavored dental floss or a very sharp knife. Mark the log with a ruler first to ensure even portions. Dental floss cuts cleanly without compressing the dough.
Q: Can I reduce the sugar in this recipe? The sugar in the dough feeds the yeast and affects texture, so I don’t recommend reducing it significantly. You could reduce the filling sugar by up to 25% if you prefer less sweetness.
Q: How do I prevent the frosting from melting on warm rolls? Let the rolls cool for about 10 minutes before frosting. The slight warmth will help the frosting spread easily without completely melting. If you prefer melted frosting that soaks in, apply it immediately while rolls are hot.
Q: Can I make mini versions of these rolls? Yes! Cut the log into 18-24 smaller pieces and bake in mini muffin tins for 15-20 minutes. They make perfect bite-sized treats for parties or portion control.
Q: What causes rolls to be dense instead of fluffy? Dense rolls usually result from dead yeast, insufficient rising time, or over-kneading. Always test your yeast’s activity, allow proper rise times, and knead just until the dough is smooth and elastic.
Creating perfect red velvet cinnamon rolls takes practice, but the reward of pulling that pan of beautiful, aromatic rolls from the oven makes every step worthwhile. These rolls have become a signature treat in my kitchen, bringing smiles to faces and creating lasting memories around my table. Whether you’re celebrating a special occasion or simply want to brighten an ordinary morning, these indulgent rolls deliver pure happiness in every bite.