There’s something magical about pulling a tray of perfectly puffed pita bread from the oven. That moment when you see the flat discs of dough balloon into hollow pockets is nothing short of kitchen alchemy. I’ve been perfecting my pita bread recipe for years, and today I’m sharing all my secrets for creating these delicious Mediterranean staples at home.
Making your own pita bread might seem intimidating at first, but I promise it’s one of the most satisfying bread recipes you’ll ever master. The ingredients are simple pantry staples, the technique is straightforward once you know the tricks, and the results are far superior to anything you’ll find in the store. Plus, there’s nothing like serving warm, fresh bread that you’ve made with your own hands.
Whether you’re planning to scoop up hummus, wrap a falafel, or create a pocket sandwich, this pita bread recipe will become your go-to. I’ll walk you through each step, share troubleshooting tips, and explain the science behind that perfect pocket. Let’s get baking!
The Magic of Homemade Pita Bread
Before I dive into the recipe, let me tell you why making pita bread at home is worth your time. Store-bought pita often arrives stale and flat, lacking that crucial pocket and tender chew. When you make it yourself, you control every aspect—from the thickness of the dough to the exact cooking time—resulting in pitas that are:
- Incredibly fresh with no preservatives
- Perfectly puffed with reliable pockets
- Tender yet sturdy enough for fillings
- Customizable with whole wheat options
- Budget-friendly costing pennies per pita
- Freezer-friendly for future meals
I started making pita bread when I couldn’t find good quality versions locally, and now I actually prefer my homemade version. The process has become therapeutic for me—the rhythmic kneading, the careful rolling, and that thrilling moment of watching the dough puff up in the oven.
Essential Equipment
Before we begin, let’s make sure you have the right tools for success:
| Equipment | Purpose | Recommendation |
|---|---|---|
| Baking Stone or Steel | Creates intense bottom heat for proper puffing | Preheat with your oven for at least 30 minutes |
| Baking Sheet | Alternative to stone/steel | Preheat upside down for better heat conduction |
| Stand Mixer with Dough Hook | Makes kneading effortless | Hand kneading works too, just requires more time |
| Rolling Pin | Creates even thickness | Consistent thickness is key to proper puffing |
| Kitchen Towel | Covers dough while resting | Slightly damp towel prevents drying |
| Dough Scraper | Helps portion and handle dough | Metal or plastic both work well |
| Kitchen Scale | Ensures accurate measurements | Particularly important for flour measurement |
| Thermometer | Checks water temperature | Aim for 105-110°F for yeast activation |
Don’t worry if you don’t have everything on this list—I’ll provide alternatives as we go.
Ingredients for Perfect Pita Bread
The beauty of pita bread lies in its simplicity. Here’s what you’ll need:
| Ingredient | Amount | Notes |
|---|---|---|
| All-purpose flour | 3 cups (375g) | Unbleached preferred, can substitute up to 50% whole wheat |
| Active dry yeast | 2 teaspoons (7g) | Instant yeast works too, no proofing needed |
| Sugar | 1 teaspoon | Helps activate yeast and encourages browning |
| Salt | 1½ teaspoons | Enhances flavor and controls fermentation |
| Warm water | 1 cup + 2 tablespoons (255ml) | Temperature around 105-110°F |
| Olive oil | 2 tablespoons | Adds tenderness and flavor |
| Extra flour | As needed | For dusting work surface |
For whole wheat pita: Replace up to half the all-purpose flour with whole wheat flour and increase water by 2 tablespoons.
Step-by-Step Pita Bread Recipe
1. Activate the Yeast
If using active dry yeast:
- In a large bowl or stand mixer bowl, combine warm water (105-110°F) and sugar
- Sprinkle yeast over the water and let stand for 5-10 minutes until foamy
- If your yeast doesn’t foam, it may be dead—start over with fresh yeast
Note: If using instant yeast, you can skip this proofing step and mix it directly with the dry ingredients.
2. Mix the Dough
- Add olive oil to the yeast mixture
- In a separate bowl, whisk together flour and salt
- If using a stand mixer: Add flour mixture to the yeast mixture and mix with the dough hook on low speed until combined
- If mixing by hand: Add flour gradually, stirring with a wooden spoon until a shaggy dough forms
- The dough should be slightly tacky but not sticky—add flour 1 tablespoon at a time if too wet, or a few drops of water if too dry
3. Knead the Dough
- Using a stand mixer: Knead on medium-low speed for 5-7 minutes until the dough is smooth and elastic
- Kneading by hand: Turn dough onto a lightly floured surface and knead for 8-10 minutes
- Test for proper kneading: The dough should be smooth, slightly tacky, and when you press it with your finger, it should slowly spring back
4. First Rise
- Form dough into a ball and place in a lightly oiled bowl
- Turn the dough to coat all sides with oil
- Cover with a damp kitchen towel or plastic wrap
- Let rise in a warm place for 1-2 hours, or until doubled in size
- To test if it’s ready: poke the dough with your finger—if the indentation remains, it’s ready
5. Shape the Pitas
- After the first rise, gently deflate the dough by pressing down lightly
- Turn onto a lightly floured surface and divide into 8 equal portions (about 80g each)
- Form each portion into a ball by folding the edges into the center and rolling under your palm
- Cover the balls with a kitchen towel and let rest for 15 minutes to relax the gluten
- Flatten each ball with your palm, then roll into a circle about 6-7 inches in diameter and ¼ inch thick
- For even thickness: roll from the center outward, rotating the dough frequently
- Keep unused dough covered while working to prevent drying
6. Second Rise (Optional but Recommended)
- Place rolled pitas on a lightly floured surface or parchment paper
- Cover with a kitchen towel and let rest for 15-30 minutes
- This final rise creates airier pockets and more tender bread
7. Prepare for Baking
- Place a baking stone, baking steel, or inverted baking sheet in the oven
- Preheat oven to 475°F (245°C) for at least 30 minutes
- If your oven has hot spots, note them so you can rotate pitas as needed
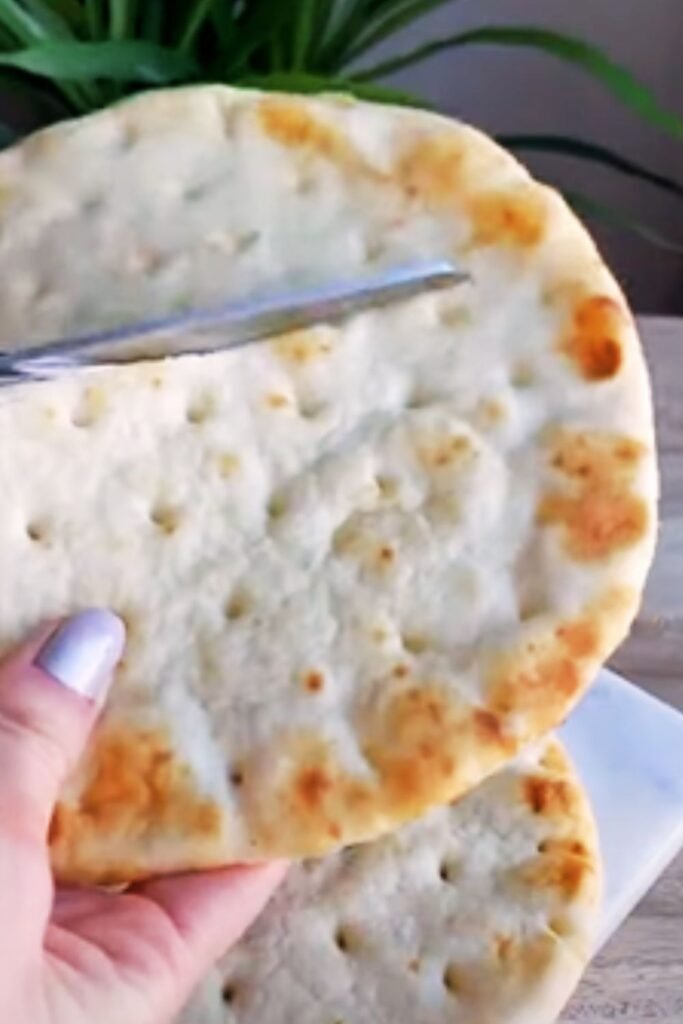
8. Bake the Pitas
- Working with 1-2 pitas at a time (depending on the size of your baking surface), carefully place the dough directly on the hot baking stone or sheet
- Bake for 3-4 minutes until the pita puffs up completely and has light brown spots
- Don’t open the oven door for the first 2 minutes to maintain temperature
- The puffing usually happens around the 2-minute mark—it’s a magical moment!
9. Cool and Store
- Remove pitas from the oven and immediately wrap them in a clean kitchen towel to keep them soft
- Allow to cool for at least 5 minutes before serving
- As they cool, the pitas will slowly deflate while maintaining their pocket
Stovetop Method Alternative
If you don’t want to use the oven or need pitas more quickly, try the stovetop method:
- Heat a cast iron skillet or heavy-bottomed pan over medium-high heat
- Place a rolled pita in the dry skillet and cook for 30 seconds to 1 minute until bubbles form
- Flip and cook the other side for another 30 seconds to 1 minute until puffed and lightly browned
- Flip once more and cook for an additional 30 seconds to ensure doneness
- Remove and wrap in a towel like the oven method
The stovetop method works well but may create slightly less reliable pockets than the intense heat of the oven.
Troubleshooting: Why Didn’t My Pita Puff?
If your pitas don’t puff properly, here are the most common issues and fixes:
| Problem | Possible Cause | Solution |
|---|---|---|
| No puffing at all | Oven/stone not hot enough | Preheat longer, increase temperature |
| Dough rolled unevenly | Practice even rolling technique | |
| Too little moisture in dough | Add slightly more water to next batch | |
| Overworked dough | Handle more gently, don’t overknead | |
| Partial puffing | Uneven thickness | Roll from center outward, rotate frequently |
| Dough dried out | Keep covered while working with individual pieces | |
| Puffs then collapses | Normal behavior | This is expected as they cool |
| Too thick/bready | Rolled too thick | Aim for ¼ inch thickness |
| Too crisp/cracker-like | Overcooked or too thin | Reduce cooking time, roll slightly thicker |
| Dough too dry | Add more water to next batch |
Remember, even professional bakers occasionally get non-puffed pitas. If this happens, don’t despair—they’re still delicious! Use them as flatbreads for wraps or cut into triangles and toast for chips.
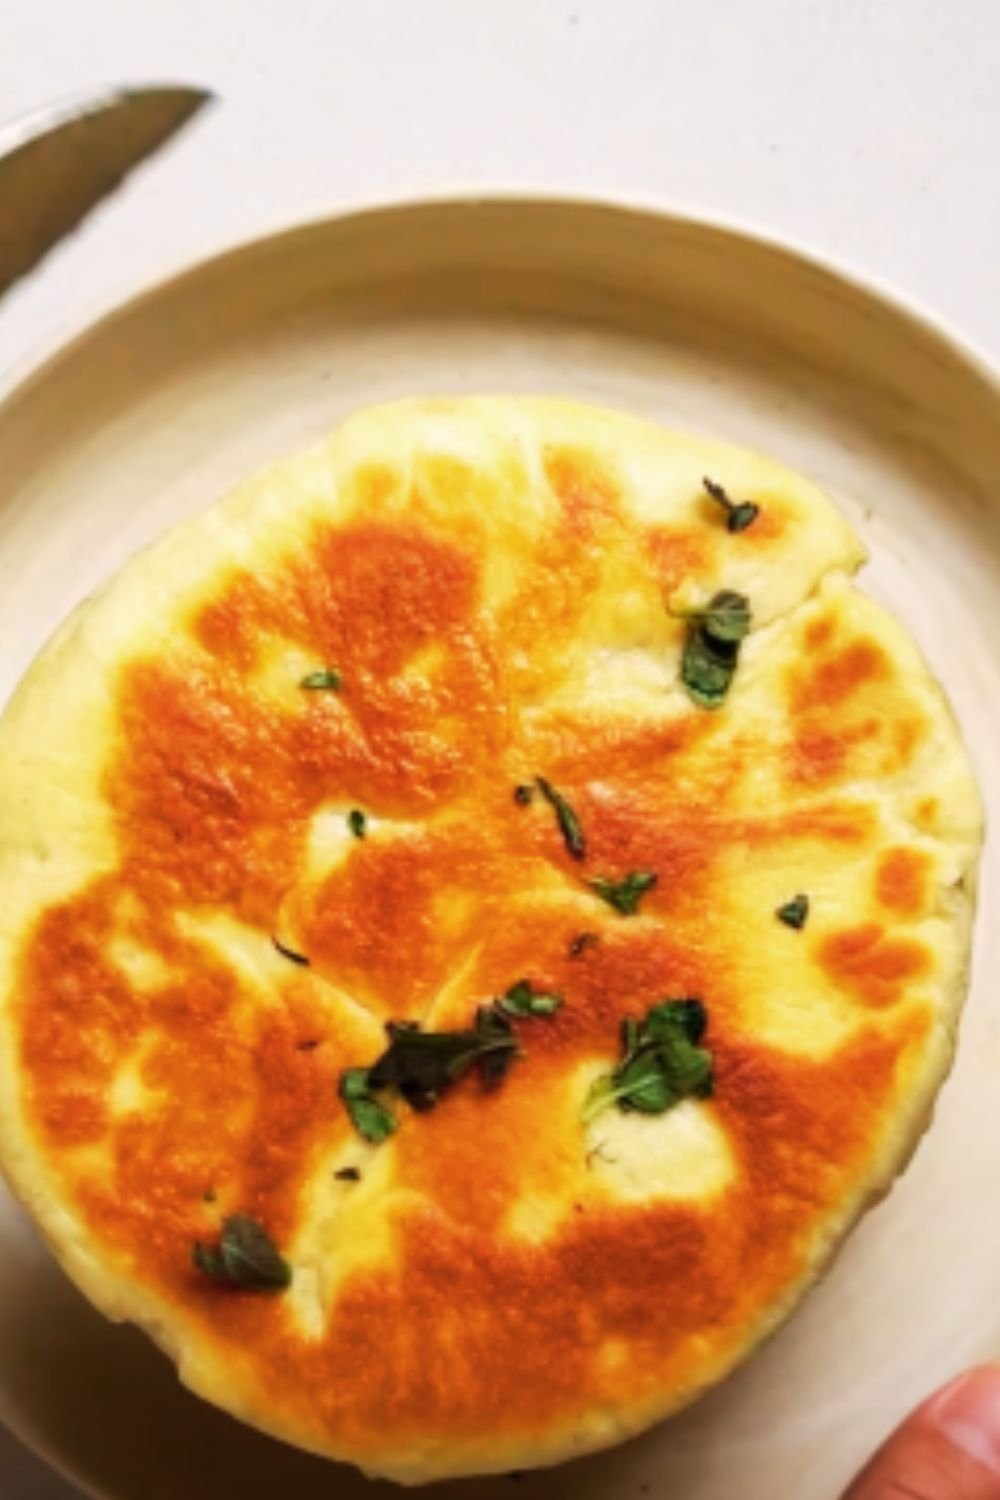
Flavor Variations
While traditional pita is perfect in its simplicity, here are some variations to try:
- Whole Wheat Pita: Replace half the all-purpose flour with whole wheat for a nuttier flavor and more fiber
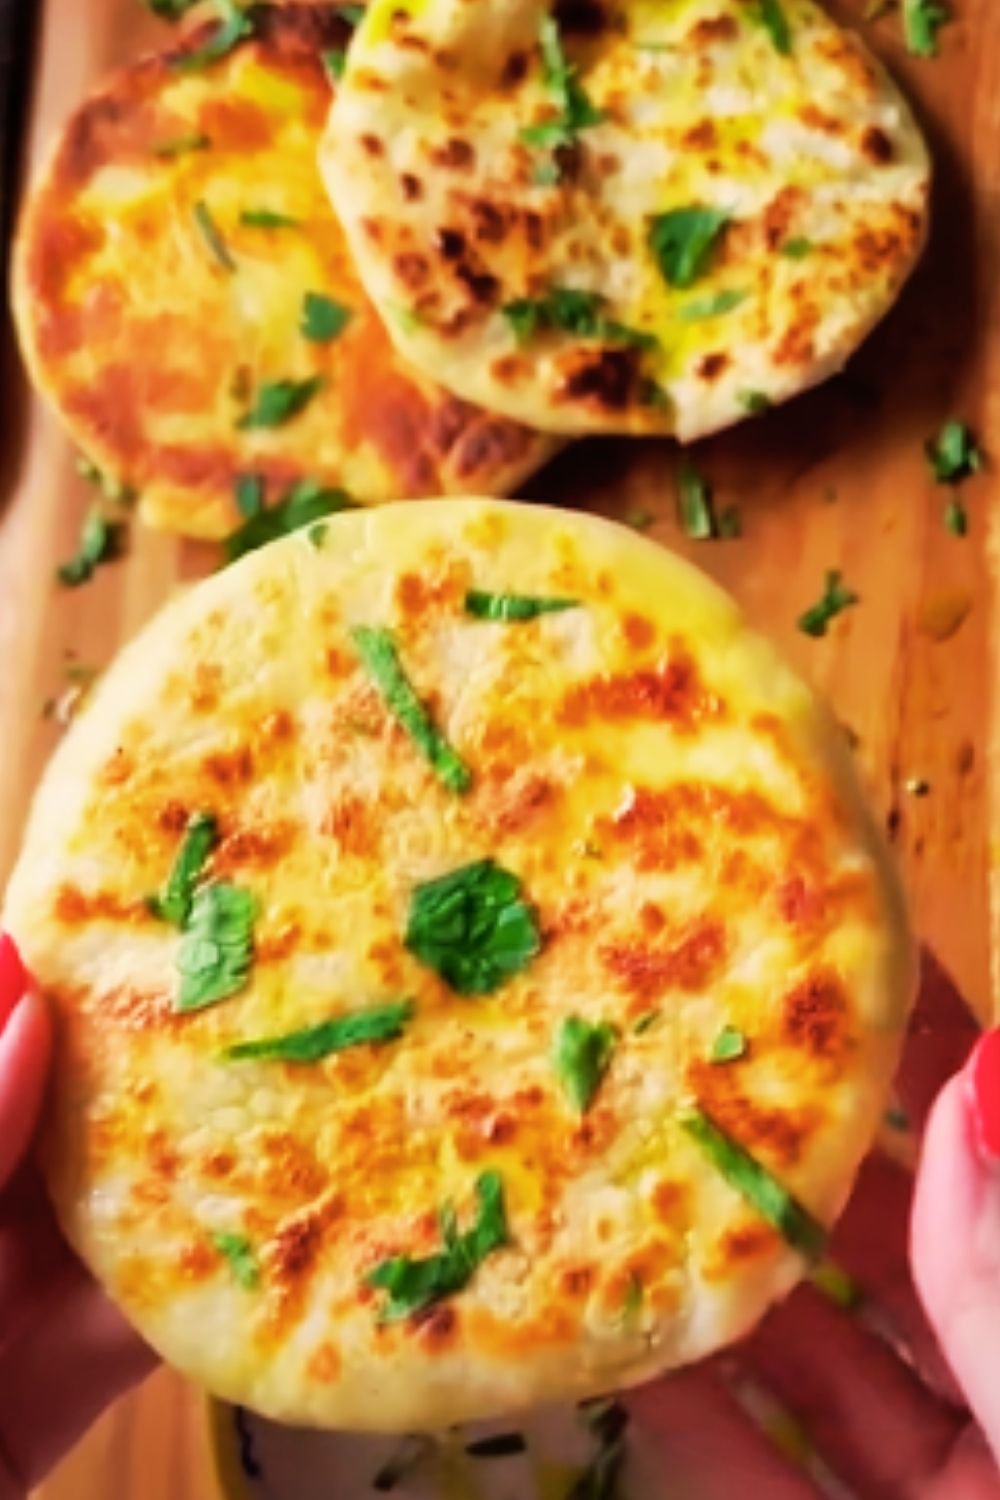
- Garlic Herb Pita: Add 2 minced garlic cloves and 1 tablespoon of fresh herbs (rosemary, thyme, or oregano) to the dough
- Za’atar Pita: Brush with olive oil and sprinkle with za’atar spice blend before baking
- Multigrain Pita: Add 3 tablespoons of mixed seeds (sesame, flax, sunflower) to the dough
- Onion Pita: Mix 2 tablespoons of dried onion flakes into the dough
Serving Suggestions

Pita bread is incredibly versatile. Here are my favorite ways to enjoy it:
- Stuffed with falafel, lettuce, tomatoes, and tahini sauce
- Filled with grilled vegetables and tzatziki
- Used to scoop hummus, baba ganoush, or muhammara
- Topped like a pizza with olive oil, feta, and olives, then briefly baked
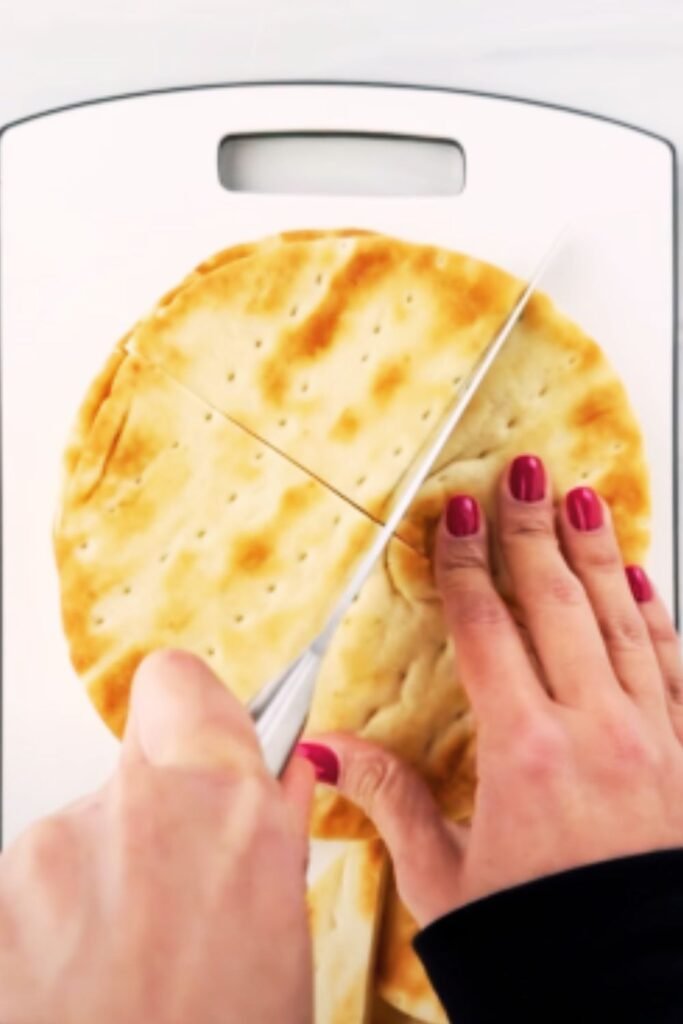
- Cut into triangles and toasted for dipping into soups
- Breakfast pockets filled with scrambled eggs and herbs
- Dessert pita filled with Nutella and sliced bananas or strawberries
- Pita chips: Cut into triangles, brush with olive oil, season, and bake until crisp
Storage and Freezing
Fresh pita bread is best on the day it’s made, but proper storage can extend its life:
| Storage Method | Duration | Instructions |
|---|---|---|
| Room temperature | 2 days | Store in a plastic bag or bread box |
| Refrigerator | 1 week | Place in a sealed plastic bag, reheat before serving |
| Freezer | 3 months | Cool completely, place parchment between pitas, store in freezer bag |
To reheat:
- From room temperature: Wrap in a damp paper towel and microwave for 10-15 seconds
- From refrigerated: Sprinkle with a few drops of water, wrap in foil, and warm in a 350°F oven for 5 minutes
- From frozen: Thaw at room temperature, then reheat as above, or toast directly from frozen
Common Questions About Pita Bread
Q: Why is it important to preheat the oven with the baking stone or sheet inside? The sudden heat shock when the dough hits the hot surface creates steam inside the pita, which is what causes it to puff up and create that famous pocket.
Q: Can I make the dough ahead of time? Yes! You can refrigerate the dough after the first rise for up to 48 hours. This actually develops more flavor. Let it come to room temperature before shaping.
Q: Why are my pitas dry and cracker-like instead of soft? This usually happens when there’s too little moisture in the dough or they’re overbaked. Try adding a bit more water to your dough and reducing the baking time.
Q: How do I get whole wheat pitas to be soft and pliable like white flour pitas? Whole wheat absorbs more moisture, so increase the water by about 2 tablespoons per cup of whole wheat flour. Also, don’t substitute more than 50% whole wheat for the best texture.
Q: My pitas puffed beautifully in the oven but deflated when I took them out. Did I do something wrong? Not at all! Pitas naturally deflate as they cool, leaving the pocket intact. As long as they puffed in the oven, you’ve done it right.
Q: Can I make mini pitas for appetizers? Absolutely! Divide the dough into smaller portions (about 40g each) and roll to 3-4 inches in diameter. Reduce the baking time slightly.
Q: How do I know when the pitas are done? They should be fully puffed with a few light brown spots. The color should be mostly pale with just a hint of browning.
Q: I don’t have a stand mixer. Can I still make pita bread? Definitely! People have been making pita by hand for thousands of years. Just knead by hand for about 8-10 minutes until the dough is smooth and elastic.
The Science Behind the Pocket
I find the science of pita bread fascinating! Here’s why those pockets form:
When the flat dough hits the hot oven, the water in the dough quickly turns to steam. This steam gets trapped between the top and bottom layers of dough. Since the bottom heats faster (it’s in direct contact with the hot stone or pan), it sets more quickly than the top. This creates a sealed bottom layer, forcing the steam upward, causing the top layer to balloon.
For this to work properly, three factors are crucial:
- High heat to create rapid steam
- Even dough thickness for consistent cooking
- Proper hydration in the dough to create sufficient steam
Understanding this science helps troubleshoot when things don’t go as planned. If your pitas aren’t puffing, one of these factors isn’t quite right.
Final Tips for Pita Success
After years of making pita bread, here are my most valuable tips:
- Don’t skimp on preheating time—the hotter your baking surface, the better the puff
- Be gentle with the dough after rolling; rough handling can release the gases needed for puffing
- Keep your work surface and hands lightly floured to prevent sticking
- Don’t rush the process—those rest periods develop flavor and improve texture
- Your first few pitas might not be perfect, but keep practicing!
- If a pita doesn’t puff fully, use it for flatbread applications
- Make a double batch while you’re at it—they freeze beautifully
I hope this guide helps you create perfect pita bread at home. Once you master this technique, you’ll never want to buy store-bought pita again. The flavor, texture, and satisfaction of homemade pita simply can’t be beaten. Happy baking!
Recipe Card
| Homemade Pita Bread | |
|---|---|
| Prep Time: 2 hours 30 minutes (including rising) | Cook Time: 3-4 minutes per pita |
| Total Time: 3 hours | Yield: 8 pitas |
Ingredients:
- 3 cups (375g) all-purpose flour
- 2 teaspoons active dry yeast
- 1 teaspoon sugar
- 1½ teaspoons salt
- 1 cup + 2 tablespoons (255ml) warm water (105-110°F)
- 2 tablespoons olive oil
- Extra flour for dusting
Equipment:
- Baking stone or sheet
- Stand mixer with dough hook (optional)
- Rolling pin
- Kitchen towel
- Dough scraper
- Kitchen scale (recommended)
Instructions: Follow the step-by-step instructions detailed above.
Nutrition Information (per pita): Calories: 180 Fat: 3.5g Carbohydrates: 32g Protein: 5g Fiber: 1.2g Sodium: 440mg