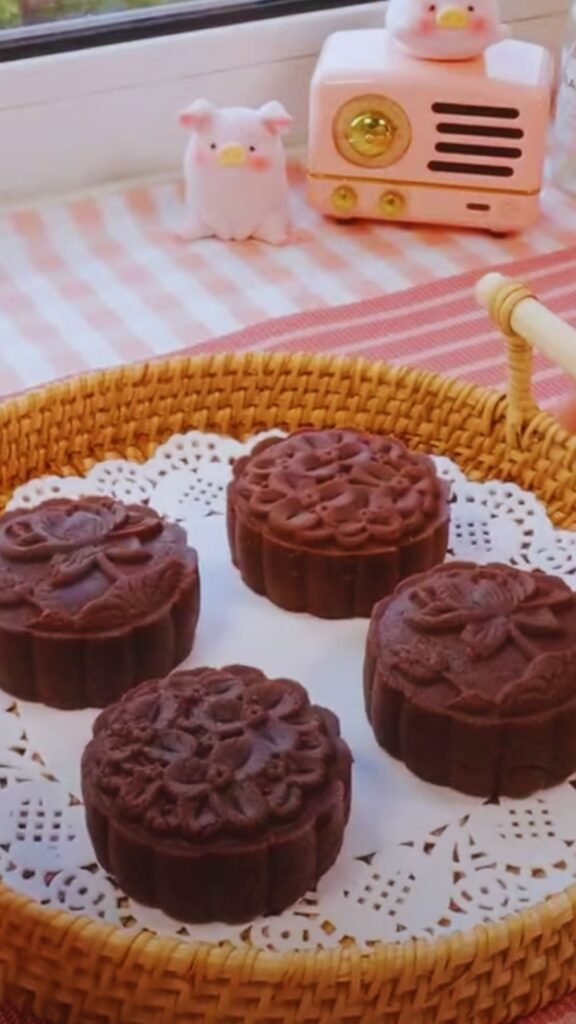
There’s something truly magical about biting into a perfectly made snow skin mooncake. That delicate, slightly chewy exterior giving way to a luscious, sweet filling creates an experience that’s hard to forget. Today, I’m sharing my treasured recipe for Snow Skin Mooncakes with a rich custard filling that will transport you straight to mooncake heaven.
As someone who has spent years perfecting these delicate treats, I can tell you that while they might look intimidating at first glance, with the right guidance, anyone can create these beautiful pastries at home. The translucent, pillowy skin paired with a creamy custard center makes for an irresistible combination that’s perfect for Mid-Autumn Festival celebrations or any special occasion.
What Are Snow Skin Mooncakes?
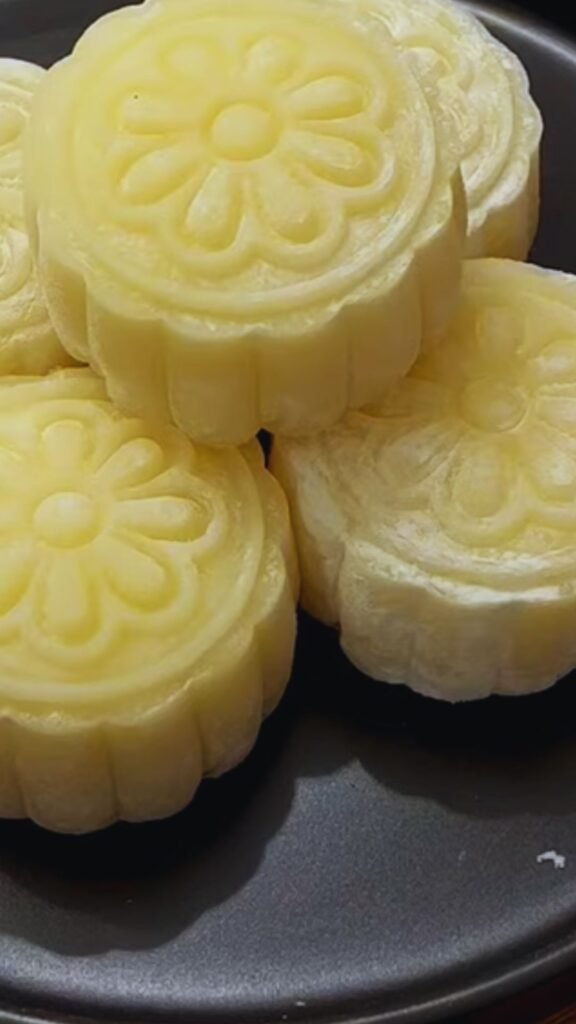
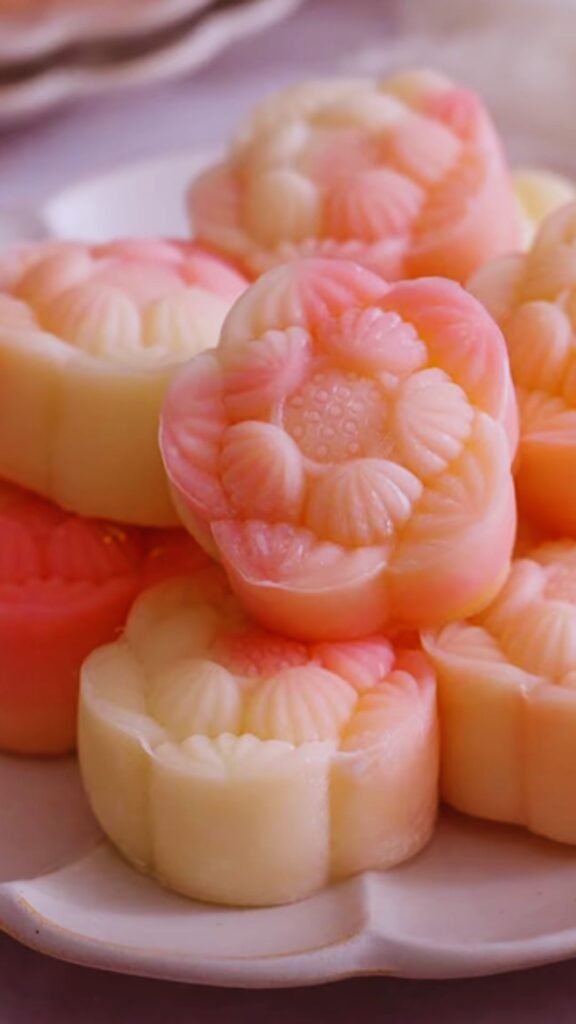
Snow skin mooncakes (冰皮月饼, bīng pí yuè bǐng) are a modern take on traditional mooncakes. Unlike their baked counterparts, these treats require no baking and are served chilled. The “snow skin” gets its name from its white, translucent appearance and is made primarily from glutinous rice flour. These mooncakes originated in Hong Kong and have quickly gained popularity throughout Asia and beyond for their refreshing taste and softer texture.
What makes these particular mooncakes special is not just their appearance but also their versatility. The basic snow skin can be colored or flavored in countless ways, and the filling options are virtually limitless. For today’s recipe, we’re focusing on a classic custard filling that’s rich, creamy, and perfectly balanced in sweetness.
Essential Ingredients
For the Snow Skin:
- 60g glutinous rice flour
- 35g rice flour
- 30g wheat starch (or cornstarch as substitute)
- 60g powdered sugar (icing sugar)
- 30g shortening or vegetable oil
- 200ml coconut milk (or regular milk)
- 1/2 tsp vanilla extract
- Food coloring (optional – I love using natural colorings like pandan juice for green, butterfly pea flower for blue, or beet juice for pink)
For the Custard Filling:
- 4 egg yolks
- 80g granulated sugar
- 40g butter (unsalted)
- 80ml milk
- 35g cake flour
- 15g custard powder
- 1/4 tsp salt
- 1 tsp vanilla extract
Additional Items:
- Mooncake molds (50-63g size works best for beginners)
- Cooked glutinous rice flour for dusting (kao fen/cooked flour)
- Plastic gloves (helps prevent the dough from sticking)
Creating the Perfect Custard Filling
The secret to spectacular snow skin mooncakes lies in the filling. While you can certainly use store-bought lotus seed paste or red bean paste, there’s something special about homemade custard filling. The process requires some patience, but the creamy, melt-in-your-mouth result is absolutely worth it.
Step-by-Step Custard Filling Instructions:
- In a medium bowl, whisk together egg yolks and sugar until pale yellow and slightly thickened.
- Sift in the cake flour and custard powder, add salt, and mix until smooth.
- In a small saucepan, warm the milk until steaming but not boiling.
- Gradually pour about half of the hot milk into the egg mixture, whisking constantly to prevent curdling.
- Return the mixture to the saucepan with the remaining milk and cook over medium-low heat, stirring constantly.
- Continue cooking and stirring until the mixture thickens significantly and can hold its shape – this usually takes 5-7 minutes.
- Remove from heat and stir in butter and vanilla extract until fully incorporated.
- Transfer to a clean bowl, cover with plastic wrap (ensuring the wrap touches the surface to prevent skin formation), and refrigerate for at least 2 hours until completely chilled and firm.
- Once chilled, divide the filling into 12 equal portions (about 20g each) and roll into balls. Return to refrigerator until ready to use.
Pro Tip: I like to prepare the custard filling a day ahead. This gives it time to fully set and develop flavors, making the assembly process much smoother.
Making the Perfect Snow Skin
The snow skin is where the magic truly happens. This delicate wrapper needs to be soft enough to mold yet firm enough to hold its shape. Here’s my foolproof method:
Snow Skin Preparation:
- In a large bowl, mix glutinous rice flour, rice flour, wheat starch, and powdered sugar until well combined.
- Add shortening or oil and mix with your fingertips until the mixture resembles coarse sand.
- Slowly add coconut milk, stirring continuously until a smooth batter forms.
- If using food coloring, divide the batter and add coloring as desired. I typically make 2-3 different colored batches for variety.
- Strain the batter through a fine-mesh sieve to remove any lumps.
- Pour the batter into a heat-safe container. I prefer using several shallow containers if I’ve separated the batter for different colors.
- Cover each container with plastic wrap.
- Steam over medium-high heat for 15-20 minutes, or until the dough is translucent and fully cooked.
- Remove from heat and stir the dough while it’s still hot to ensure a smooth texture.
- Once the dough has cooled enough to handle but is still warm, transfer to a clean surface dusted with cooked glutinous rice flour.
- Knead gently until smooth and pliable, dusting with more cooked flour as needed to prevent sticking.
- Wrap in plastic and let it rest at room temperature for about 30 minutes before using.
Important Note: The dough should be used while still slightly warm. If it cools completely, you can briefly microwave it for 10-15 seconds to warm it up again before assembling.
Assembly and Molding – Where Art Meets Technique
The assembly process requires a gentle touch and a bit of patience, especially for beginners. Here’s how I create these beautiful pastries:
Mooncake Assembly:
- Divide the snow skin dough into 12 equal portions (approximately 30g each).
- Using gloved hands dusted with cooked glutinous rice flour, flatten each portion into a circle about 3-4 inches in diameter. The edges should be slightly thinner than the center.
- Place a chilled custard ball in the center of each circle.
- Carefully wrap the dough around the filling, gathering the edges and pinching to seal completely.
- Roll the wrapped mooncake gently between your palms to form a smooth ball.
- Dust the mooncake ball and the mooncake mold lightly with cooked glutinous rice flour.
- Place the ball into the mold, pressing it gently to fill the cavity.
- On a flat surface, press the mold down firmly and evenly.
- Carefully release the mooncake by lifting the mold and gently pushing the plunger to eject the formed mooncake.
- Place the finished mooncakes on a parchment-lined tray, leaving space between each one.
Troubleshooting Tip: If your dough is sticking to the mold, try refrigerating both the filled dough ball and the mold for 5 minutes before pressing. This firms everything up a bit and helps with cleaner release.
Storage and Serving Suggestions
These delicate treats need proper storage to maintain their best texture and flavor:
- Arrange the finished mooncakes in a single layer in an airtight container.
- Refrigerate for at least 2 hours before serving – this allows the skin to set properly and develops a slightly chewy texture.
- Snow skin mooncakes are best consumed within 2-3 days but can last up to 5 days when properly refrigerated.
- Always serve chilled for the best taste experience.
Perfect Pairings:
- Chinese oolong tea or jasmine tea complements the sweet custard beautifully
- For a modern twist, I love serving these with a light fruit tea or even a glass of cold milk
- A small plate of fresh seasonal fruits makes for a balanced dessert experience
Common Questions and Expert Answers
Over years of teaching this recipe, I’ve encountered many questions. Here are the most common ones along with my experienced answers:
Q: Why did my snow skin turn out too sticky? A: This usually happens when the dough isn’t cooked long enough during the steaming process. Make sure to steam for the full 15-20 minutes until the dough becomes translucent. Also, be generous with the cooked glutinous rice flour when handling the dough.
Q: Can I make these without mooncake molds? A: Absolutely! While traditional molds create those beautiful patterns, you can simply shape them by hand into smooth balls or use other decorative molds you might have. The taste will be identical, just with a different appearance.
Q: My custard filling is too runny to work with. What went wrong? A: The custard wasn’t cooked long enough or didn’t chill completely. Make sure to cook the custard until it’s very thick and refrigerate for at least 2 hours (overnight is even better). If it’s still too soft, you can add a little more custard powder and cook it longer.
Q: Can I freeze snow skin mooncakes? A: Yes, they freeze quite well! Place them in an airtight container with sheets of parchment paper between layers. They can be frozen for up to one month. Thaw in the refrigerator overnight before serving.
Q: How do I get vibrant colors for my snow skin? A: I recommend using gel food coloring rather than liquid for more concentrated color without affecting texture. For natural alternatives, matcha powder creates a beautiful green, freeze-dried berry powder makes lovely pinks and purples, and butterfly pea flower tea creates stunning blues.
Q: My mooncakes are falling apart after unmolding. Help! A: This usually happens when the skin is too dry or thin. Make sure your dough still contains enough moisture and that you’re making the wrapper thick enough to hold the filling. Working quickly while the dough is still slightly warm also helps with cohesion.
Nutritional Information
Understanding what goes into these delightful treats can help you enjoy them mindfully. Here’s a breakdown of the approximate nutritional content per mooncake (based on a 50g mooncake):
| Nutrient | Amount | % Daily Value* |
|---|---|---|
| Calories | 180-200 | 9-10% |
| Total Fat | 7g | 9% |
| Saturated Fat | 4g | 20% |
| Cholesterol | 85mg | 28% |
| Sodium | 65mg | 3% |
| Total Carbohydrate | 28g | 10% |
| Dietary Fiber | 0.5g | 2% |
| Total Sugars | 15g | – |
| Protein | 3g | 6% |
| Calcium | 40mg | 3% |
| Iron | 0.5mg | 3% |
*Percent Daily Values are based on a 2,000 calorie diet.
Variations to Explore
Once you’ve mastered the basic recipe, there’s a whole world of creative variations to explore:
Alternative Fillings:
- Matcha red bean paste – the slight bitterness of matcha pairs beautifully with sweet red beans
- Chocolate ganache – for a fusion take that children especially love
- Peanut butter and sesame – a nutty variation that’s less sweet but incredibly satisfying
- Mango purée mixed with custard – for a tropical twist
Snow Skin Variations:
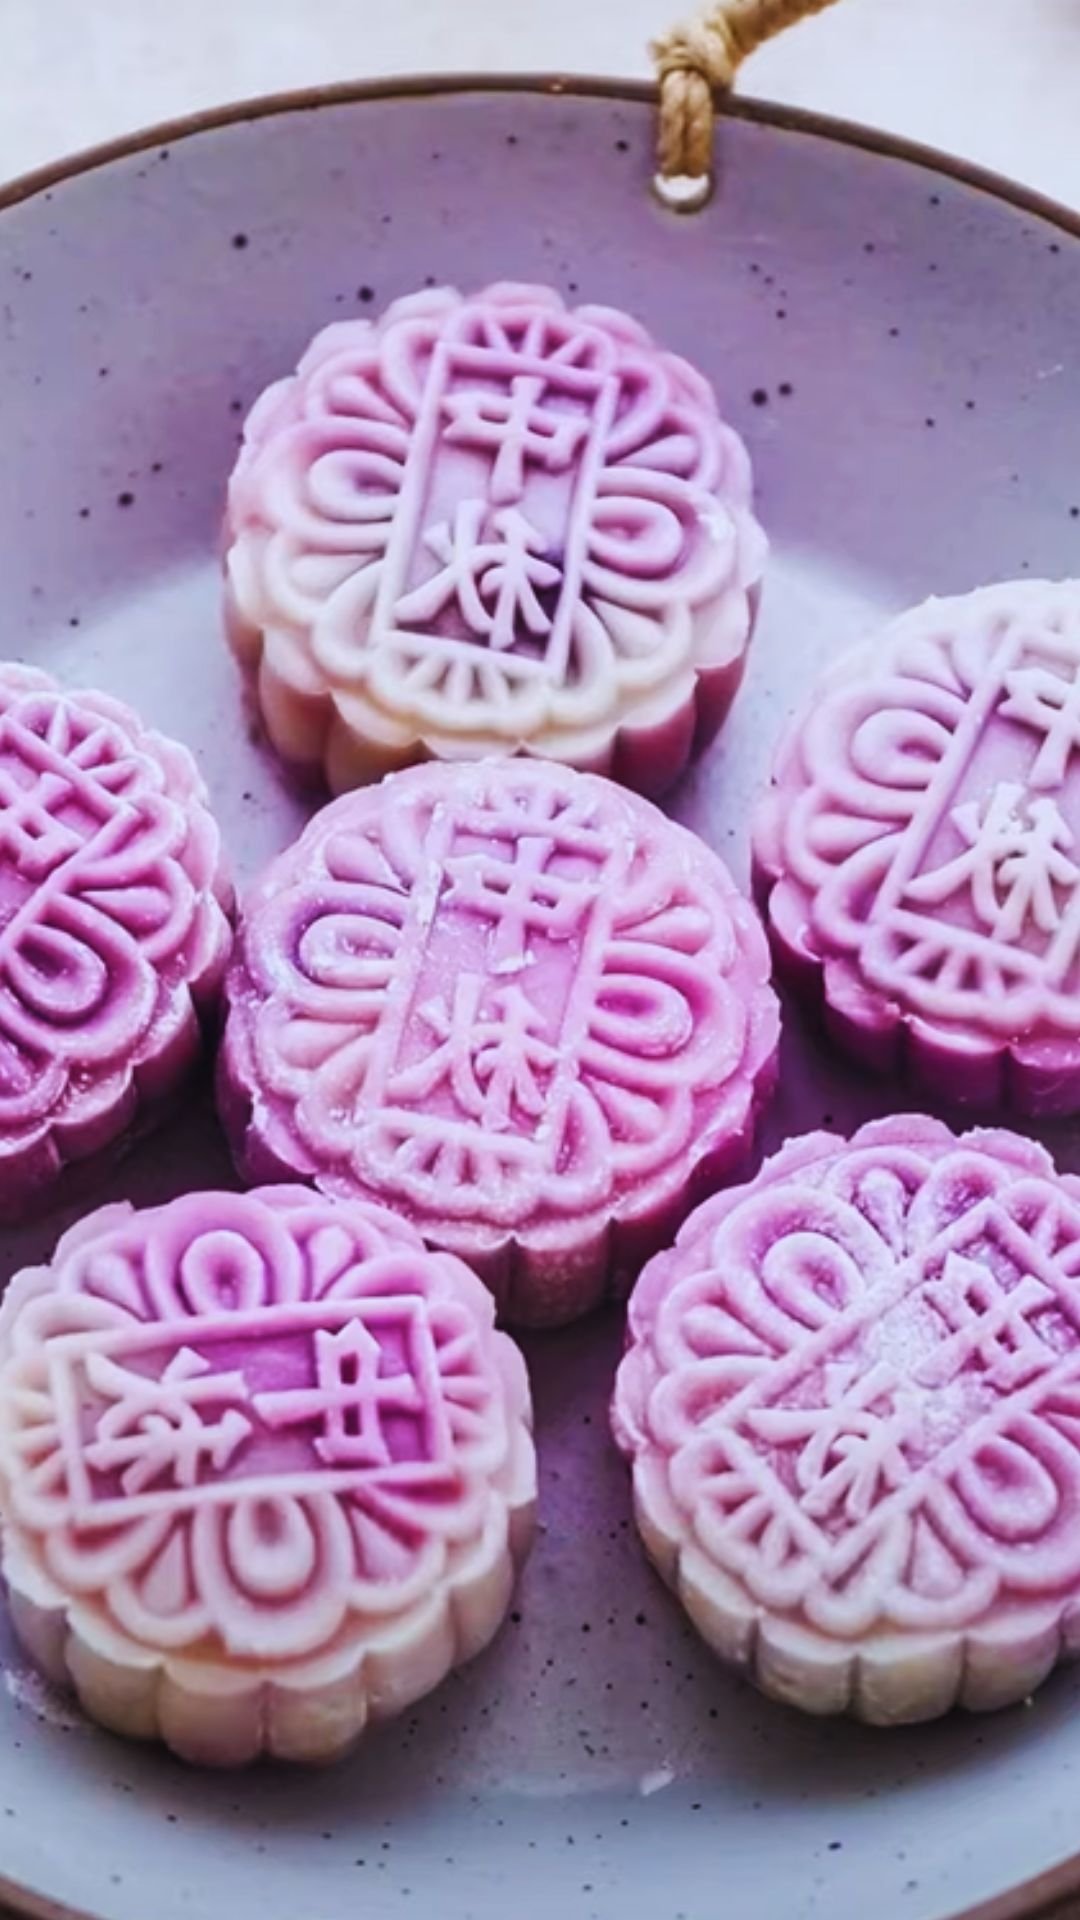
- Add 1 tablespoon of freeze-dried fruit powder to the dough for natural flavor and color
- Replace some of the liquid with pureed taro for a gorgeous purple skin with subtle flavor
- Mix in 1 teaspoon of matcha powder for green tea snow skin
- Add 1 tablespoon of cocoa powder for chocolate snow skin
Video Tutorial Guide
For visual learners, here’s how I break down the video tutorial process when teaching this recipe:
Key Timestamps:
- 0:00-1:30: Introduction and ingredient preparation
- 1:30-3:45: Making the custard filling
- 3:45-6:00: Preparing the snow skin dough
- 6:00-8:30: Steaming and kneading the dough
- 8:30-11:00: Assembly and molding process
- 11:00-12:30: Storage tips and serving suggestions
- 12:30-end: Troubleshooting common issues
What I focus on when watching demonstration videos:
- The consistency of the custard when it’s properly cooked – it should coat the back of a spoon and hold a line when you run your finger through it
- The texture of properly steamed snow skin – it should be translucent with a slight sheen
- The wrapping technique – notice how gentle but firm pressure is applied when encasing the filling
- The unmolding process – observe the careful, even pressure applied when ejecting the mooncake
Cultural Significance
Snow skin mooncakes have a special place in Chinese culture, particularly during the Mid-Autumn Festival. While they’re a modern variation on the traditional baked mooncakes, they’ve quickly become a beloved part of the celebration.
The Mid-Autumn Festival (中秋节, Zhōngqiū Jié) falls on the 15th day of the 8th lunar month, usually in September or early October. It’s a time for family reunions, moon viewing, and of course, sharing mooncakes which symbolize completeness and family unity with their round shape.
Snow skin mooncakes, with their refrigerated freshness, offer a lighter alternative to the rich, dense traditional versions. This makes them particularly popular in southern China and Southeast Asia, where the weather is often still warm during the festival.
I find it fascinating how food traditions evolve over time – these modern mooncakes represent innovation while still honoring the cultural significance of sharing round foods during a time of harvest and thanksgiving.
Final Tips for Mooncake Success
After years of perfecting this recipe, here are my most valuable insights:
- Temperature matters immensely – keep your filling well-chilled and your snow skin warm enough to be pliable
- Don’t rush the process – each step builds on the last for the perfect texture and appearance
- Invest in quality ingredients – particularly the glutinous rice flour and custard powder which significantly impact texture
- Practice makes perfect – don’t be discouraged if your first batch isn’t picture-perfect; focus on taste first and appearance will improve with practice
- Be generous with the cooked glutinous rice flour when handling the dough – it’s the secret to preventing frustrating stickiness
- Allow time for the mooncakes to “mature” in the refrigerator – the texture improves significantly after a few hours of chilling
Whether you’re making these beautiful pastries to celebrate the Mid-Autumn Festival or simply to enjoy a unique sweet treat, I hope this detailed guide helps you create snow skin mooncakes that are as beautiful as they are delicious. With a little patience and practice, you’ll be creating these stunning treats like a pro in no time!
Q&A Section
Q: Is it possible to make these mooncakes gluten-free? A: Yes! You can substitute the wheat starch with cornstarch and ensure your custard powder is gluten-free. The texture might be slightly different, but they’ll still be delicious.
Q: How far in advance can I make snow skin mooncakes for a party? A: I recommend making them no more than 2 days in advance for the best texture and flavor. Keep them refrigerated in an airtight container until serving.
Q: My family doesn’t like custard. What’s the easiest alternative filling to start with? A: Red bean paste is a fantastic alternative that’s readily available in Asian markets. You can also try lotus seed paste for a traditional flavor that’s less sweet than custard.
Q: Do I need to use shortening, or can I substitute butter in the snow skin? A: Butter can be used, but it will change the color of your snow skin (making it more yellow) and add a buttery flavor. Vegetable oil works better than butter if you want a neutral flavor and whiter skin.
Q: How important is the custard powder? Can I make these without it? A: Custard powder adds both flavor and color to the filling. In a pinch, you can substitute with cornstarch plus a drop of vanilla extract and a tiny pinch of turmeric for color, but the flavor won’t be quite the same.
Q: How do I know when the snow skin dough is cooked properly? A: The dough will change from opaque to translucent when properly cooked. It should also feel firm but pliable, similar to a soft playdough consistency.
Q: Can I use regular all-purpose flour instead of glutinous rice flour? A: Unfortunately, no. Glutinous rice flour is essential for creating the characteristic chewy texture of snow skin. All-purpose flour would create a completely different product.