Spring has arrived, and with it comes Easter – a time for renewal, celebration, and delightful treats that capture the essence of the season. I’ve discovered that nothing embodies the fresh, vibrant spirit of Easter quite like mini lemon tarts. These petite masterpieces combine the buttery richness of pastry with the bright, tangy sweetness of lemon curd, creating a dessert that’s both elegant and irresistibly delicious.
My journey with these Easter mini lemon tarts began during a particularly memorable family gathering. I wanted something that would impress my guests while still being manageable to serve at a bustling Easter brunch. These individual portions turned out to be the perfect solution – they’re stunning to look at, easy to handle, and each bite delivers that perfect balance of sweet and tart that makes your taste buds sing.
Understanding the Perfect Lemon Tart
Pastry Shell: The foundation of any great tart, requiring the right balance of butter, flour, and technique to achieve that perfect crisp yet tender texture.
Lemon Curd: A silky, smooth custard made from fresh lemon juice, eggs, butter, and sugar that provides the signature tangy-sweet flavor profile.
Blind Baking: The technique of pre-baking pastry shells before adding filling, ensuring a crisp base that won’t become soggy.
Tempering: The process of gradually warming eggs to prevent curdling when making the lemon curd filling.
Essential Ingredients for Success
Creating the perfect Easter mini lemon tarts requires quality ingredients and attention to detail. I’ve learned through experience that each component plays a crucial role in the final result.
For the Pastry Shells
The foundation of these delightful tarts begins with a classic pâte sucrée – a sweet pastry that’s both sturdy enough to hold the filling and tender enough to complement the smooth lemon curd. I prefer using European-style butter for its higher fat content, which creates a more tender pastry. The key is keeping everything cold during preparation to ensure the butter doesn’t melt prematurely.
For the Lemon Curd Filling
Fresh lemons are absolutely essential – I cannot stress this enough. The difference between fresh lemon juice and bottled is night and day. I typically use Meyer lemons when available, as their slightly sweeter profile creates a more complex flavor, but regular lemons work beautifully too. The eggs should be at room temperature to ensure smooth incorporation, and I always use unsalted butter to control the salt content.

Detailed Recipe and Instructions
Ingredients Table
| Component | Ingredient | Quantity | Notes |
|---|---|---|---|
| Pastry | All-purpose flour | 1½ cups | Sifted for best texture |
| Unsalted butter | ½ cup | Cold, cubed | |
| Powdered sugar | ⅓ cup | Creates tender texture | |
| Egg yolk | 1 large | Binds the dough | |
| Vanilla extract | 1 teaspoon | Enhances flavor | |
| Salt | ¼ teaspoon | Balances sweetness | |
| Lemon Curd | Fresh lemon juice | ½ cup | About 4-5 lemons |
| Lemon zest | 2 tablespoons | For intense citrus flavor | |
| Granulated sugar | ½ cup | Adjust to taste | |
| Large eggs | 3 whole | Room temperature | |
| Unsalted butter | 4 tablespoons | Cut into pieces | |
| Garnish | Heavy cream | ½ cup | For whipped topping |
| Powdered sugar | 2 tablespoons | For sweetening cream | |
| Fresh berries | 1 cup | Blueberries or raspberries | |
| Mint leaves | 12-15 sprigs | For decoration |
Step-by-Step Preparation
Making the Pastry Shells
I start by combining the flour, powdered sugar, and salt in a large bowl. The key to perfect pastry is keeping the butter cold – I cut it into small cubes and work it into the flour mixture using my fingertips or a pastry cutter until the mixture resembles coarse breadcrumbs with some pea-sized butter pieces remaining.
Creating a well in the center, I add the egg yolk and vanilla extract. Using a fork, I gradually incorporate the wet ingredients into the flour mixture. The dough should come together without being overworked – this is crucial for maintaining tenderness.
Once the dough forms, I wrap it in plastic wrap and refrigerate for at least 30 minutes. This chilling period allows the gluten to relax and the butter to firm up, making the dough easier to roll and preventing shrinkage during baking.
Rolling and Shaping
After chilling, I roll the dough on a lightly floured surface to about ⅛-inch thickness. For mini tart shells, I use a 3-inch round cutter to cut circles, then gently press each circle into individual tart molds. The dough should come up the sides without stretching or tearing.
I’ve learned that trimming excess dough and crimping the edges not only looks professional but also helps prevent shrinkage. Each shell gets pricked with a fork to prevent puffing during blind baking.
Blind Baking Process
Preheating the oven to 375°F, I line each pastry shell with parchment paper and fill with pie weights or dried beans. This prevents the pastry from puffing up and ensures an even, flat base for the filling.
The shells bake for 12-15 minutes until the edges are lightly golden. I then remove the weights and parchment, and continue baking for another 5-7 minutes until the bottom is set and lightly colored.
Creating the Perfect Lemon Curd
The lemon curd is where these tarts truly shine. I begin by whisking the eggs and sugar in a heavy-bottomed saucepan until well combined. The fresh lemon juice and zest are added next – the zest provides oils that intensify the lemon flavor beyond what juice alone can achieve.
Cooking over medium-low heat, I stir constantly with a whisk or wooden spoon. The mixture gradually thickens as the eggs cook gently. I know it’s ready when it coats the back of a spoon and holds a line when I draw my finger across it.
Removing the curd from heat, I immediately strain it through a fine-mesh sieve to remove any lumps and the zest pieces. While still warm, I whisk in the butter pieces one at a time until smooth and glossy. This creates that luxurious, silky texture that makes these tarts so special.
Assembly and Finishing
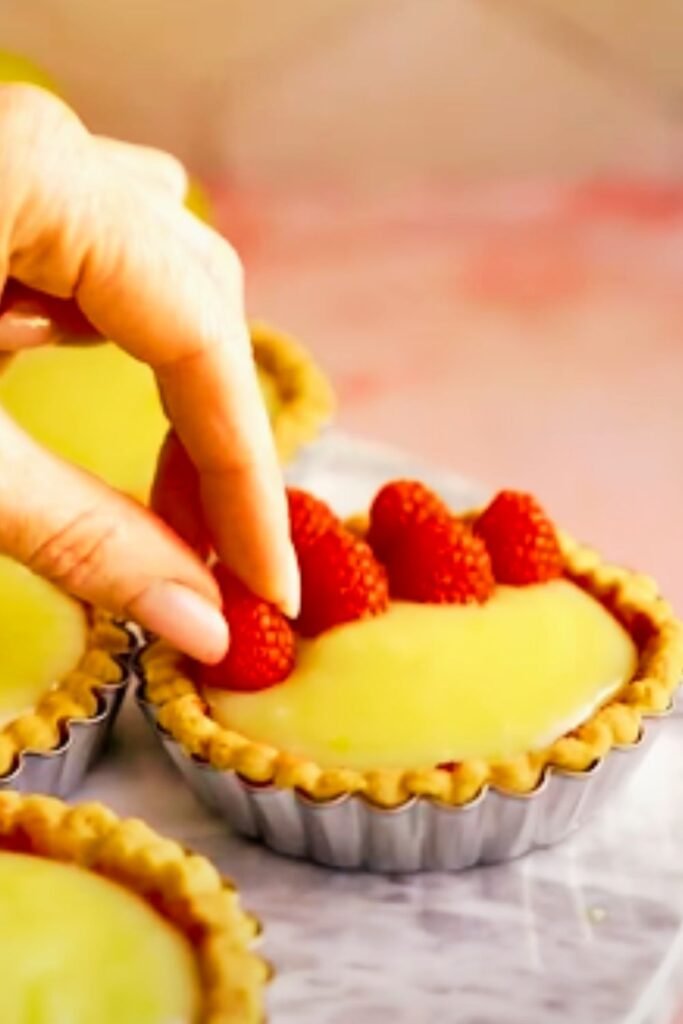
Once both components have cooled completely, assembly is straightforward but requires attention to detail. I spoon the lemon curd into each pastry shell, filling them nearly to the top. The surface should be smooth – I sometimes gently tap the filled shells to release any air bubbles.
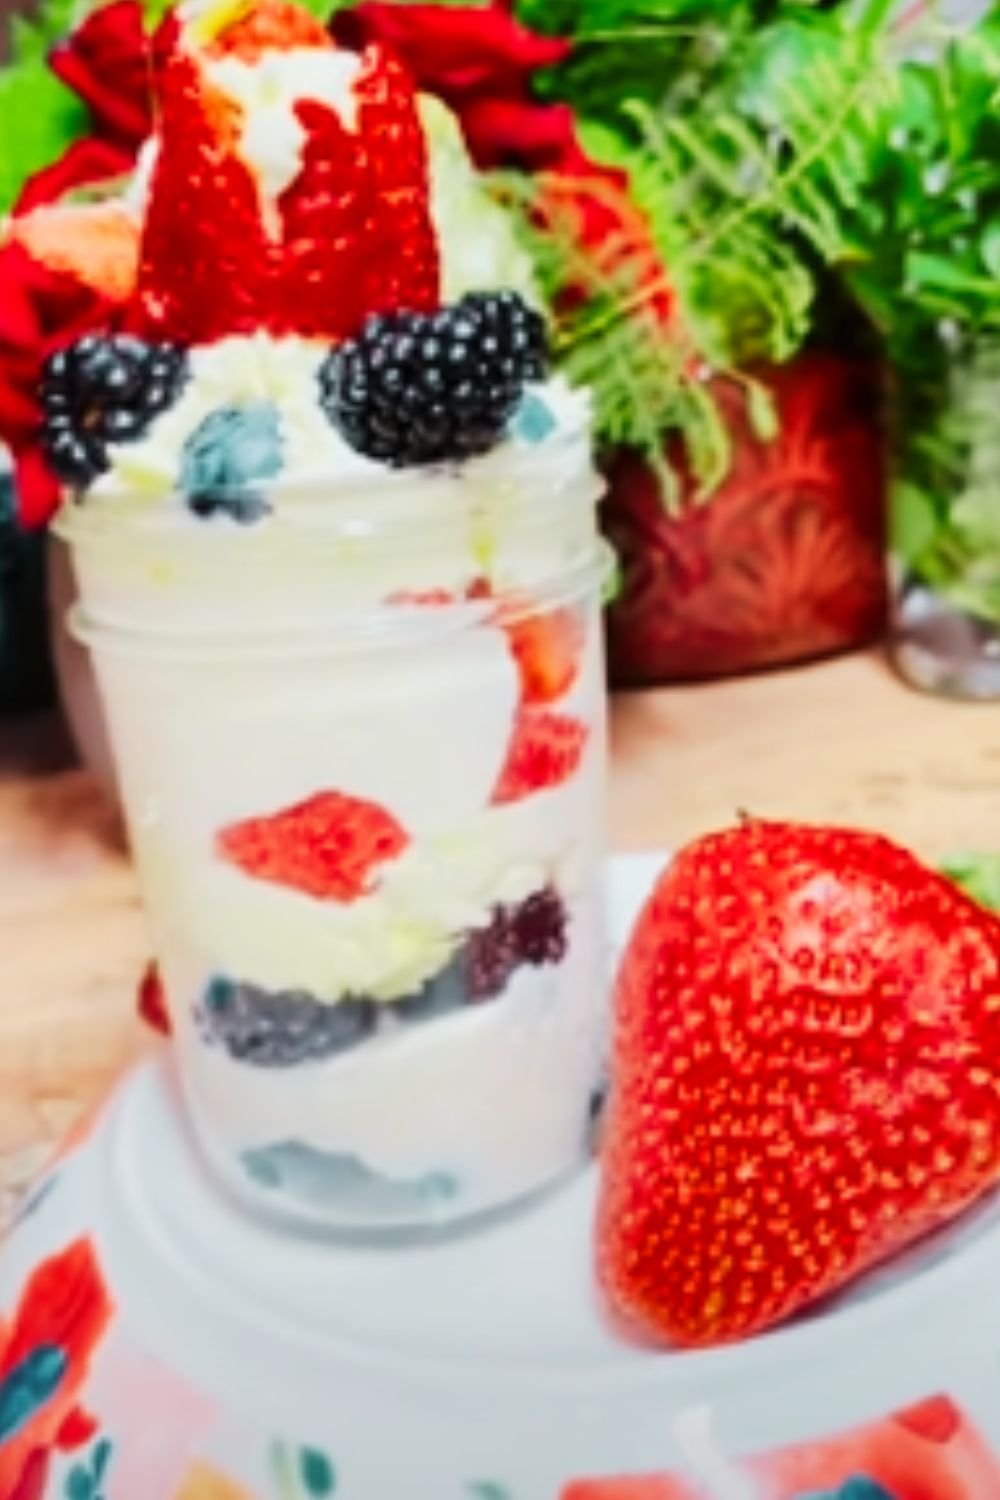
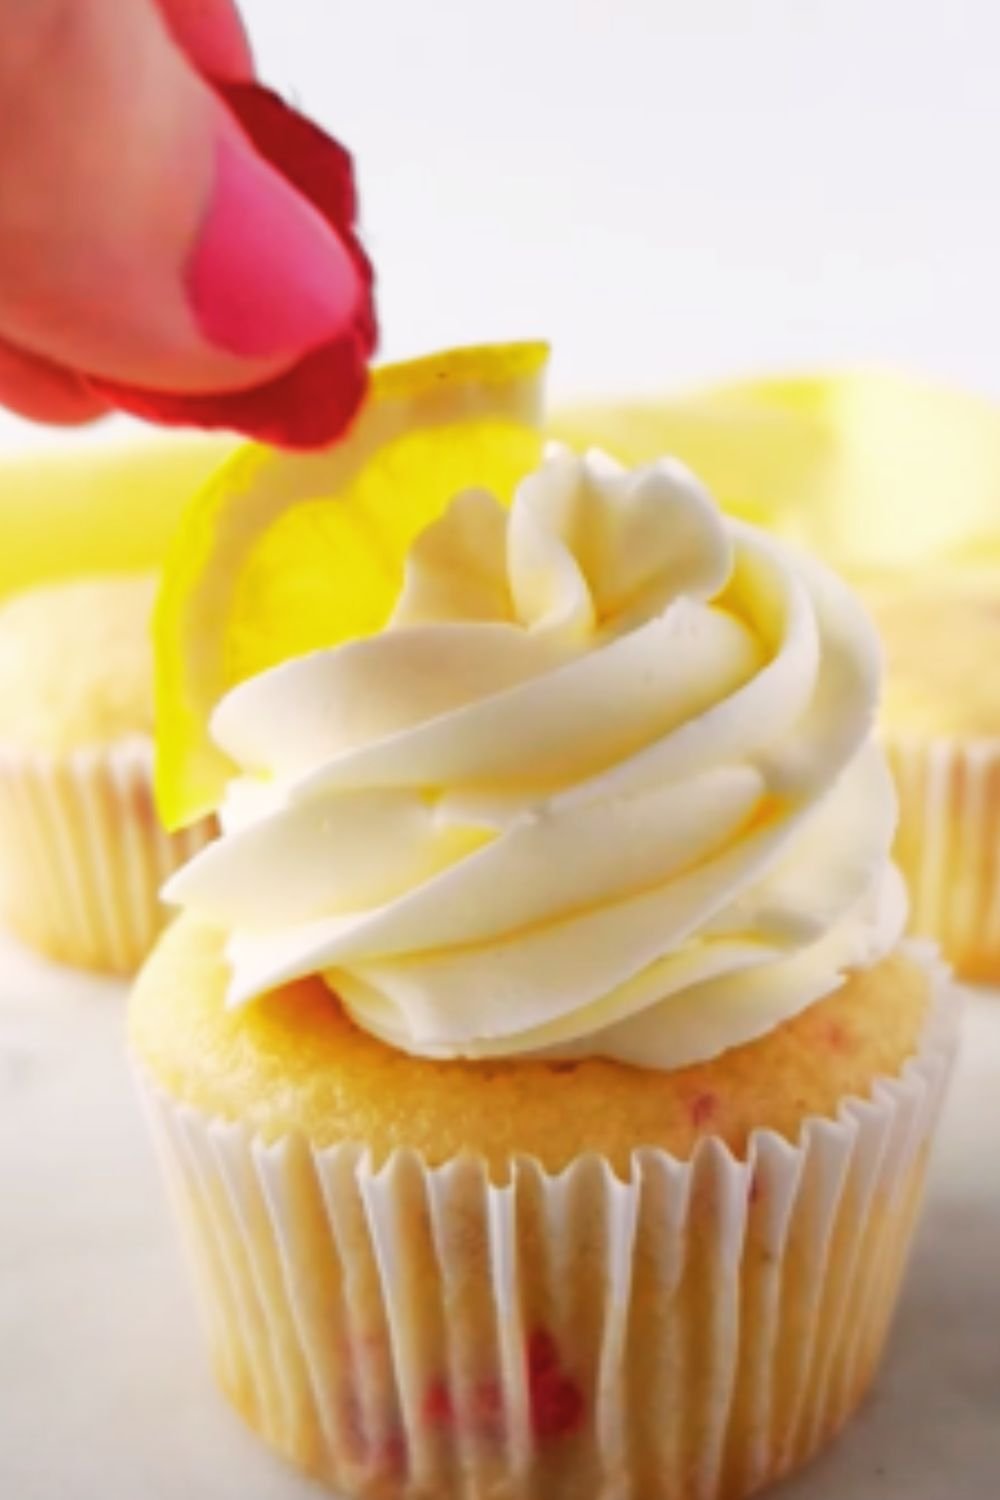
For the final touch, I whip the heavy cream with powdered sugar until soft peaks form. A dollop of this cream on each tart adds richness and visual appeal. Fresh berries and mint sprigs complete the Easter presentation.
Nutritional Information and Serving Details
Nutritional Breakdown (Per Tart)
| Nutrient | Amount | % Daily Value |
|---|---|---|
| Calories | 285 | 14% |
| Total Fat | 16g | 21% |
| Saturated Fat | 10g | 50% |
| Cholesterol | 95mg | 32% |
| Sodium | 85mg | 4% |
| Total Carbs | 34g | 12% |
| Dietary Fiber | 1g | 4% |
| Sugars | 22g | – |
| Protein | 4g | 8% |
| Vitamin C | 15mg | 17% |
Serving Suggestions and Occasions
These Easter mini lemon tarts are incredibly versatile and work beautifully in various settings. For Easter brunch, I arrange them on a tiered serving stand alongside fresh fruit and light pastries. The individual portions make them perfect for buffet-style serving, as guests can easily take one without needing plates and forks.
At more formal Easter dinners, I serve them as an elegant finale to the meal. The bright, citrusy flavors provide a refreshing contrast to rich holiday dishes like glazed ham or roasted lamb. I often pair them with a selection of herbal teas – chamomile and mint complement the lemon beautifully.
For outdoor Easter egg hunts and garden parties, these tarts are ideal because they’re easy to handle and won’t melt or become messy in warmer weather. I sometimes pack them in individual cupcake liners for even easier serving.
Storage and Make-Ahead Tips
Storage Guidelines
| Storage Method | Duration | Quality Notes |
|---|---|---|
| Room Temperature | 4-6 hours | Best texture and flavor |
| Refrigerated (covered) | 3 days | Pastry may soften slightly |
| Frozen (shells only) | 1 month | Thaw before filling |
| Frozen (complete) | Not recommended | Texture degrades |
One of the advantages of these mini lemon tarts is their make-ahead potential. I often prepare the pastry shells up to two days in advance, storing them in an airtight container at room temperature. The lemon curd can be made up to three days ahead and kept refrigerated with plastic wrap pressed directly onto the surface to prevent a skin from forming.
For best results, I assemble the tarts on the day of serving, but no more than 4-6 hours ahead. This prevents the pastry from becoming soggy while maintaining the fresh, bright flavor of the lemon curd.
Troubleshooting Common Issues
Through my experience making these tarts, I’ve encountered and solved several common problems that home bakers often face.
Pastry Problems and Solutions
Shrinking pastry shells: This usually occurs when the dough is overworked or not chilled adequately. I always ensure the dough rests in the refrigerator and avoid stretching it when placing in the molds.
Soggy bottoms: Proper blind baking is crucial. I make sure the pastry is fully cooked before adding the filling, and I never add warm lemon curd to the shells.
Cracking pastry: This often happens when the oven temperature is too high or the pastry is overbaked. I keep a close eye on the shells during the final minutes of baking.
Lemon Curd Challenges
Curdled curd: This occurs when the eggs cook too quickly. I always use medium-low heat and stir constantly. If curdling does occur, I immediately strain the mixture and whisk vigorously – sometimes it can be saved.
Too thin consistency: The curd should coat the back of a spoon. If it’s too thin, I return it to low heat and cook a bit longer, stirring constantly.
Grainy texture: This usually means the eggs cooked too quickly or the mixture wasn’t strained. I always strain the finished curd through a fine-mesh sieve.
Seasonal Variations and Adaptations
While these Easter mini lemon tarts are perfect as written, I love experimenting with seasonal variations throughout the year.
Spring and Easter Adaptations
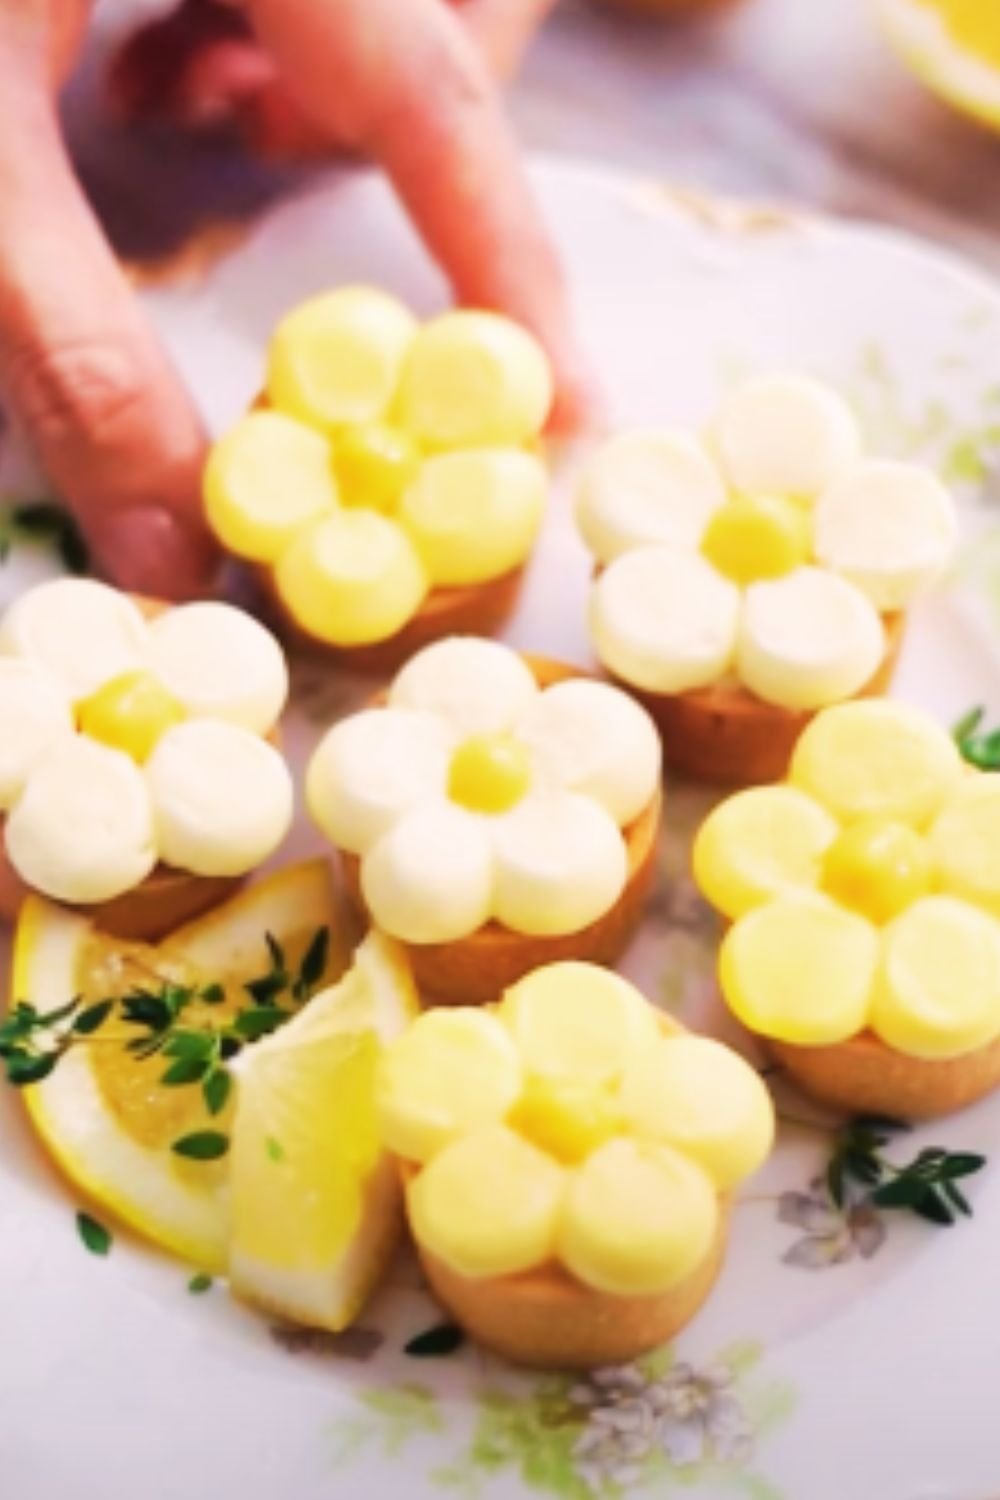
For Easter specifically, I sometimes add a drop of natural yellow food coloring to intensify the sunny appearance. Decorating with sugar eggs, edible flowers like pansies or violets, or even small chocolate rabbits makes them especially festive.
Flavor Variations
Lime Tarts: Substituting fresh lime juice and zest creates a more tropical flavor that’s perfect for warmer climates.
Orange Tarts: Using fresh orange juice and zest makes a sweeter, mellower version that’s popular with children.
Mixed Citrus: Combining lemon, lime, and orange creates a complex, layered citrus flavor.
Professional Tips for Perfect Results
My years of making these tarts have taught me several professional techniques that ensure consistent, bakery-quality results.
Temperature Control
Everything about successful tart making revolves around temperature control. Cold ingredients for pastry, room temperature eggs for curd, and proper oven temperatures all contribute to the final success.
Quality Ingredients Matter
I cannot overemphasize the importance of using fresh, high-quality ingredients. Fresh lemons, European butter, and free-range eggs make a noticeable difference in both flavor and texture.
Timing and Organization
I always prepare my mise en place – having all ingredients measured and tools ready before starting. This is especially important for the lemon curd, which requires constant attention once you begin cooking.
Questions and Answers
Q. Can I make these tarts gluten-free? Yes, you can substitute the all-purpose flour with a good-quality gluten-free flour blend. I recommend adding an extra tablespoon of butter to compensate for any texture differences, and be gentle when handling the dough as gluten-free pastry can be more delicate.
Q. How do I know when the lemon curd is thick enough? The curd is ready when it coats the back of a spoon and holds a clear line when you draw your finger across it. It should have a consistency similar to thick pudding. Remember that it will continue to thicken slightly as it cools.
Q. Can I use bottled lemon juice instead of fresh? While fresh lemon juice is definitely preferable for the best flavor, you can use bottled in a pinch. However, you’ll need to add extra lemon zest to compensate for the loss of bright, fresh citrus oils that fresh lemons provide.
Q. What’s the best way to prevent the pastry from shrinking? The key to preventing shrinkage is proper chilling and gentle handling. Make sure your dough is well-chilled before rolling, don’t stretch it when placing in the molds, and allow the shaped shells to rest in the refrigerator for 15-20 minutes before blind baking.
Q. How far in advance can I make these tarts? The pastry shells can be made up to 2 days ahead and stored at room temperature. The lemon curd can be prepared up to 3 days in advance and refrigerated. For best results, assemble the tarts on the day of serving, but no more than 6 hours ahead.
Q. Why did my lemon curd turn out grainy? A grainy texture usually indicates that the eggs cooked too quickly or at too high a temperature. Always cook over medium-low heat and stir constantly. Straining the finished curd through a fine-mesh sieve will help eliminate any graininess.
Q. Can I freeze these tarts? I don’t recommend freezing the completed tarts as the texture of both the pastry and curd suffer. However, you can freeze the unbaked pastry shells for up to a month. Thaw them completely before blind baking.
Q. What other fruits work well with this pastry base? This pastry shell pairs beautifully with many fruit curds and fillings. Try passion fruit curd, key lime filling, or even a rich chocolate ganache. Berry compotes also work wonderfully for a different flavor profile.
Q. How do I prevent the whipped cream from deflating? Make sure your cream is well-chilled before whipping, and don’t overbeat it. Stop at soft peaks for the best stability. Adding a small amount of powdered sugar helps stabilize the cream as well.
Q. Can I make larger tarts instead of mini ones? Absolutely! This recipe works beautifully for a single 9-inch tart or 6 individual 4-inch tarts. Adjust the baking time accordingly – larger tarts will need a few extra minutes for proper blind baking.
These Easter mini lemon tarts have become one of my signature desserts, and I hope they bring as much joy to your table as they do to mine. The combination of buttery pastry, silky lemon curd, and fresh garnishes creates a dessert that’s both visually stunning and absolutely delicious. Whether you’re hosting an elegant Easter brunch or simply want to celebrate the arrival of spring, these little gems are sure to impress your guests and create lasting memories around your table.