Have you ever craved the rich, creamy delight of a cheesecake but felt intimidated by complicated recipes? I’ve been there too. After years of experimenting in my kitchen and countless taste tests (tough job, I know!), I’ve perfected what I call the “Cheesecake Fácil” – a foolproof approach to creating this beloved dessert without the fuss.
The Magic of Simplicity
When I first started baking cheesecakes, I was overwhelmed by recipes requiring water baths, specific temperatures, and intricate techniques. Many of my early attempts ended with cracked surfaces or soggy crusts. But through trial and error, I discovered that creating an exceptional cheesecake doesn’t need to be complicated.
The beauty of Cheesecake Fácil lies in its simplicity – quality ingredients combined with straightforward techniques. Whether you’re a novice baker or seasoned dessert enthusiast, this approach will help you create a cheesecake that rivals those from high-end bakeries.
Essential Ingredients for Success
The foundation of any great cheesecake begins with its ingredients. Here’s what you’ll need for a classic Cheesecake Fácil:
For the Crust:
- 2 cups graham cracker crumbs (about 15-16 full sheets)
- 1/4 cup granulated sugar
- 1/2 cup unsalted butter, melted
- Pinch of salt
For the Filling:
- 32 oz (4 packages) cream cheese, at room temperature
- 1 cup granulated sugar
- 1 tablespoon vanilla extract
- 4 large eggs, at room temperature
- 2/3 cup sour cream
- 2/3 cup heavy cream
The Room Temperature Rule
If there’s one tip I cannot emphasize enough, it’s this: room temperature ingredients are non-negotiable. I’ve learned this lesson the hard way, ending up with lumpy batters and uneven textures when rushing the process.
Why does temperature matter so much? When cream cheese is cold, it doesn’t blend smoothly, leaving lumps in your batter. Room temperature eggs incorporate air into the mixture, creating that light, creamy texture we all crave. I typically set my ingredients out at least 2 hours before I plan to start baking.
Perfect Crust Techniques
The crust is the foundation of your cheesecake, both literally and figuratively. I’ve found the following approach creates the perfect balance of flavor and structure:
- Precision matters: Measure your graham cracker crumbs after crushing, not before.
- Proper packing: Use the flat bottom of a measuring cup to press the mixture firmly and evenly into your springform pan.
- Edge perfection: Pay special attention to the edges and corners where the bottom meets the sides.
- Pre-baking advantage: A quick 10-minute pre-bake at 350°F (175°C) creates a sturdier foundation that resists sogginess.
I always wrap the outside of my springform pan with aluminum foil, even when not using a water bath. This catches any potential butter drips and prevents smoke in the oven.
The Mixing Method That Never Fails
After numerous experiments, I’ve settled on this foolproof mixing technique:
- Beat the cream cheese alone first until completely smooth (about 3 minutes on medium speed).
- Add sugar gradually and continue beating until incorporated (about 2 minutes).
- Mix in vanilla extract.
- Add eggs one at a time, mixing on low speed just until each is incorporated.
- Gently fold in sour cream and heavy cream by hand using a silicone spatula.
My Secret Tip: After each addition, scrape down the sides and bottom of the bowl thoroughly. This step may seem tedious, but it prevents unmixed pockets of cream cheese that can create lumps in your finished cheesecake.
Baking Wisdom: Temperature Control
The baking process is where many cheesecakes are won or lost. Through countless trials, I’ve found this temperature method yields perfect results:
- Preheat oven to 350°F (175°C).
- Bake at this temperature for just 10 minutes.
- Without opening the oven door, reduce temperature to 300°F (150°C).
- Continue baking for approximately 1 hour and 10 minutes.
How do you know when it’s done? The outer 2-3 inches should appear set and slightly puffed, while the center should still jiggle slightly when gently shaken. It will continue firming up during cooling.
The Patience Game: Cooling Process
This might be the hardest part: waiting. But proper cooling is essential for perfect texture. My method:
- Turn off the oven and crack the door open about 1 inch.
- Let the cheesecake cool in the oven for 1 hour.
- Remove from oven and cool completely at room temperature (about 2 more hours).
- Refrigerate for at least 6 hours, preferably overnight.
I’ve learned that rushing this process invariably leads to disappointment. The overnight chill not only firms up the texture but also develops the flavors.
Preventing the Dreaded Crack
Cracked cheesecakes taste fine but lack that professional appearance. Here’s how I prevent cracks:
- Overmixing prevention: Once the eggs are added, mix on low speed only until just combined.
- No sudden temperature changes: Avoid opening the oven during baking.
- Proper cooling: The gradual cooling process described above prevents the shock that causes cracking.
- Release the edges: After cooling for about 10 minutes, run a thin knife around the edge of the pan to release the cake from the sides.
Flavor Variations to Explore
While the classic vanilla cheesecake is divine, I love experimenting with variations. Here are some of my favorite adaptations:
Classic Variations
| Variation | Additional Ingredients | Special Instructions |
|---|---|---|
| Lemon | Zest of 2 lemons + 2 tbsp lemon juice | Add with vanilla extract |
| Chocolate | 8 oz melted semisweet chocolate | Cool slightly before adding to batter |
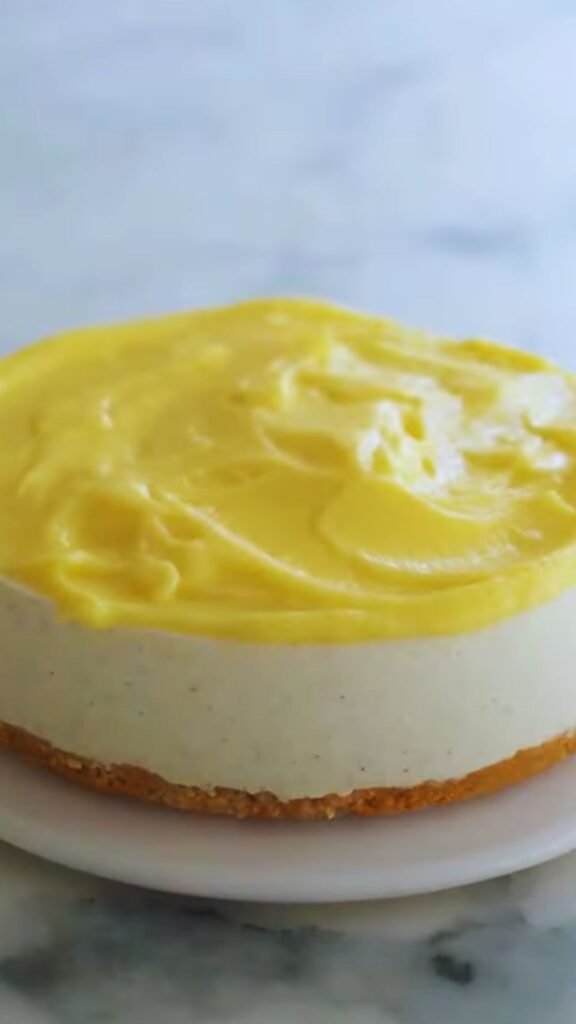
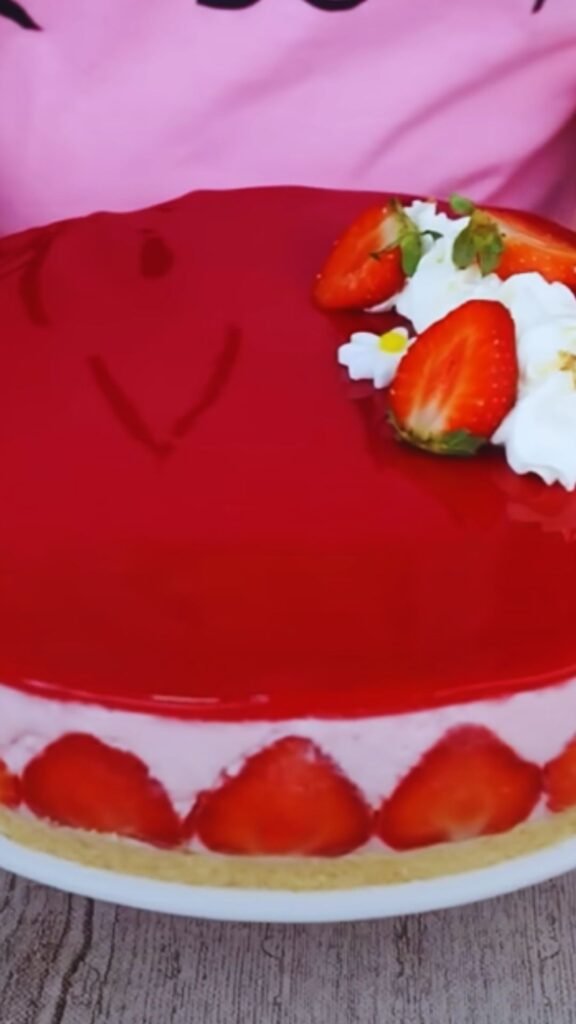
| Strawberry | 1½ cups strawberry puree (strained) | Reduce heavy cream to ¼ cup |
| Coffee | 2 tbsp instant espresso powder dissolved in 1 tbsp hot water | Add with vanilla extract |
| Caramel | ½ cup caramel sauce swirled into batter | Pour half batter, add caramel, top with remaining batter, swirl |
Crust Alternatives
| Type | Ingredients | Best Paired With |
|---|---|---|
| Oreo | 24 Oreo cookies, finely crushed | Chocolate or mint variations |
| Gingersnap | 2 cups gingersnap cookie crumbs + ¼ cup sugar + ½ cup butter | Pumpkin or caramel variations |
| Shortbread | 2 cups shortbread cookie crumbs + ¼ cup sugar + ½ cup butter | Fruit-flavored variations |
| Nut-Based | 1½ cups ground nuts + ½ cup graham crumbs + ¼ cup sugar + ½ cup butter | Any variety (great for gluten-free) |
Topping Your Masterpiece
A beautiful topping can elevate your cheesecake from homemade to bakery-worthy. Here are my go-to options:
Fresh Fruit Arrangements
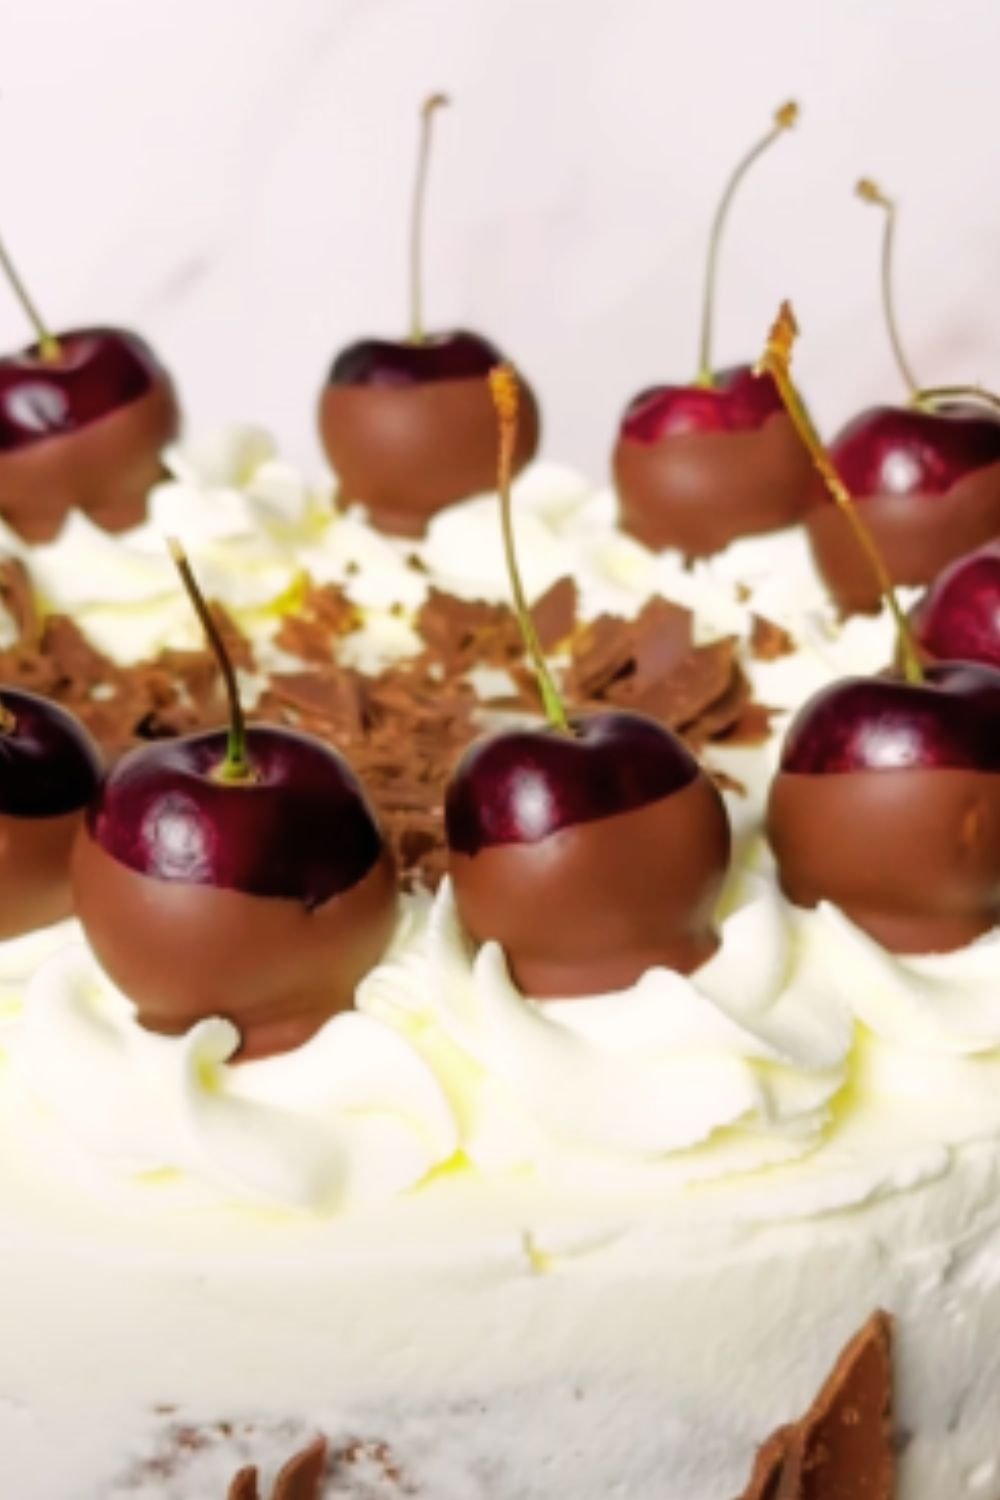
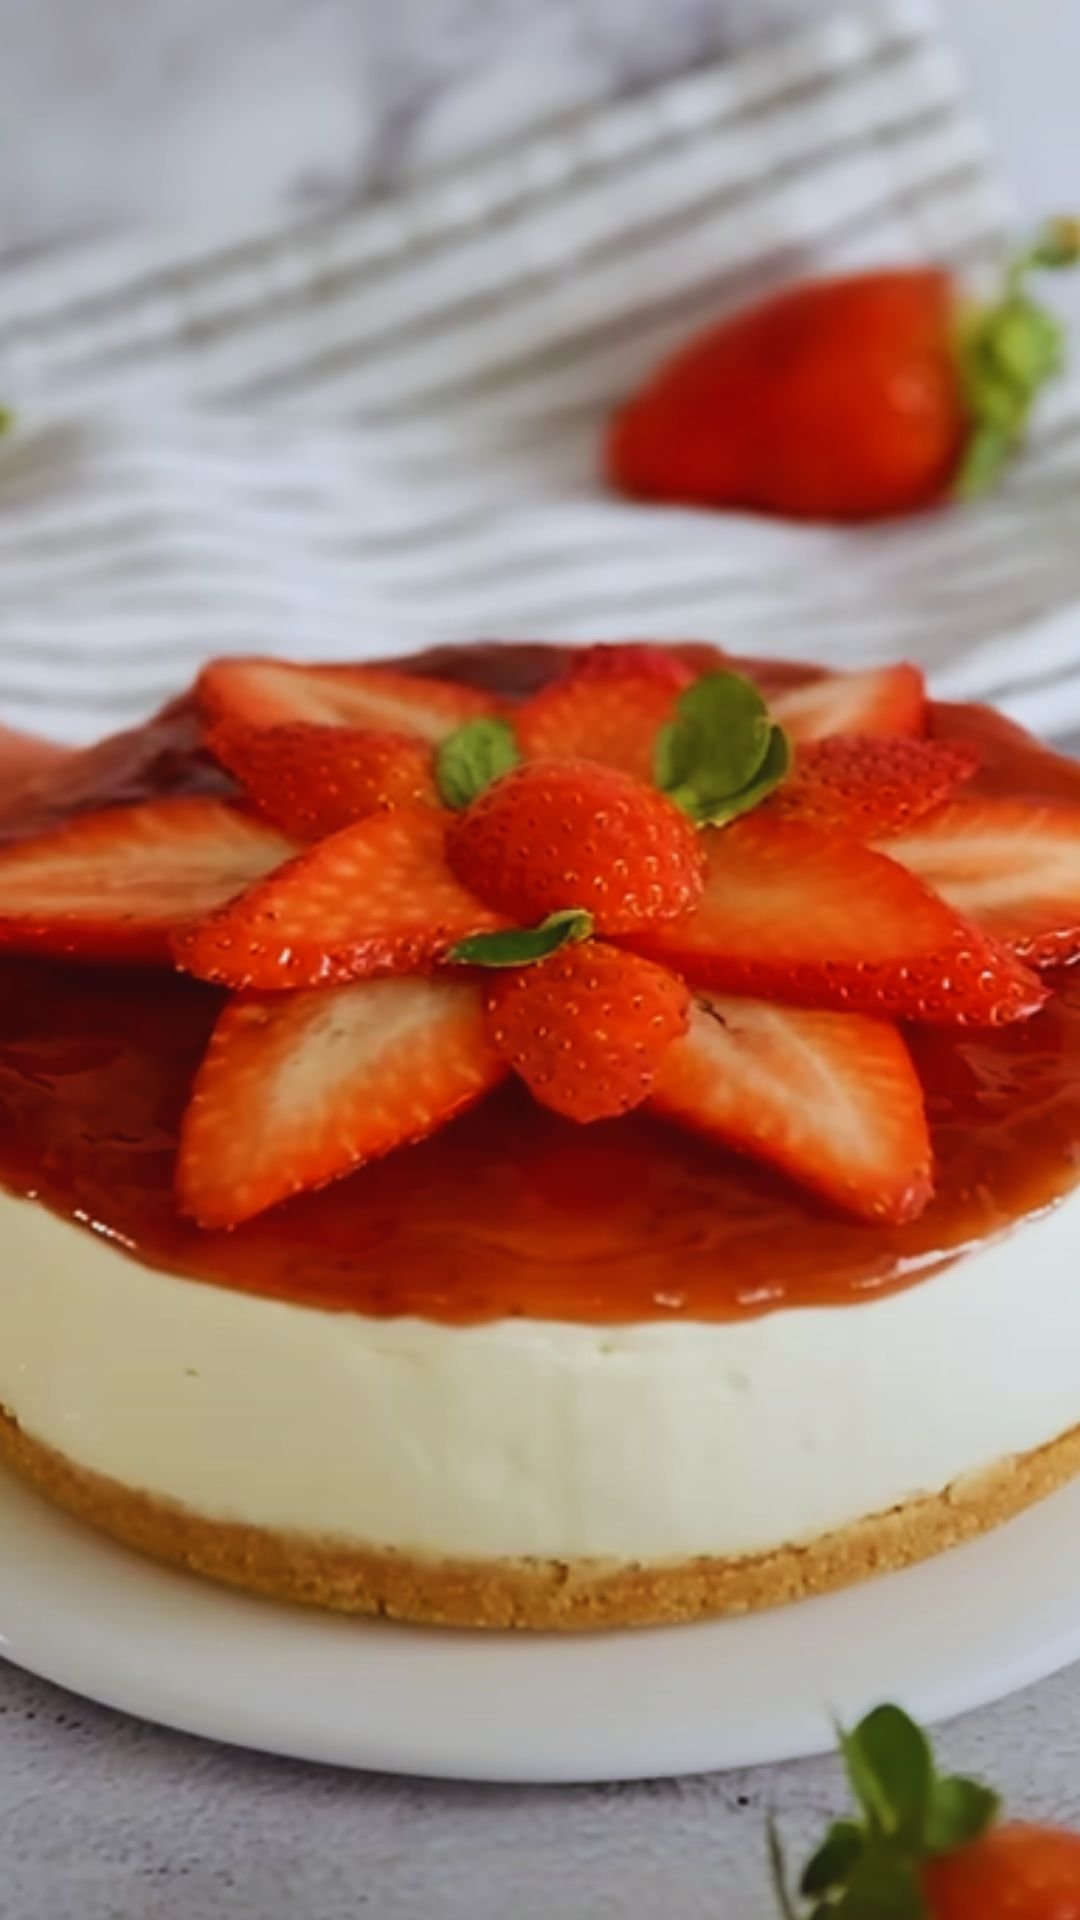
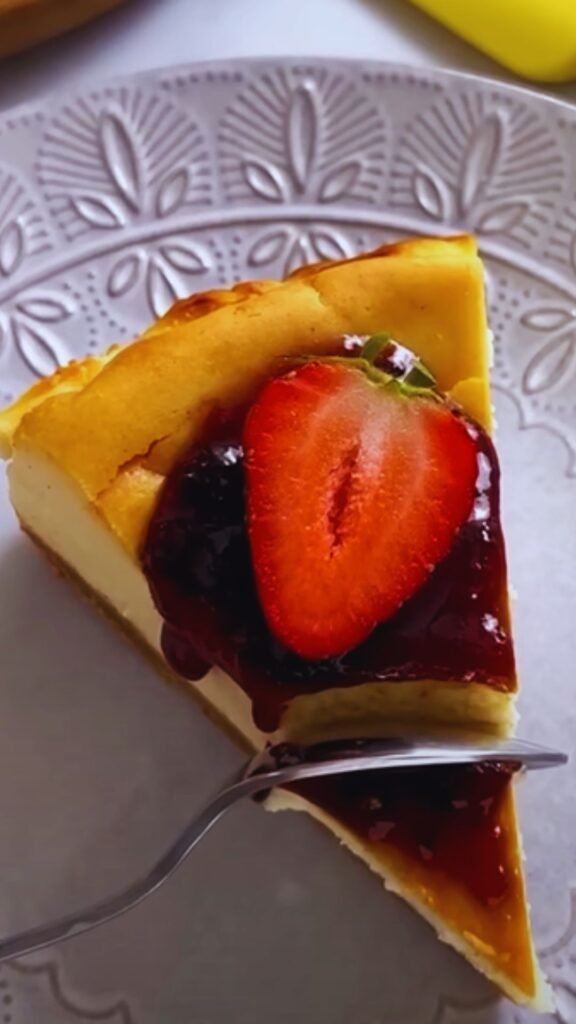
Nothing beats the visual appeal and fresh flavor contrast of seasonal fruits. I typically arrange sliced strawberries, blueberries, raspberries, or kiwi in concentric circles starting from the outer edge.
Sauce Drizzles
These add both flavor and visual appeal:
- Fresh berry sauce (2 cups berries + ¼ cup sugar + 1 tbsp lemon juice, simmered and strained)
- Chocolate ganache (equal parts heated heavy cream and chocolate chips)
- Caramel sauce (homemade or quality store-bought)
Whipped Cream
For the perfect pipe-able whipped cream that holds its shape:
- 1 cup heavy cream
- 2 tablespoons confectioners’ sugar
- 1 teaspoon vanilla extract
- Whip until stiff peaks form
No-Bake Cheesecake Fácil
Sometimes you want cheesecake without turning on the oven, especially during hot summer months. My no-bake version delivers that creamy texture without the heat:
Ingredients:
- 2 cups graham cracker crumbs
- ½ cup melted butter
- ¼ cup sugar
- 16 oz cream cheese, softened
- 1 cup powdered sugar
- 1 teaspoon vanilla extract
- 2 cups heavy cream, whipped to stiff peaks
Method:
- Mix graham cracker crumbs, melted butter, and sugar; press into a 9-inch springform pan.
- Beat cream cheese until smooth, then add powdered sugar and vanilla.
- Fold in whipped cream gently until completely incorporated.
- Pour into prepared crust and smooth the top.
- Refrigerate for at least 6 hours, preferably overnight.
Setting Secret: For a no-bake version that truly holds its shape, I add 1 envelope (2¼ teaspoons) of unflavored gelatin bloomed in 2 tablespoons of cold water and then dissolved with 1 tablespoon of hot water before mixing it into the cream cheese.
Troubleshooting Common Issues
Even with the best recipes, challenges can arise. Here’s how I address common cheesecake problems:
Texture Problems
| Issue | Possible Cause | Solution |
|---|---|---|
| Lumpy batter | Cold ingredients or inadequate mixing | Ensure everything is at room temperature; beat cream cheese longer before adding other ingredients |
| Too dense | Overmixing after adding eggs | Mix on low speed and only until just combined after adding eggs |
| Too soft/runny | Underbaking or improper cooling | Bake until edges are set but center still jiggles slightly; cool completely before refrigerating |
| Grainy texture | Sugar not fully dissolved | Beat cream cheese and sugar longer before adding other ingredients |
Structural Issues
| Issue | Possible Cause | Solution |
|---|---|---|
| Cracked top | Overbaking or sudden temperature changes | Lower baking temperature; avoid opening oven; cool gradually |
| Sunken center | Opening oven door during baking | Resist checking until minimum bake time has passed |
| Soggy crust | Not pre-baking crust | Pre-bake crust for 10 minutes before adding filling |
| Collapsed sides | Not running knife around edges after baking | Run a thin knife around the edge after 10 minutes of cooling |
Make-Ahead and Storage Tips
One of the things I love most about cheesecake is how well it keeps. Here’s my guide to preparation timing and storage:
Timing Options
| When to Make | Storage Method | Maximum Quality Duration |
|---|---|---|
| 1-2 days ahead | Refrigerate whole in springform pan, covered | Best quality, ideal for special occasions |
| 3-5 days ahead | Refrigerate whole, removed from pan, covered tightly | Very good quality, convenient for planning |
| 1-2 months ahead | Freeze whole or in slices, double-wrapped | Excellent for long-term planning |
Freezing Method
For perfect frozen cheesecake that tastes freshly made:
- Cool cheesecake completely.
- Remove from springform pan and place on cardboard round.
- Freeze uncovered until firm (about 2 hours).
- Wrap tightly in plastic wrap, then in aluminum foil.
- To thaw: Transfer to refrigerator 24 hours before serving.
Pro tip: I like to slice my cheesecake before freezing, then wrap individual pieces. This allows me to thaw just what I need.
Serving Suggestions
The way you present your cheesecake can transform it from a simple dessert to an elegant finale for any meal. Here are my favorite serving ideas:
- Individual portions: Pre-slice and serve on small dessert plates with a drizzle of sauce artfully applied to both the cheesecake and the plate.
- Accompaniments: Offer small bowls of different toppings like fresh berries, toasted nuts, or chocolate shavings to let guests customize their slice.
- Temperature: Remove from the refrigerator 20-30 minutes before serving. The slightly warmer temperature enhances the creamy texture and flavor nuances.
- Beverage pairings: Serve with coffee, espresso, or hot tea. For special occasions, a glass of dessert wine like Moscato d’Asti complements beautifully.
- Garnish finesse: A light dusting of powdered sugar, a small mint leaf, or a single perfect berry can add that professional touch.
Cheesecake Fácil for Special Diets
Over the years, I’ve adapted my basic recipe to accommodate various dietary needs without sacrificing flavor:
Gluten-Free Version
- Replace graham crackers with gluten-free cookies or a mixture of almond flour (1½ cups) and melted butter (6 tablespoons).
- Ensure all other ingredients are certified gluten-free.
Lower-Sugar Option
- Reduce sugar in the crust to 2 tablespoons.
- Replace sugar in filling with ⅔ cup of a granulated monk fruit/erythritol blend.
- Use no-sugar-added toppings like fresh berries.
Lighter Version
- Use reduced-fat cream cheese (not fat-free).
- Replace sour cream with Greek yogurt.
- Reduce butter in crust to ⅓ cup and sugar to 3 tablespoons.
Dairy-Free Alternative
- Use dairy-free cream cheese substitute.
- Replace sour cream and heavy cream with coconut cream.
- Use coconut oil instead of butter in the crust.
While these adaptations won’t produce exactly the same result as the original, they create delicious alternatives for those with dietary restrictions.
Frequently Asked Questions
Over the years, I’ve received countless questions about cheesecake making. Here are the most common ones:
Q: Why did my cheesecake crack even though I followed all the instructions? Sometimes even with perfect technique, cracks happen. The most common culprits are overbaking or drafts during cooling. If you get a crack, don’t despair! Top it with fruit, whipped cream, or ganache and no one will know.
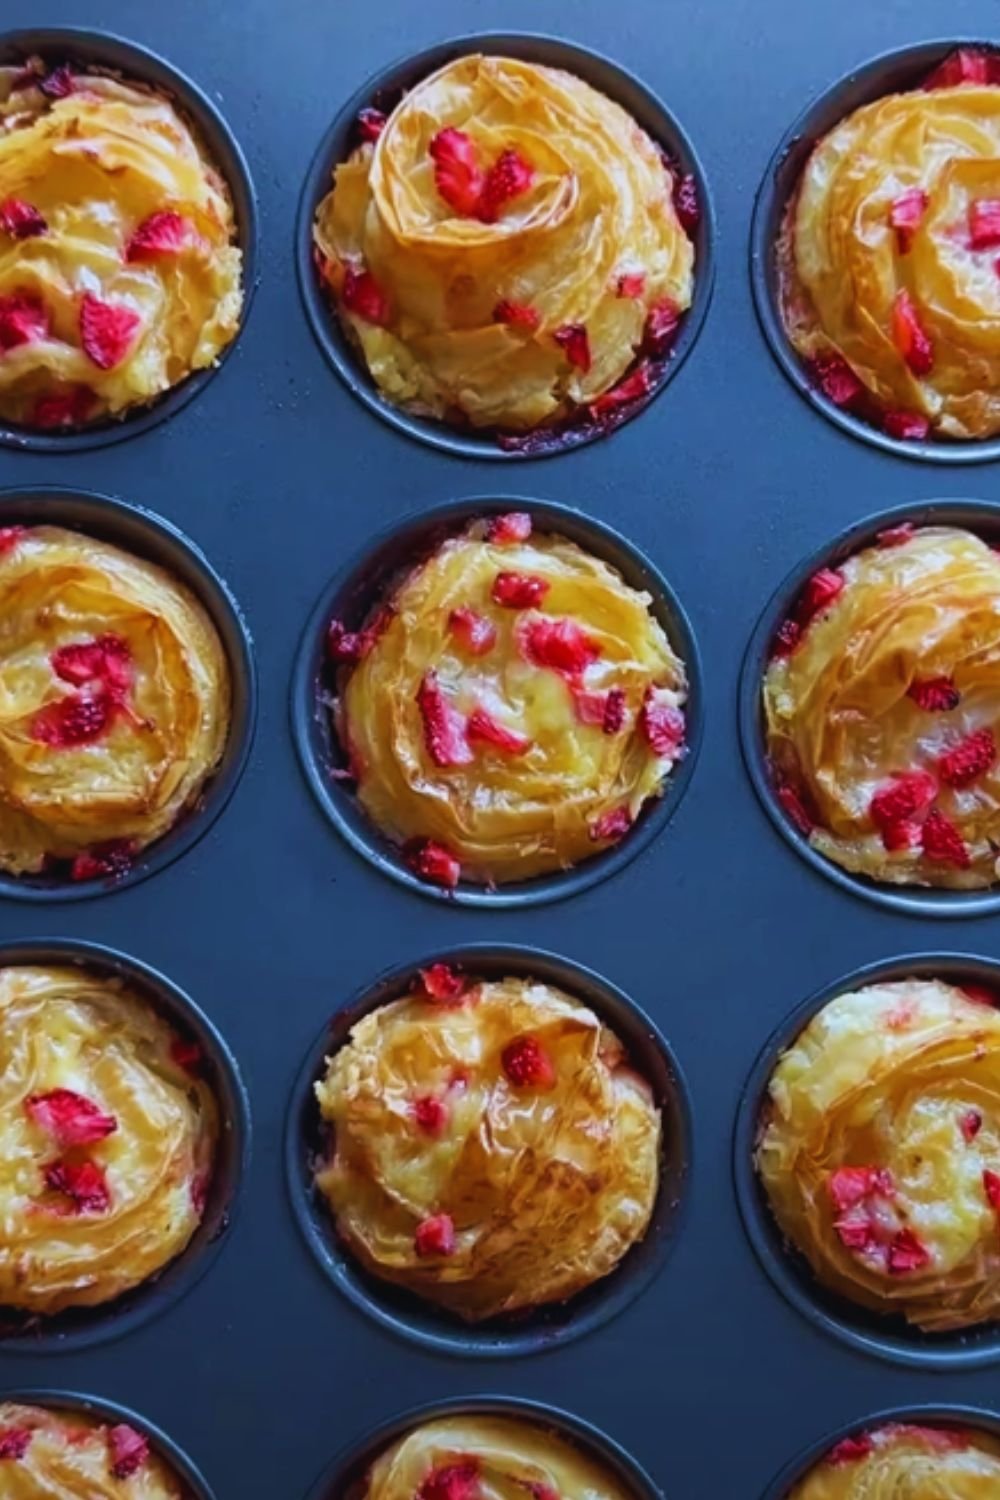
Q: Can I make cheesecake without a springform pan? Yes, but with modifications. Line a regular cake pan with parchment paper with enough overhang to lift the cheesecake out after cooling. Alternatively, make mini cheesecakes in a muffin tin with liners.
Q: Do I really need to leave ingredients at room temperature? Absolutely. This isn’t one of those steps you can skip. Cold cream cheese simply won’t blend smoothly, leaving lumps in your batter that won’t bake out.
Q: My cheesecake never seems firm enough. What am I doing wrong? Underbaking is the most common cause. Remember that the center should still jiggle slightly when done – it will firm up during cooling. Also, not chilling long enough (minimum 6 hours) can result in a too-soft texture.
Q: How can I tell if my cheesecake is done without using a thermometer? The outer 2-3 inches should appear set and slightly puffed, while the center should jiggle slightly when you gently shake the pan. If the center seems liquid or the entire cake jiggles, it needs more time.
Q: Can I freeze cheesecake? Absolutely! Cheesecake freezes beautifully for up to 2 months. Thaw overnight in the refrigerator for best results.
Final Thoughts
Creating the perfect Cheesecake Fácil isn’t just about following a recipe—it’s about understanding the principles behind each step. With the techniques I’ve shared, you’ll be able to adapt and create cheesecakes that suit your taste and impress your guests.
Remember, baking is both a science and an art. Don’t be discouraged if your first attempt isn’t perfect. Each cheesecake you make will teach you something and bring you closer to mastery. The journey is as rewarding as the delicious destination.
I hope this guide helps you fall in love with cheesecake making as I have. There’s something magical about creating this beloved dessert from scratch—a simple luxury that brings joy to any occasion.