When I first stumbled upon the concept of stuffed cookies, my baking world completely transformed. These aren’t just ordinary cookies – they’re edible treasures that hide delightful surprises within their chewy exteriors. Today, I’m sharing my perfected recipe for Big Blue Monster Stuffed Cookies, a whimsical creation that combines the beloved flavors of cookie monster with the excitement of stuffed treats. The iconic blue character that inspired these delightful treats
These oversized cookies capture the playful spirit of everyone’s favorite cookie-loving monster while delivering layers of flavor that’ll make both kids and adults squeal with delight. What makes them truly special isn’t just their vibrant blue color or their impressive size – it’s the hidden filling that creates an explosion of taste with every bite.
Understanding the Magic Behind Stuffed Cookies
Stuffed Cookies: Large cookies with a filling or surprise element baked directly into the center, creating a two-in-one dessert experience.
Cookie Monster Cookies: Cookies inspired by the beloved Sesame Street character, typically featuring blue coloring and often incorporating chocolate chips or cookie pieces.
Levain-Style Cookies: Thick, bakery-style cookies that remain soft and gooey in the center while developing a slightly crisp exterior.
The beauty of these Big Blue Monster Stuffed Cookies lies in their construction. Unlike traditional cookies that rely solely on mix-ins distributed throughout the dough, these treats feature a deliberate center surprise that transforms each bite into an adventure. The blue coloring pays homage to Cookie Monster while creating an Instagram-worthy appearance that’s sure to impress.
Essential Ingredients and Their Roles
Creating the perfect Big Blue Monster Stuffed Cookie requires understanding how each ingredient contributes to the final result. I’ve spent countless hours perfecting this recipe, and every component serves a specific purpose.
Cookie Dough Components
| Ingredient | Quantity | Purpose | Substitution Options |
|---|---|---|---|
| All-purpose flour | 2¼ cups | Structure and stability | Cake flour (use 2½ cups) |
| Unsalted butter | 1 cup (softened) | Richness and texture | Salted butter (reduce salt) |
| Brown sugar | ¾ cup (packed) | Moisture and chewiness | Coconut sugar |
| Granulated sugar | ½ cup | Structure and sweetness | Caster sugar |
| Large eggs | 2 whole | Binding and richness | Flax eggs (vegan option) |
| Vanilla extract | 2 teaspoons | Flavor enhancement | Almond extract |
| Baking soda | 1 teaspoon | Leavening | Baking powder (1½ tsp) |
| Salt | 1 teaspoon | Flavor balance | Sea salt |
| Blue food coloring | 1-2 teaspoons | Cookie Monster appearance | Natural blue spirulina |
Stuffing Options
The filling possibilities are endless, but I’ve found certain combinations work exceptionally well:
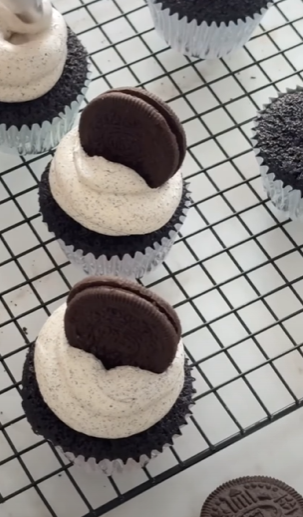
- Classic Chocolate Chip: Mini chocolate chips mixed with cream cheese
- Oreo Surprise: Crushed Oreo cookies with vanilla buttercream
- Peanut Butter Explosion: Creamy peanut butter with mini peanut butter cups
- S’mores Center: Marshmallow fluff with graham cracker pieces and chocolate
- Birthday Cake: Funfetti cake mix with vanilla frosting
Step-by-Step Preparation Process
Preparing the Perfect Cookie Dough
I always start by ensuring my ingredients are at the proper temperature. Room temperature butter and eggs create the ideal texture that makes stuffing these cookies possible.
Begin by creaming the softened butter with both sugars until the mixture becomes light and fluffy – this usually takes about 4-5 minutes with an electric mixer. The key here is patience; proper creaming creates the foundation for cookies that hold their shape around the filling.
Add eggs one at a time, beating well after each addition. Then incorporate the vanilla extract and your chosen amount of blue food coloring. I prefer a vibrant blue that really captures that Cookie Monster essence, but you can adjust based on your preference.
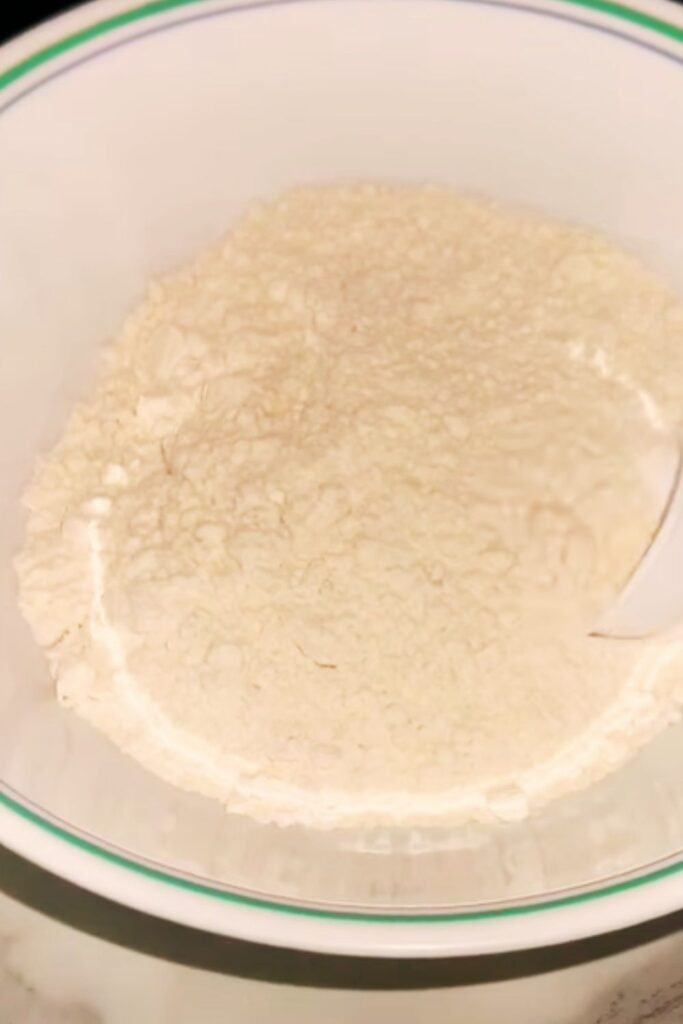
In a separate bowl, whisk together flour, baking soda, and salt. Gradually add this dry mixture to the wet ingredients, mixing just until combined. Overmixing develops gluten, which can make your cookies tough – something we definitely want to avoid.
Crafting the Perfect Filling
The filling consistency is crucial for successful stuffed cookies. It needs to be firm enough to hold its shape during baking but not so solid that it creates hard pockets within the cookie.
For a cream cheese-based filling, I combine 4 ounces of softened cream cheese with ½ cup powdered sugar and ½ cup mini chocolate chips. The cream cheese provides richness while the powdered sugar adds sweetness and helps achieve the right consistency.
If you’re going with a peanut butter filling, mix ½ cup creamy peanut butter with 2 tablespoons powdered sugar and a pinch of salt. This creates a slightly sweetened peanut butter center that complements the cookie dough beautifully.
Assembly Technique
Here’s where the magic happens, and I’ll be honest – it takes some practice to get the technique right. Don’t worry if your first batch isn’t perfect; even imperfect stuffed cookies taste incredible.
Start by scooping about 3 tablespoons of cookie dough and flattening it in your palm. Place about 1 tablespoon of your chosen filling in the center, then top with another 2-3 tablespoons of dough. Gently seal the edges, making sure no filling peeks through.
The key is creating a complete seal while maintaining the cookie’s round shape. I like to roll the assembled cookie gently between my palms to ensure even distribution and smooth out any seam lines.
Baking Techniques for Perfect Results
Oven Preparation and Temperature Control
Preheat your oven to 350°F (175°C). I always use an oven thermometer to ensure accuracy because temperature variations can significantly impact how these large cookies bake.
Line your baking sheets with parchment paper rather than greasing them. Parchment prevents sticking while allowing for easy removal, and it helps achieve even browning on the bottom of the cookies.
Baking Timeline and Visual Cues
| Baking Stage | Time | Visual Indicators | Internal Changes |
|---|---|---|---|
| Initial rise | 0-5 minutes | Dough begins to spread | Butter melts, steam creates lift |
| Edge setting | 5-8 minutes | Edges start to firm | Proteins coagulate at edges |
| Center firming | 8-12 minutes | Centers look slightly underbaked | Filling heats through |
| Final moments | 12-15 minutes | Light golden edges | Structure fully sets |
These cookies are large, so they need more time than standard cookies. Bake for 12-15 minutes, watching for edges that are set and lightly golden while centers still appear slightly underbaked. They’ll continue cooking on the hot pan after removal.
The filling will be extremely hot when the cookies first come out of the oven, so resist the urge to bite into them immediately. Let them cool on the baking sheet for at least 10 minutes before transferring to a wire rack.
Troubleshooting Common Issues
Filling Leakage Problems
If your filling consistently leaks out during baking, the issue usually lies in the sealing technique or filling consistency. Make sure you’re creating a complete seal around the edges and that your filling isn’t too liquid.
Cookies Spreading Too Much
Excessive spreading often indicates that the dough is too warm or the butter was over-softened. Try chilling the assembled cookies for 30 minutes before baking, or reduce the butter temperature next time.
Uneven Baking
Large cookies can develop hot spots, especially if your oven has temperature variations. Rotate your baking sheets halfway through the baking time to ensure even browning.
Storage and Serving Suggestions
Proper Storage Methods
These stuffed cookies maintain their quality for up to one week when stored properly. I keep them in an airtight container at room temperature, placing parchment paper between layers to prevent sticking.
For longer storage, freeze the baked cookies for up to three months. Wrap each cookie individually in plastic wrap before placing them in freezer bags. Thaw at room temperature for about 30 minutes before serving.
Creative Serving Ideas
These cookies are impressive enough to serve as dessert at dinner parties, but they’re also perfect for casual snacking. I love serving them slightly warmed – about 10 seconds in the microwave brings back that fresh-baked texture and makes the filling perfectly gooey.
For special occasions, try serving them with a glass of cold milk, vanilla ice cream, or even a drizzle of chocolate sauce. The blue color makes them perfect for themed parties, baby showers, or any celebration where you want to add a playful touch.
Nutritional Information and Considerations
| Nutrient | Per Cookie (estimated) | Daily Value % |
|---|---|---|
| Calories | 385 | 19% |
| Total Fat | 16g | 25% |
| Saturated Fat | 10g | 50% |
| Cholesterol | 65mg | 22% |
| Sodium | 285mg | 12% |
| Total Carbs | 58g | 19% |
| Sugars | 35g | – |
| Protein | 6g | 12% |
Keep in mind that these are substantial cookies – they’re designed to be a special treat rather than an everyday snack. The filling adds extra calories and richness, making them perfect for sharing or saving for special occasions.
Variations and Creative Adaptations
Seasonal Modifications
During different seasons, I love adapting these cookies to match the mood and available ingredients. For fall, try adding cinnamon to the dough and using a caramel-apple filling. Winter calls for peppermint extract in the dough with a chocolate-mint filling.
Spring variations might include lemon zest in the dough with a strawberry cream filling, while summer versions could feature coconut extract with a tropical fruit center.
Dietary Accommodations
Gluten-Free Version: Substitute the all-purpose flour with a 1:1 gluten-free flour blend. The texture will be slightly different, but still delicious.
Vegan Adaptation: Replace butter with vegan butter substitute, eggs with flax eggs (1 tablespoon ground flaxseed + 3 tablespoons water per egg), and choose plant-based fillings.
Reduced Sugar: Cut the sugar by one-third and add extra vanilla extract to maintain flavor depth.
Advanced Techniques for Cookie Perfection
Temperature Control Mastery
Professional bakers know that temperature control extends beyond just oven settings. I chill my cookie dough for at least 2 hours before stuffing and baking. This helps prevent excessive spreading and makes the dough easier to handle during assembly.
The filling temperature matters too. Room temperature fillings incorporate more easily and create better distribution throughout the cookie center.
Flavor Layering Strategies
Consider how different flavors interact within the cookie. The blue cookie dough has a relatively neutral vanilla base, making it an excellent canvas for bold fillings. Don’t be afraid to experiment with complementary flavors like orange and chocolate, or contrasting ones like salty caramel in sweet cookie dough.
Questions and Answers
Q: Can I make the cookie dough ahead of time? A: Absolutely! The cookie dough actually improves with time. You can make it up to 3 days ahead and store it covered in the refrigerator. Let it come to room temperature before stuffing and baking for easier handling.
Q: Why do my cookies come out flat instead of thick? A: Flat cookies usually result from overly warm dough or incorrect measurements. Make sure your butter isn’t too soft, chill the assembled cookies before baking, and double-check that you’re using the right flour measurement (spooned and leveled, not packed).
Q: Can I freeze the unbaked stuffed cookies? A: Yes! Assemble the cookies completely, then freeze them on a baking sheet until solid. Transfer to freezer bags and store for up to 3 months. Bake directly from frozen, adding 2-3 extra minutes to the baking time.
Q: What’s the best way to achieve vibrant blue color without artificial food coloring? A: Natural alternatives include blue spirulina powder or butterfly pea flower powder. Start with small amounts as these can be quite potent. The color won’t be as vibrant as artificial coloring, but it creates a beautiful natural blue hue.
Q: How do I prevent the filling from becoming too hot and burning my mouth? A: Always let the cookies cool for at least 10-15 minutes after baking. The filling retains heat much longer than the cookie exterior. For extra safety, you can test the temperature by touching the cookie center gently before biting.
Q: Can I use store-bought cookie dough for this recipe? A: While homemade dough works best, you can adapt store-bought sugar cookie dough. Add blue food coloring and extra flour (about ¼ cup) to help the dough hold its shape around the filling.
Q: What size should I make each cookie for best results? A: I recommend making them about 4 inches in diameter after baking. This size provides enough dough to properly encase the filling while still baking evenly throughout.
Q: How can I tell when the cookies are perfectly done? A: Look for edges that are set and very lightly golden, while the centers still appear slightly underbaked and soft. The cookies will continue cooking on the hot pan after removal from the oven.
These Big Blue Monster Stuffed Cookies represent everything I love about creative baking – they’re visually stunning, technically interesting, and absolutely delicious. The combination of the whimsical blue exterior and surprise filling center makes them conversation starters at any gathering.
The key to success lies in patience and practice. Don’t get discouraged if your first batch isn’t perfect; each attempt teaches you something new about dough consistency, filling distribution, and timing. I’ve made hundreds of these cookies, and I’m still discovering new flavor combinations and techniques.
Remember that baking is both an art and a science. While following the recipe precisely will give you excellent results, don’t be afraid to make these cookies your own. Experiment with different fillings, adjust the blue coloring to your preference, or add your own creative touches.
Whether you’re baking these for a child’s birthday party, a themed event, or simply because you want to try something new and exciting, these Big Blue Monster Stuffed Cookies will deliver smiles and satisfaction. They’re proof that sometimes the most memorable treats are the ones that surprise us – both in appearance and in that first delightful bite when the filling reveals itself.
Take your time, enjoy the process, and most importantly, have fun creating these magical cookies that bring out the Cookie Monster in all of us.