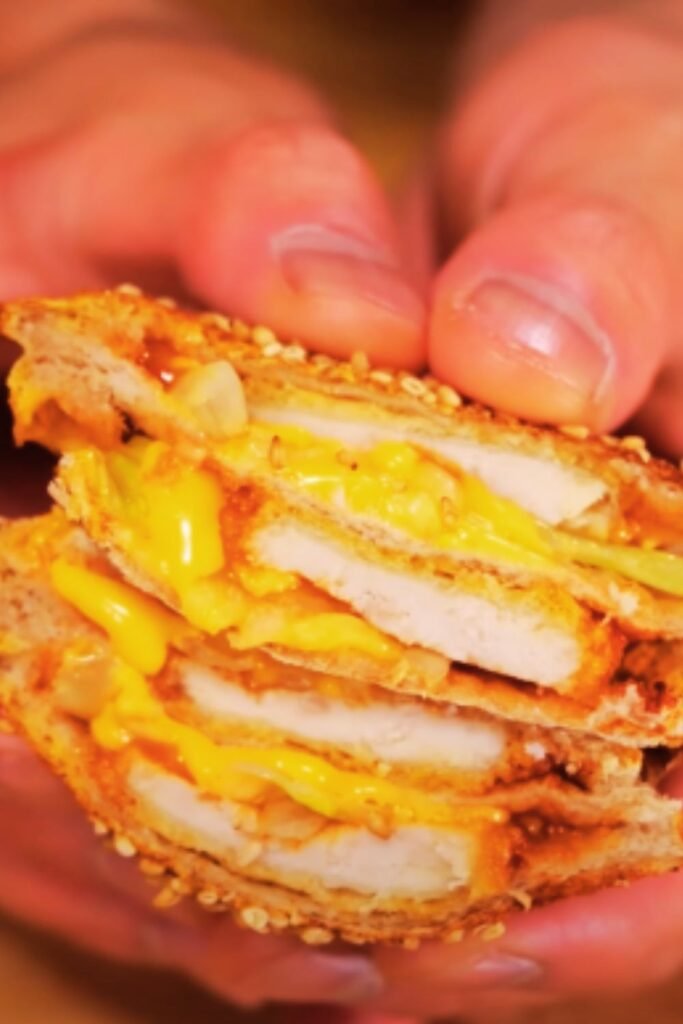
Have you ever wondered why homemade chicken nuggets taste so much better than their fast-food counterparts? I’ve spent years perfecting this recipe, and today I’m excited to share my secrets for creating the most delicious, crispy chicken nuggets right in your kitchen. These nuggets are not just healthier – they’re packed with real chicken flavor and have that satisfying crunch we all love.
Why Make Chicken Nuggets at Home?
After trying countless variations, I’ve discovered that homemade nuggets give you complete control over ingredients while being surprisingly easy to prepare. My family now requests these weekly, and I love knowing exactly what goes into our food.
What You’ll Need
Kitchen Equipment
| Equipment | Purpose | Recommended Type |
|---|---|---|
| Large Bowl | Marinating chicken | Glass or stainless steel |
| Shallow Dishes | Breading station | Wide and flat for easy coating |
| Thermometer | Oil temperature | Digital instant-read |
| Heavy Pan | Frying | Cast iron or heavy-bottom skillet |
| Wire Rack | Draining | Stainless steel |
| Paper Towels | Oil absorption | Unbleached preferred |
Ingredients for 24 Nuggets
| Ingredient | Amount | Notes |
|---|---|---|
| Chicken breast | 2 pounds | Fresh, boneless, skinless |
| Buttermilk | 1 cup | Room temperature |
| All-purpose flour | 2 cups | Unbleached |
| Cornstarch | 1/4 cup | For extra crispiness |
| Garlic powder | 2 teaspoons | Fresh recommended |
| Onion powder | 2 teaspoons | Fresh recommended |
| Paprika | 1 teaspoon | Sweet or smoked |
| Salt | 2 teaspoons | Kosher preferred |
| Black pepper | 1 teaspoon | Freshly ground |
| Eggs | 2 large | Room temperature |
| Vegetable oil | 3 cups | For frying |
The Secret to Perfect Texture
I’ve learned that the key to achieving restaurant-quality nuggets lies in a three-step process:
- Proper Cutting Technique
- Cut chicken against the grain
- Aim for 1.5-inch pieces
- Ensure uniform size for even cooking
- Double Breading Method
- First coating: seasoned flour
- Egg wash dip
- Final coating: flour-cornstarch mixture
- Temperature Control
- Maintain oil at 350°F (175°C)
- Never overcrowd the pan
- Use a spider strainer for removal
Step-by-Step Instructions
Preparation Phase
- Cut chicken breasts into 1.5-inch pieces
- Prepare buttermilk marinade with:
- 1 cup buttermilk
- 1 teaspoon salt
- 1/2 teaspoon black pepper
- Marinate chicken for 30 minutes to 4 hours
Coating Station Setup
- First Bowl:
- 1 cup flour
- All seasonings mixed well
- Second Bowl:
- 2 beaten eggs
- 2 tablespoons water
- Third Bowl:
- Remaining flour
- Cornstarch
- Extra seasoning to taste
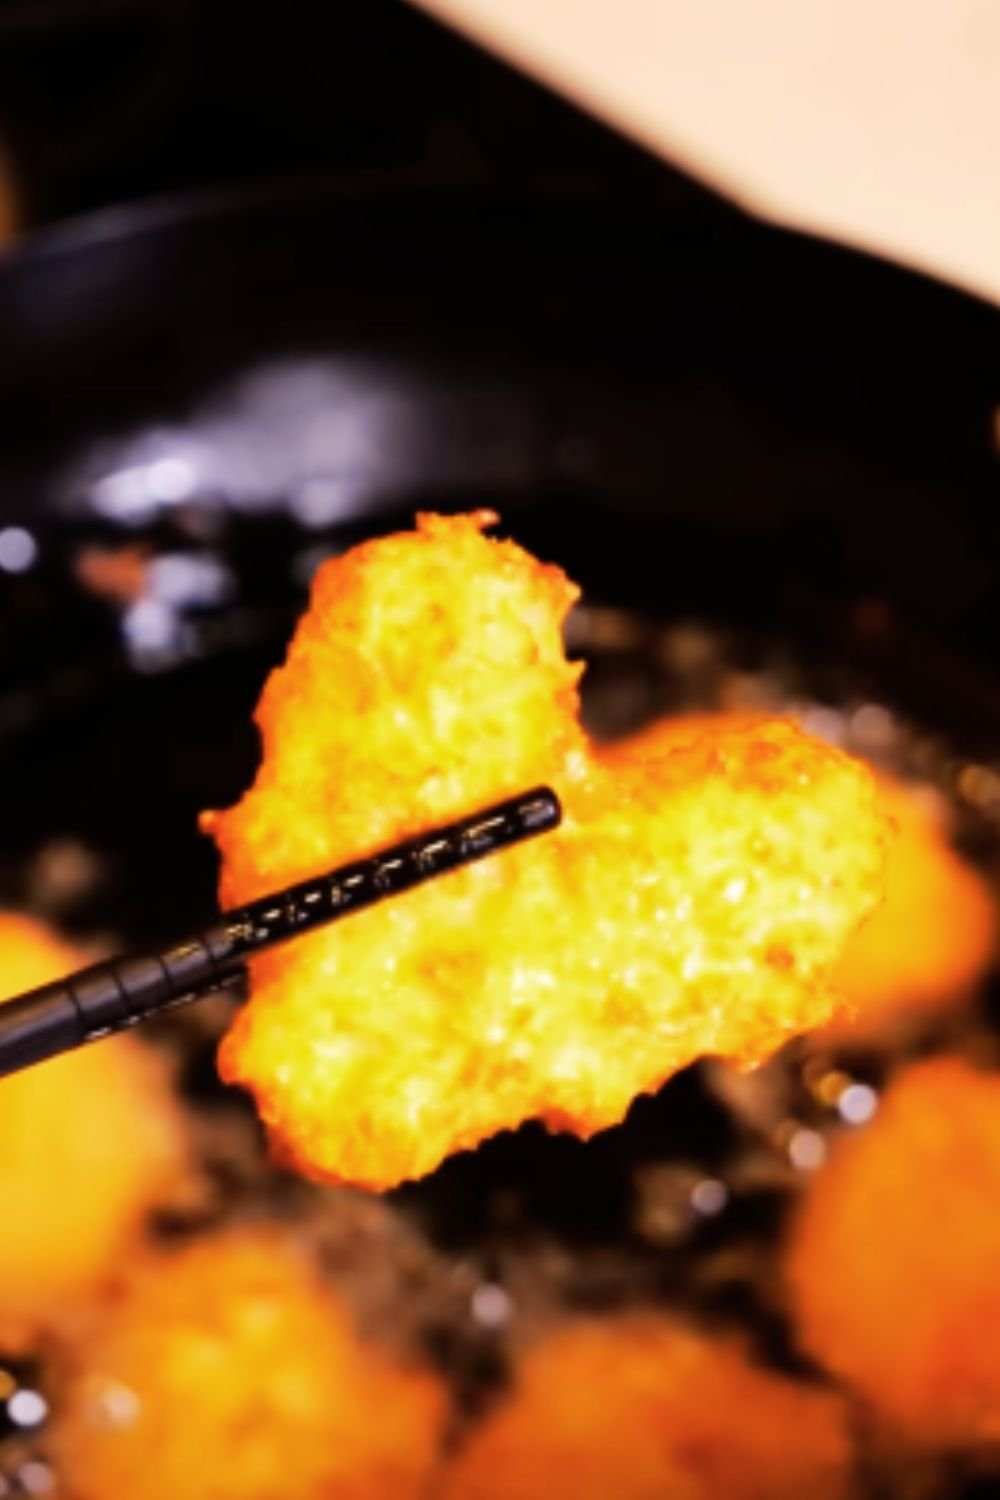
Cooking Process
- Heat oil to 350°F
- Bread each piece following the wet-dry-wet-dry method
- Fry in batches for 4-5 minutes
- Rest on wire rack
- Season immediately with salt
Pro Tips I’ve Learned
Through countless batches, I’ve discovered these game-changing tips:
- Adding baking powder to the flour mixture creates extra crunch
- Letting the breaded nuggets rest for 10 minutes helps coating adhere better
- Double-dipping in egg wash and flour creates the crunchiest exterior
- Using a splash of hot sauce in the marinade enhances flavor without adding heat
- Freezing breaded nuggets before frying helps maintain shape
Storage and Reheating
| Storage Method | Duration | Best Practices |
|---|---|---|
| Refrigerator | 3-4 days | Airtight container |
| Freezer | Up to 3 months | Freeze individually first |
| Room Temperature | 2 hours max | Not recommended |
Reheating Methods Ranked by Quality:
- Air Fryer: 4 minutes at 400°F
- Oven: 10 minutes at 375°F
- Microwave: 30 seconds (less crispy)
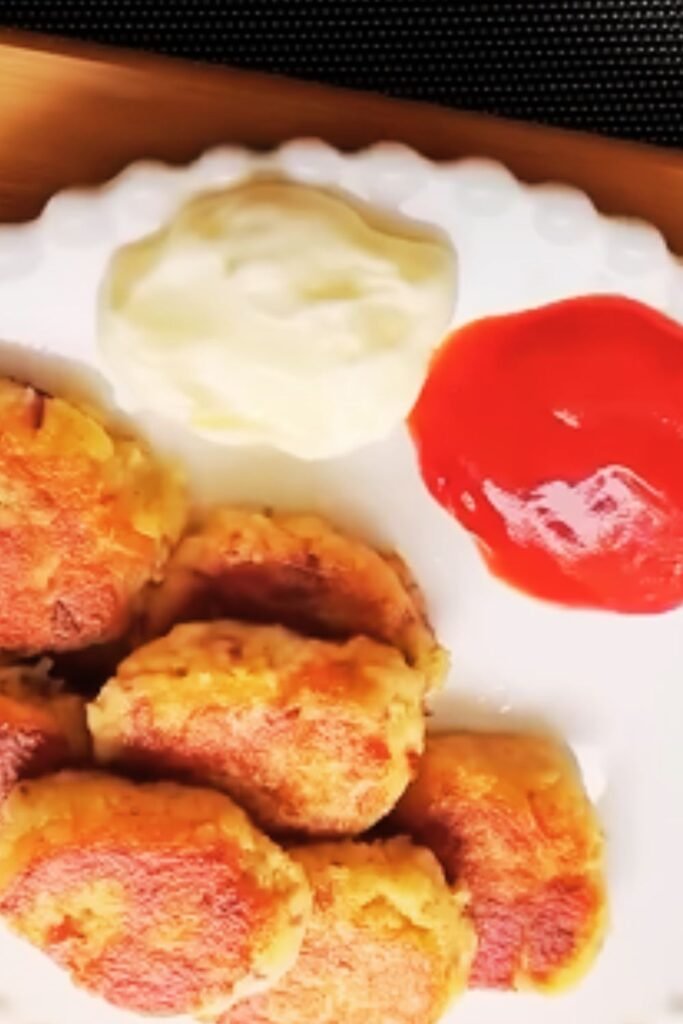
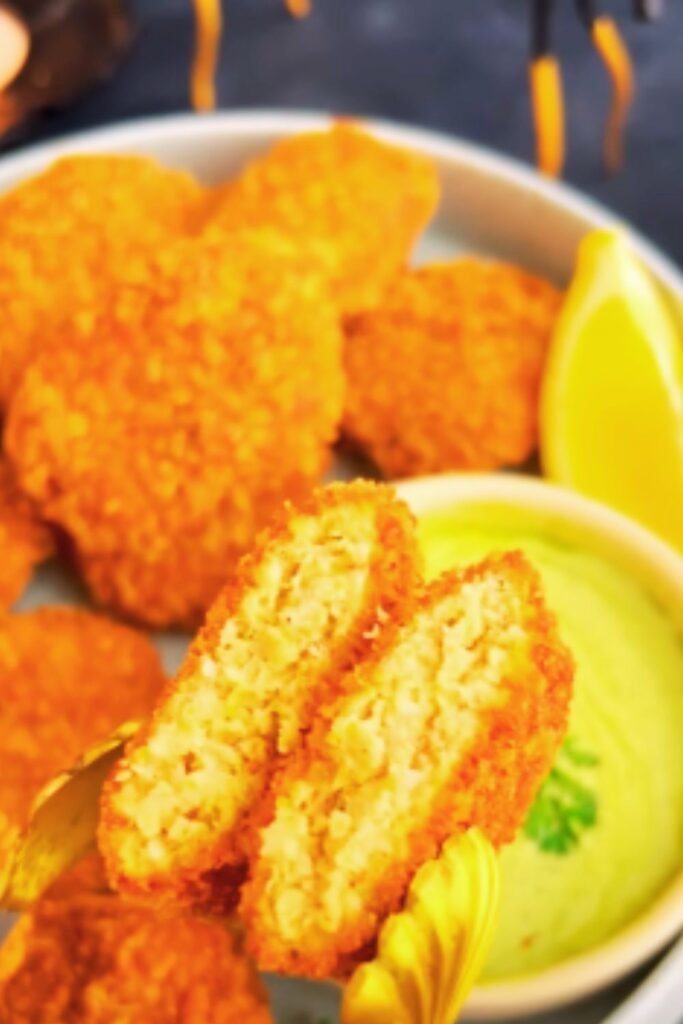
Serving Suggestions
I love serving these nuggets with:
- Honey mustard sauce
- Homemade ranch dressing
- Sweet chili sauce
- Fresh vegetable sticks
- Sweet potato fries
- Garden salad
Nutritional Information
Per serving (4 nuggets):
| Nutrient | Amount |
|---|---|
| Calories | 320 |
| Protein | 22g |
| Fat | 18g |
| Carbohydrates | 20g |
| Fiber | 1g |
| Sodium | 580mg |
Common Questions
Q: Can I use chicken thighs instead of breast meat?
A: Yes! Thighs work wonderfully and often provide more flavor, though they may need an extra minute of cooking time.
Q: How do I know when the nuggets are done?
A: They should be golden brown and reach an internal temperature of 165°F (74°C).
Q: Can I bake these instead of frying?
A: Absolutely! Bake at 425°F for 15-20 minutes, flipping halfway through. Spray with oil for better browning.
Q: Why did my breading fall off?
A: This usually happens if the oil isn’t hot enough or if you didn’t let the breaded nuggets rest before frying.
Q: Can I make these gluten-free?
A: Yes, substitute regular flour with a one-to-one gluten-free flour blend and add 1/2 teaspoon of xanthan gum if your blend doesn’t include it.
Q: How can I make these spicy?
A: Add 1 teaspoon of cayenne pepper to the flour mixture or incorporate hot sauce into the buttermilk marinade.
Troubleshooting Guide
| Problem | Cause | Solution |
|---|---|---|
| Soggy coating | Oil too cool | Maintain 350°F temperature |
| Burnt exterior | Oil too hot | Use thermometer to monitor |
| Undercooked interior | Pieces too large | Cut uniform 1.5-inch pieces |
| Bland taste | Insufficient seasoning | Season flour mixture and final product |
Remember, practice makes perfect! Don’t get discouraged if your first batch isn’t restaurant-quality. Focus on maintaining proper oil temperature and developing a consistent breading technique. Soon you’ll be making chicken nuggets that will have your family forgetting about drive-through windows altogether.