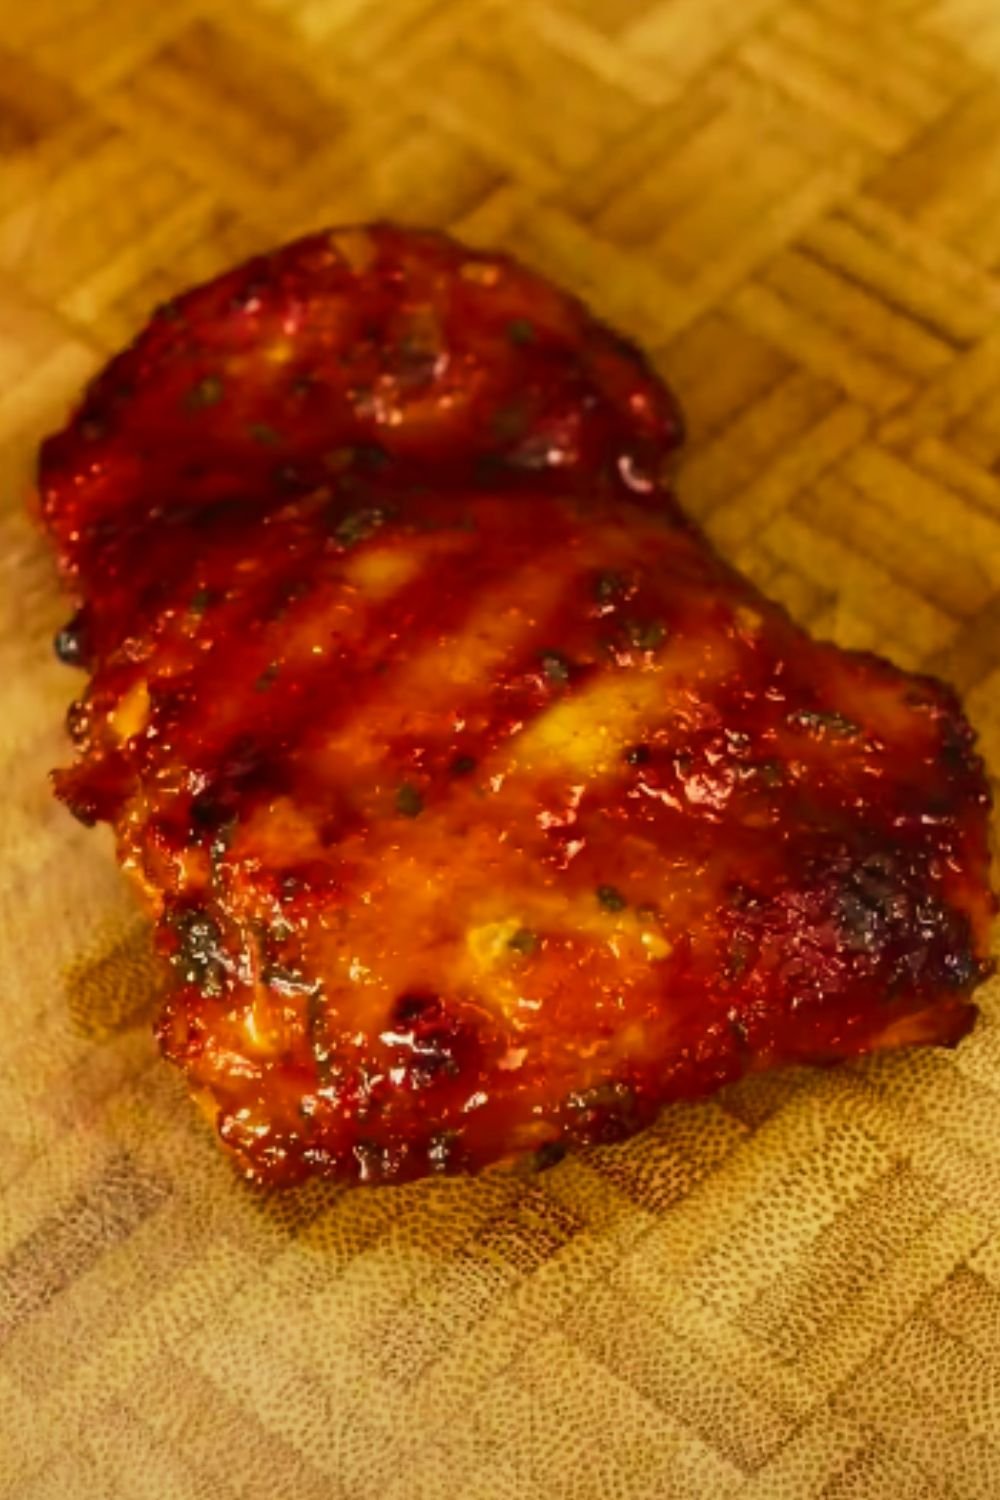
There’s something magical about biting into perfectly crispy fried chicken. That satisfying crunch giving way to juicy, tender meat underneath – it’s the ultimate comfort food. But let’s face it, traditional deep-fried chicken isn’t exactly the healthiest choice for regular meals. That’s why I’ve perfected this oven-fried chicken recipe that delivers all the crunch and flavor you crave, with significantly less oil.
After countless tests and tweaks in my kitchen, I’ve discovered the secrets to achieving that coveted crispy coating without the deep fryer. The result? Golden-brown, crunchy chicken that’s sure to become your new favorite weeknight dinner.
Essential Ingredients
For the Chicken:
- 3 pounds chicken pieces (mix of thighs, drumsticks, and breasts)
- 2 cups buttermilk
- 2 teaspoons hot sauce
- 1 tablespoon garlic powder
- 1 tablespoon onion powder
- 2 teaspoons kosher salt
- 1 teaspoon black pepper
For the Coating:
- 2 cups all-purpose flour
- 1 cup panko breadcrumbs
- 2 teaspoons paprika
- 2 teaspoons dried thyme
- 2 teaspoons dried oregano
- 1 tablespoon garlic powder
- 1 tablespoon onion powder
- 2 teaspoons kosher salt
- 1 teaspoon black pepper
- ½ teaspoon cayenne pepper (optional)
- Cooking spray or 3 tablespoons olive oil
The Science Behind Crispy Oven-Fried Chicken
The key to achieving that perfect crispy coating lies in understanding the science behind it. Here’s what makes this recipe work:
Moisture Control
Buttermilk not only tenderizes the meat but also helps the coating adhere better. The lactic acid breaks down proteins, creating a more tender result while the thick consistency helps the flour mixture stick to the chicken.
Temperature Management
Starting with room-temperature chicken ensures even cooking. The initial high-temperature baking (400°F) creates a crispy exterior through the Maillard reaction, while the subsequent lower temperature (350°F) ensures the inside cooks perfectly without burning the coating.
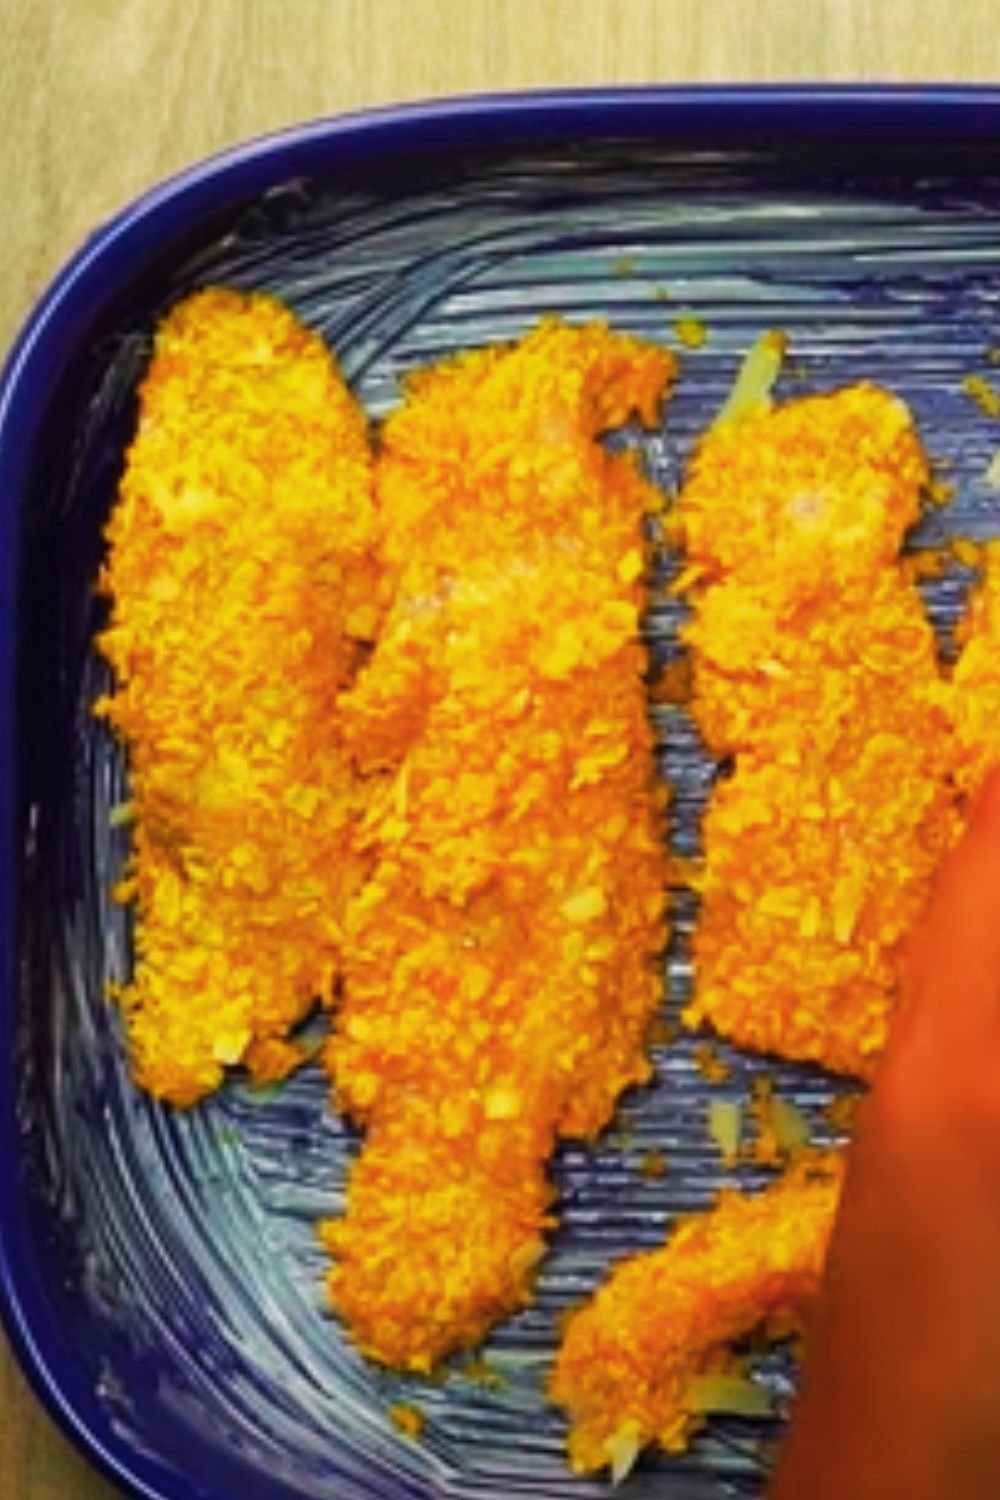
Coating Technique
The combination of flour and panko breadcrumbs creates multiple layers of crunchiness. The flour provides a base that sticks well to the chicken, while the panko adds that extra crunch we associate with great fried chicken.
Step-by-Step Instructions
Preparation (12-24 hours ahead)
- Create the buttermilk marinade by combining:
- Buttermilk
- Hot sauce
- Garlic powder
- Onion powder
- Salt
- Pepper
- Submerge the chicken pieces fully in the marinade
- Cover and refrigerate for 12-24 hours
Cooking Day
Coating Preparation (30 minutes before cooking)
- Preheat oven to 400°F
- Line a baking sheet with parchment paper
- Set up a wire rack on the baking sheet
- Mix all coating ingredients in a large bowl
- Remove chicken from marinade and let excess drip off
- Dredge each piece thoroughly in the coating mixture
Cooking Process (45-60 minutes)
- Place chicken pieces on the prepared wire rack
- Spray thoroughly with cooking spray or brush with olive oil
- Bake at 400°F for 20 minutes
- Reduce temperature to 350°F
- Continue baking for 25-40 minutes (depending on piece size)
- Check internal temperature (should reach 165°F)
Time Management
| Stage | Time Required | Notes |
|---|---|---|
| Marinade Prep | 15 minutes | Can be done night before |
| Marinating | 12-24 hours | Longer means more tender |
| Coating Prep | 15 minutes | Do just before cooking |
| Initial Baking | 20 minutes | High temperature phase |
| Final Baking | 25-40 minutes | Until done |
| Resting | 10 minutes | Before serving |
Troubleshooting Guide
| Problem | Possible Cause | Solution |
|---|---|---|
| Coating falls off | Too much moisture | Pat chicken drier before coating |
| Not crispy enough | Insufficient oil spray | Spray more thoroughly before baking |
| Uneven cooking | Pieces too close | Space chicken pieces apart |
| Burnt coating | Temperature too high | Check oven calibration |
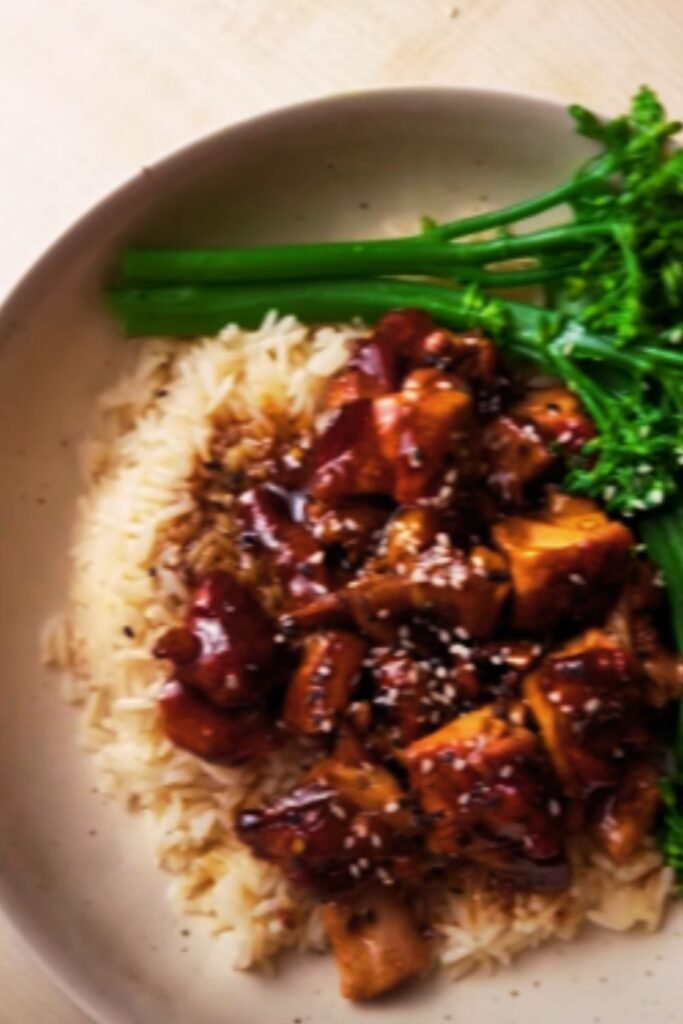
Serving Suggestions
- Classic sides: Mashed potatoes, coleslaw, corn on the cob
- Light options: Mixed green salad, roasted vegetables
- Southern style: Mac and cheese, collard greens, buttermilk biscuits
- Modern twist: Quinoa salad, grilled asparagus, sweet potato wedges
Storage and Reheating
Storage:
- Refrigerator: Up to 4 days in airtight container
- Freezer: Up to 3 months when properly wrapped
Reheating:
- Oven (best method):
- Preheat to 375°F
- Place on wire rack
- Heat 15-20 minutes until crispy
- Air fryer:
- 375°F for 5-7 minutes
- Flip halfway through
Frequently Asked Questions
Q: Can I use regular milk instead of buttermilk?
A: While buttermilk is preferred for its tenderizing properties, you can make a substitute by adding 1 tablespoon of lemon juice or white vinegar to 1 cup of regular milk. Let it sit for 5 minutes before using.
Q: Why is my chicken not getting crispy enough?
A: The most common reasons are insufficient oil spray or overcrowding the pan. Make sure to spray the coating thoroughly with cooking spray and leave space between pieces for air circulation.
Q: Can I use skinless chicken?
A: Yes, but the result might be slightly less crispy. If using skinless chicken, be extra generous with the oil spray to compensate for the missing fat.
Q: How do I know when the chicken is done?
A: The most reliable method is using a meat thermometer – the internal temperature should reach 165°F. The juices should run clear when pierced.
Q: Can I prepare this in advance for a party?
A: Yes! You can marinate the chicken up to 24 hours ahead and prepare the coating mixture a day in advance. Store the coating mixture in an airtight container until ready to use.
Nutrition Information
Per serving (1 piece, based on 8 servings):
| Nutrient | Amount |
|---|---|
| Calories | 320 |
| Protein | 28g |
| Fat | 14g |
| Carbohydrates | 22g |
| Fiber | 1g |
| Sodium | 580mg |
Remember that these values are approximate and can vary based on specific ingredients and portion sizes used.
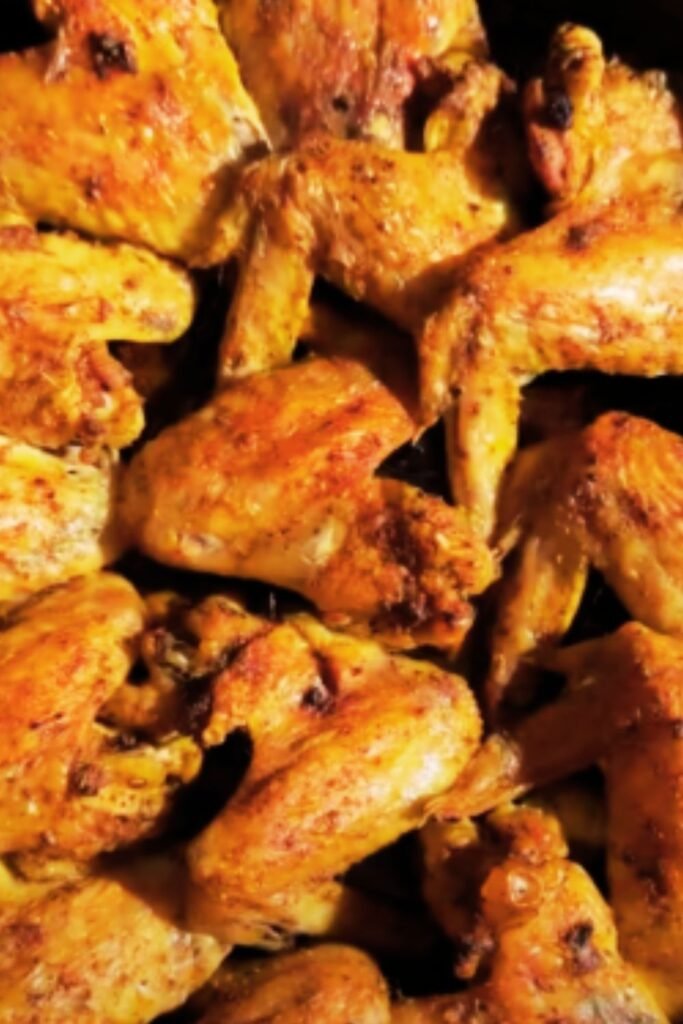
Recipe Variations
- Spicy Version:
- Double the cayenne pepper
- Add 1 teaspoon chili powder
- Include 1 teaspoon red pepper flakes
- Herb-Crusted:
- Add fresh rosemary and thyme
- Include lemon zest in coating
- Use Italian-seasoned panko
- Gluten-Free:
- Substitute all-purpose flour with almond flour
- Use gluten-free panko breadcrumbs
- Add 2 tablespoons cornstarch to coating
- Extra Crunchy:
- Double-coat the chicken
- Use extra panko breadcrumbs
- Add crushed cornflakes to coating