Have you ever come home from a Japanese steakhouse craving those tender, flavorful steak bites but didn’t want to spend another $30 for the experience? I’ve been there too many times to count. After years of trial and error (and quite a few smoke detector incidents), I’ve finally perfected my own hibachi steak bites recipe that rivals any restaurant version. Today, I’m sharing all my secrets with you!
The beauty of hibachi cooking lies in its simplicity—high heat, minimal but flavorful seasonings, and quick cooking times that seal in the juices and create that perfect caramelized exterior. What started as an occasional weekend treat has become one of my family’s most requested weeknight meals. It’s surprisingly quick to prepare, incredibly versatile, and feels like a special occasion even on a random Tuesday.
What Makes Hibachi Steak Special?
Before diving into the recipe, let’s understand what makes hibachi cooking unique. Traditional hibachi cooking uses a flat-top grill called a “teppan” that reaches extremely high temperatures. This intense heat creates that distinctive sear and smoky flavor we all love.
The word “hibachi” actually refers to the traditional Japanese heating device—a cylindrical, open-topped container made of heat-resistant material with a metal grill—though what we experience in American Japanese steakhouses is more accurately called “teppanyaki” cooking. But regardless of terminology, the technique creates incredibly flavorful food with minimal ingredients.
Choosing the Perfect Cut of Beef
The foundation of excellent hibachi steak bites starts with selecting the right cut of beef. While restaurants often use filet mignon, there are several cuts that work wonderfully:
| Beef Cut | Tenderness | Flavor | Best For | Price Point |
|---|---|---|---|---|
| Ribeye | Very tender | Rich, buttery | Special occasions | $$$ |
| Sirloin | Moderately tender | Beefy, robust | Everyday hibachi | $$ |
| Flank Steak | Slightly chewy | Very flavorful | Budget-friendly option | $$ |
| Flat Iron | Very tender | Rich, beefy | Best value option | $$ |
| New York Strip | Tender with texture | Bold, meaty | Impressive presentations | $$$ |
I personally prefer sirloin for my everyday hibachi steak bites. It offers the perfect balance between tenderness, flavor, and affordability. When cut against the grain into bite-sized pieces, it becomes wonderfully tender while maintaining enough texture to hold up to the high-heat cooking process.
Essential Ingredients for Authentic Hibachi Steak
One thing I’ve learned in my hibachi journey is that the magic lies in the simplicity. You don’t need an extensive list of exotic ingredients—just a few quality components:
- High-Quality Beef: As discussed above, choose sirloin, ribeye, or your preferred cut
- Garlic: Fresh cloves, minced or pressed
- Ginger: Fresh, grated for that distinctive warmth
- Soy Sauce: Use low-sodium if preferred
- Butter: Unsalted, high-quality butter creates that signature richness
- Sesame Oil: Just a touch for authentic flavor
- Cooking Oil: High smoke point oil like avocado or peanut oil
- Salt & Pepper: Freshly ground for best flavor
For the signature hibachi “yum yum” sauce (though I call mine “wow wow” sauce because it’s that good), you’ll need:
- Mayonnaise: Use Japanese Kewpie mayo if available
- Rice Vinegar: Adds essential tanginess
- Paprika: For color and mild flavor
- Garlic Powder: Provides depth without harsh raw garlic
- Sugar: Just a pinch to balance flavors
- Mirin: Japanese sweet rice wine (optional but recommended)
- Ketchup: Just a small amount for color and sweetness
Essential Equipment
While traditional hibachi requires a specialized flat-top grill, I’ve found these tools create excellent results at home:
- Cast Iron Skillet: My preferred option—it retains heat beautifully and creates an amazing sear
- Heavy-Duty Carbon Steel Pan: Another excellent option that heats quickly and evenly
- Heat-Resistant Spatulas: Metal or high-heat silicone works best
- Instant-Read Thermometer: For perfect doneness every time
- Sharp Chef’s Knife: For clean, precise cuts of beef
The key is having equipment that can handle extremely high heat without warping. Your standard non-stick pan won’t work well for this technique—the temperatures required would damage the coating and potentially release harmful compounds.
The Perfect Hibachi Steak Bites Recipe
Now that we’ve covered the basics, let’s get cooking! This recipe serves 4 people generously.
Ingredients
For the steak:
- 1.5 pounds sirloin steak, cut into 1-inch cubes
- 2 tablespoons vegetable oil (avocado or peanut oil preferred)
- 3 tablespoons soy sauce
- 4 cloves garlic, minced
- 1 tablespoon fresh ginger, grated
- 2 tablespoons unsalted butter
- 1 teaspoon sesame oil
- Salt and freshly ground black pepper to taste
- 2 green onions, thinly sliced for garnish
- 1 tablespoon toasted sesame seeds for garnish
For the “Wow Wow” sauce:
- ½ cup mayonnaise (Japanese Kewpie preferred)
- 1 tablespoon rice vinegar
- 1 teaspoon paprika
- 1 teaspoon garlic powder
- ½ teaspoon sugar
- 1 teaspoon mirin (optional)
- 1 teaspoon ketchup
- 1-2 tablespoons water to thin as needed
Instructions
- Prepare the meat: Pat the steak cubes dry with paper towels (this is crucial for a good sear). Season generously with salt and pepper. Let sit at room temperature for 15-20 minutes.
- Make the sauce: While the steak comes to room temperature, combine all sauce ingredients in a small bowl. Whisk until smooth. Refrigerate until ready to serve.
- Heat your skillet: Place your cast iron skillet over high heat until it’s smoking hot. This typically takes 3-5 minutes. Don’t rush this step—proper heat is essential for that restaurant-quality sear.
- Cook in batches: Add 1 tablespoon of oil to the hot pan. Working in batches to avoid crowding (which would steam rather than sear the meat), add half the steak cubes in a single layer.
- Create the sear: Let the steak cook undisturbed for 1-2 minutes until a golden-brown crust forms. Flip each piece and repeat on all sides, about 3-4 minutes total for medium-rare.
- Add aromatics: In the last 30 seconds of cooking, add half of the minced garlic and ginger to the pan. Toss quickly to incorporate.
- Finish with butter and soy: Add 1 tablespoon of butter and 1.5 tablespoons of soy sauce. As the butter melts, toss the steak to coat. The soy sauce will create a delicious sizzle and caramelize slightly.
- Set aside and repeat: Transfer the first batch to a plate and cover loosely with foil. Add the remaining oil to the pan and repeat steps 4-7 with the remaining steak.
- Final touches: Return all steak to the pan over medium heat. Add the sesame oil and toss to combine. Cook for just 30 seconds more to marry the flavors.
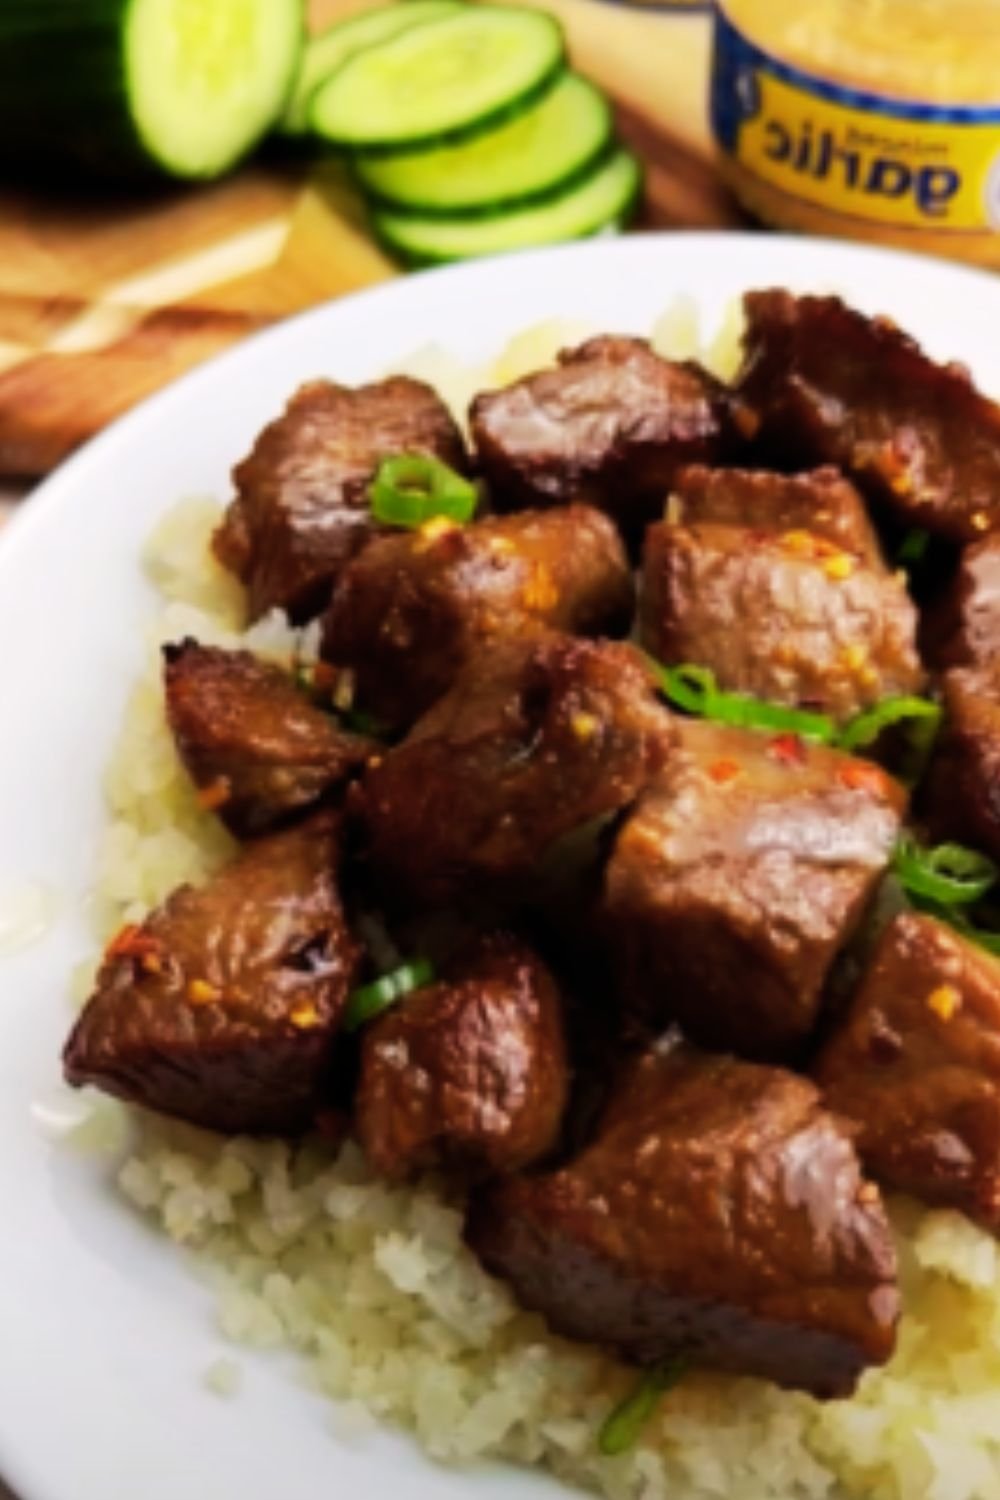
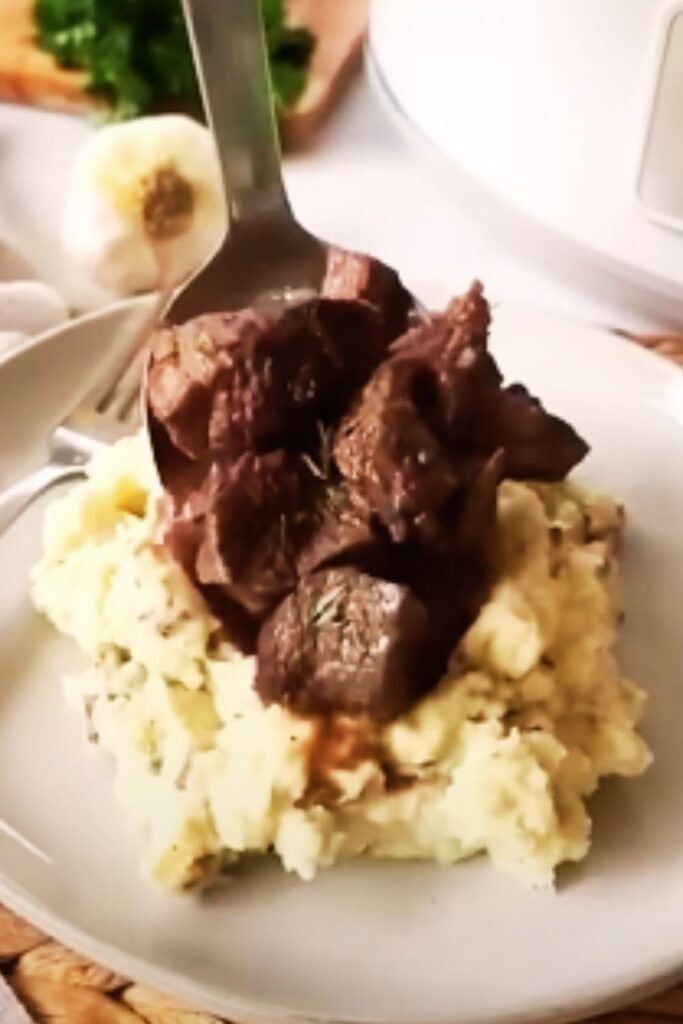
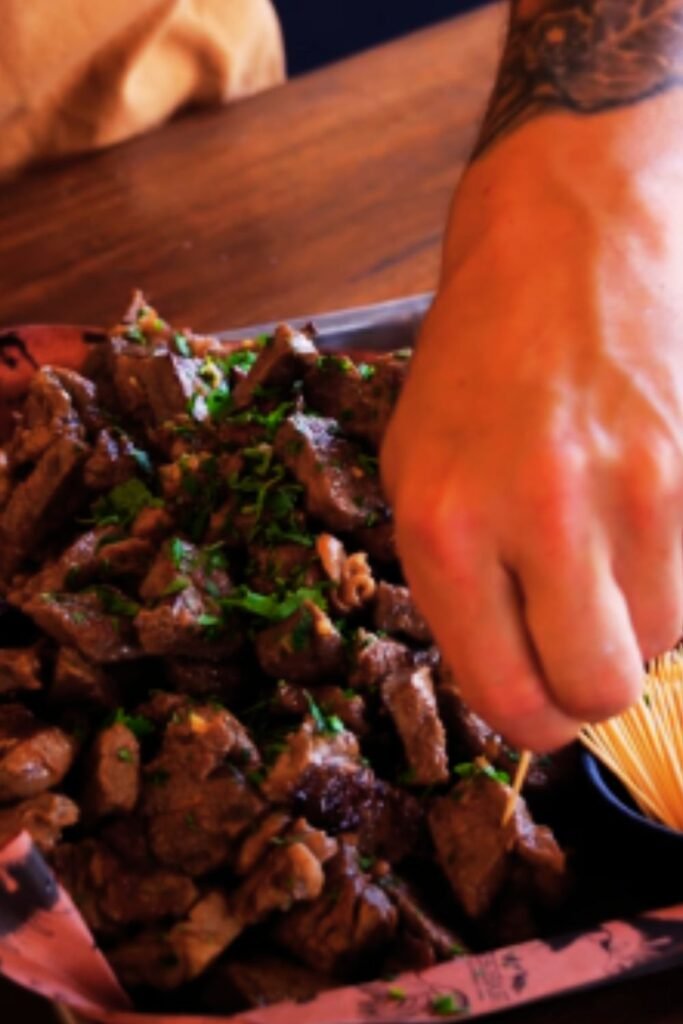
- Serve immediately: Transfer to a serving plate, garnish with sliced green onions and toasted sesame seeds. Serve with the “Wow Wow” sauce on the side.
Pro Tips for Perfect Hibachi Steak Every Time
After making this recipe dozens of times, I’ve discovered some game-changing tips:
- Dry meat = better sear: Always pat your steak completely dry before seasoning. Any moisture will create steam instead of that beautiful caramelization.
- Work in small batches: Overcrowding the pan is the enemy of good hibachi. Give those steak bites room to develop their crust.
- Get your pan screaming hot: Don’t be timid with the heat! A properly heated pan should be so hot that a drop of water instantly dances across the surface.
- Cut against the grain: This breaks up the muscle fibers and results in more tender bites.
- Rest the meat: Let your first batch rest while cooking the second. This allows juices to redistribute for maximum tenderness.
- Use clarified butter: For an even better result, use clarified butter or ghee, which can withstand higher temperatures without burning.
- Make extra sauce: Trust me, you’ll want it for dipping everything in sight!
Common Mistakes to Avoid
Even with a simple recipe, there are pitfalls that can turn your hibachi dream into a disappointment:
- Using wet marinade: Traditional hibachi doesn’t use wet marinades, as they prevent proper browning. The flavoring comes during and after cooking.
- Constantly stirring: Resist the urge to constantly move the steak around. Let it develop that crust!
- Overcooking: Hibachi steak should be juicy and tender. For most people, medium-rare to medium is ideal (130-145°F internal temperature).
- Using the wrong oil: Choose a high smoke-point oil like avocado, peanut, or refined safflower oil. Olive oil will smoke and burn at hibachi temperatures.
- Neglecting preparation: Having everything measured and ready before heating your pan makes the cooking process smooth and stress-free.
Delicious Variations to Try
While the classic hibachi steak bites are incredible on their own, here are some variations I’ve experimented with over the years:
- Spicy Hibachi: Add a teaspoon of sriracha or sambal oelek to the sauce for a spicy kick.
- Honey-Garlic Hibachi: Add a tablespoon of honey during the final toss for sweet-savory perfection.
- Citrus Hibachi: Add a squeeze of fresh orange juice and some zest in the final seconds of cooking.
- Mushroom Hibachi: Sauté sliced mushrooms in butter before cooking the steak, then combine them at the end.
- Teriyaki Style: Substitute teriyaki sauce for half of the soy sauce for a sweeter profile.
Perfect Side Dishes for Hibachi Steak Bites

Complete your hibachi experience with these complementary side dishes:
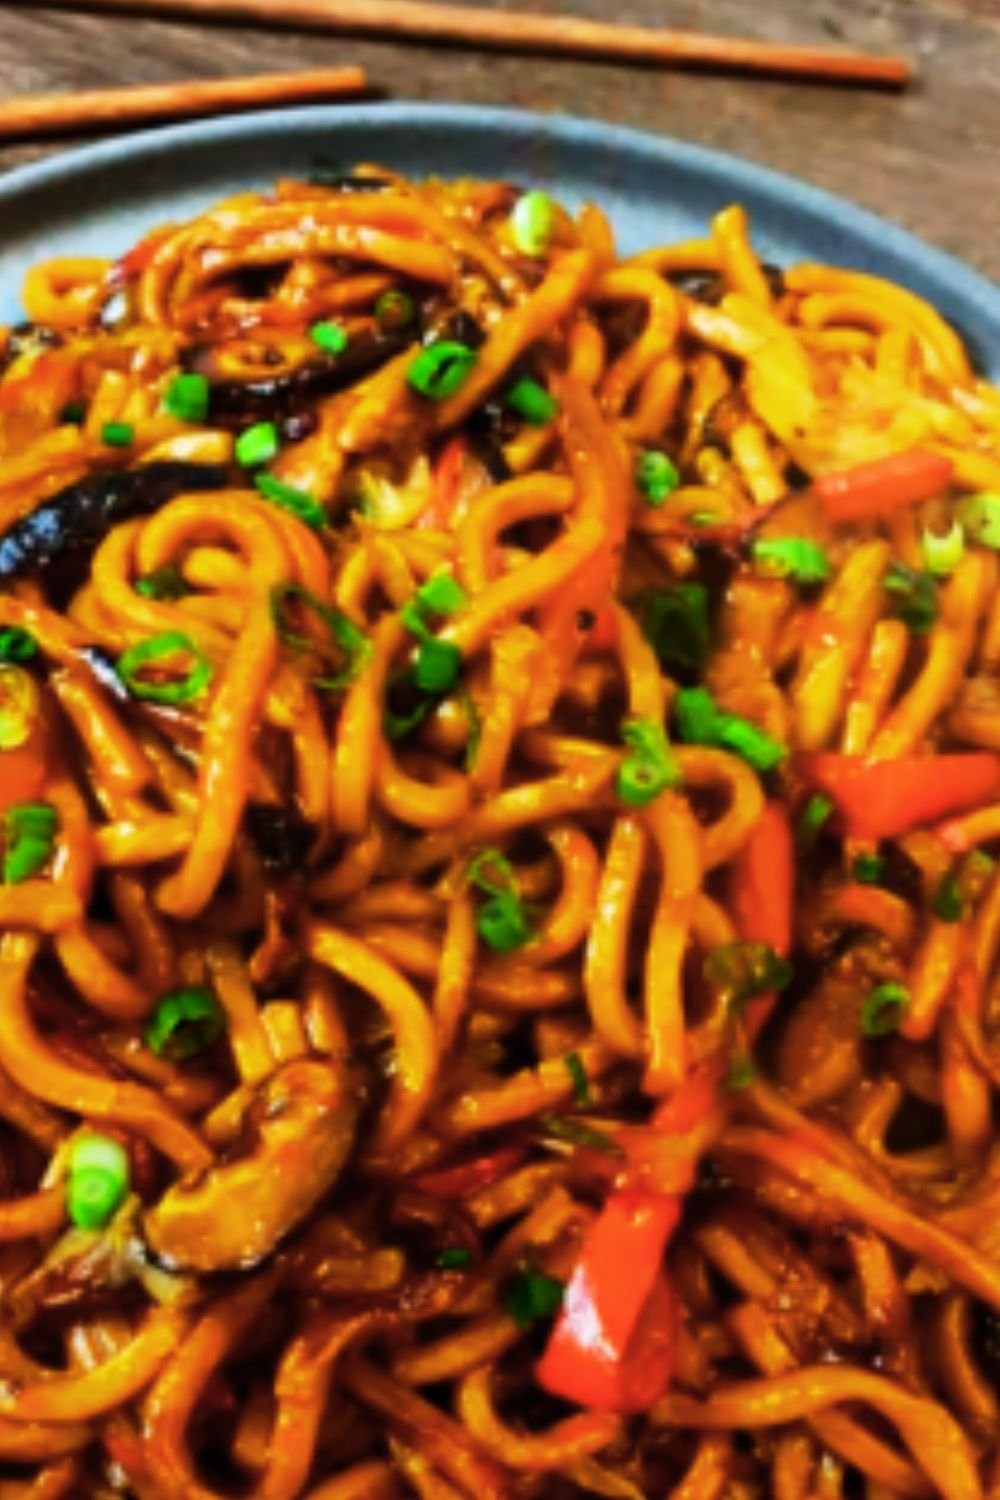
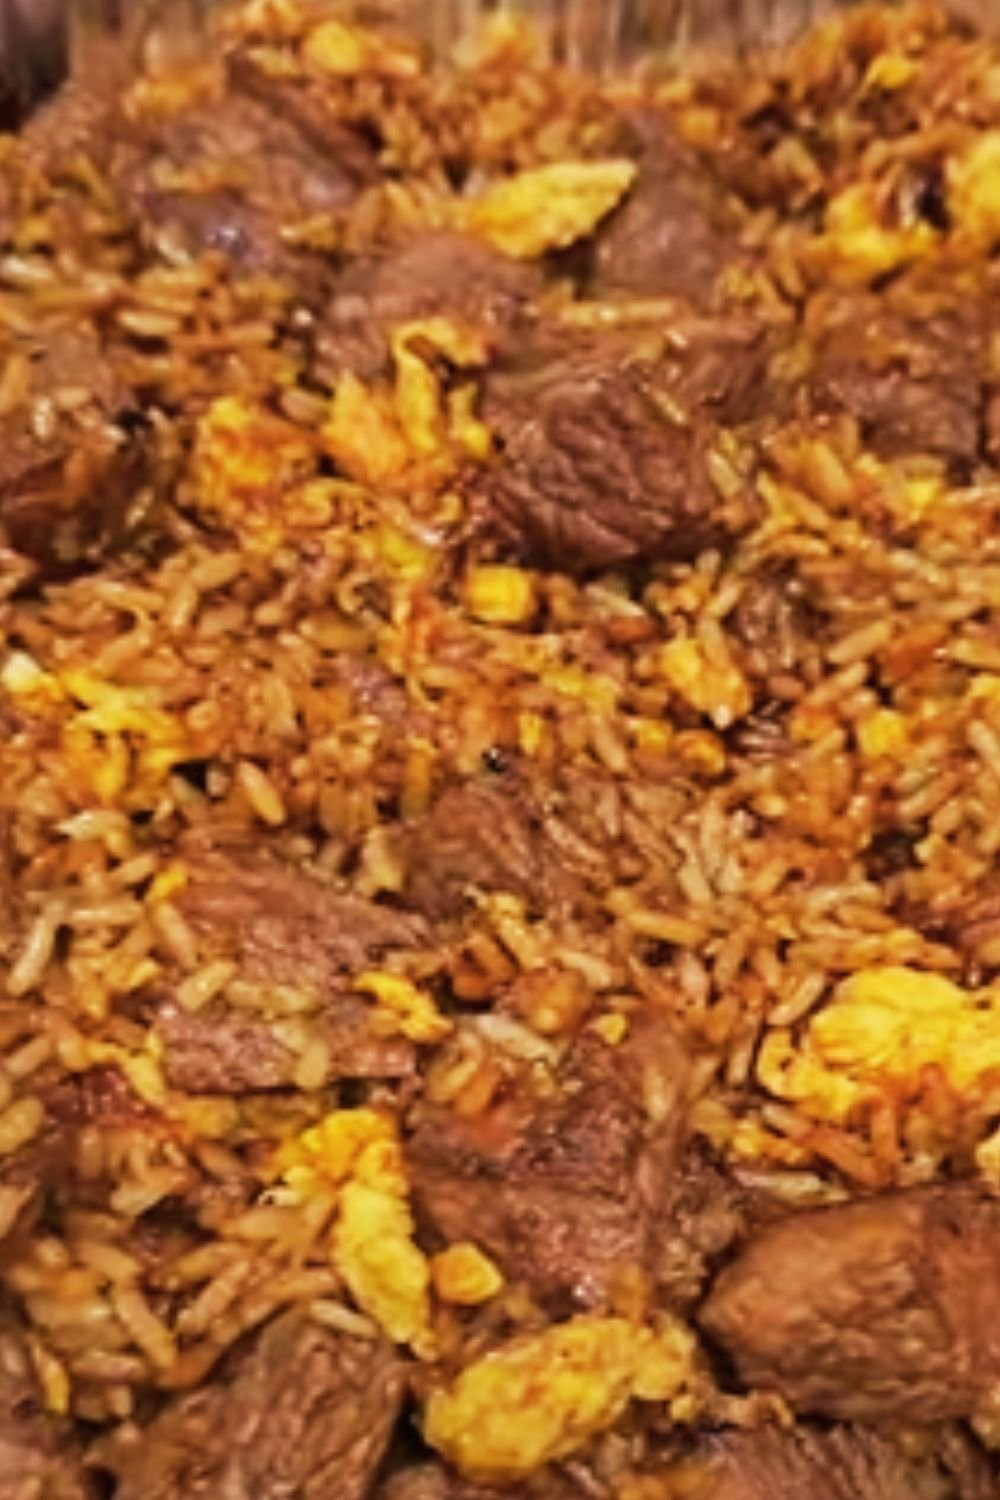
- Hibachi Fried Rice: Sauté day-old rice with butter, soy sauce, and vegetables.
- Hibachi Vegetables: Quickly stir-fry zucchini, onions, and mushrooms with a touch of soy sauce and butter.
- Ginger Salad: A simple green salad with that distinctive ginger dressing.
- Miso Soup: A light starter that balances the richness of the steak.
- Steamed Edamame: Sprinkled with sea salt for a simple appetizer.
- Cucumber Salad: Thinly sliced cucumbers in rice vinegar with a touch of sugar.
Serving Suggestions
When I have guests over, I love to create a hibachi-inspired spread. Here’s how I typically serve hibachi steak bites:
- Family Style: Place the steak bites and all sides in the center of the table for everyone to share.
- Individual Plates: Compose plates with steak bites, fried rice, and vegetables, just like at a restaurant.
- DIY Bowls: Set up a “build your own hibachi bowl” station with steak bites, rice, vegetables, and sauces.
- Appetizer Style: Serve just the steak bites with toothpicks and dipping sauce at a party.
- Bento Boxes: Create compartmentalized meals in bento boxes for a fun presentation.
For drinks, I like to serve:
- Sparkling water with a slice of lemon
- Iced green tea
- Jasmine tea
- Lemonade
Storage and Reheating
In the rare event that you have leftovers, here’s how to handle them:
- Storage: Refrigerate leftover steak bites in an airtight container for up to 3 days.
- Reheating: For best results, reheat in a hot skillet with a touch of oil just until warmed through. Avoid microwaving if possible, as it can make the steak tough.
- Repurposing: Leftover steak bites make fantastic additions to salads, wraps, or grain bowls the next day.
Questions & Answers
Can I use frozen steak for hibachi steak bites? While fresh is always best, you can use frozen steak if properly thawed. Thaw completely in the refrigerator overnight, then ensure the meat is completely dry before cooking. You may not achieve quite the same level of caramelization, but the result will still be delicious.
What’s the secret to getting that restaurant-quality flavor? The combination of extremely high heat, quality butter, and the magical trio of garlic, ginger, and soy sauce creates that authentic flavor. Don’t skimp on any of these elements!
My steak turned out tough. What went wrong? There are three likely culprits: overcooking, not cutting against the grain, or using a cut with too much connective tissue. Try cooking for less time, ensure you’re cutting against the muscle grain, or switch to a more tender cut like ribeye or sirloin.
Can I make this dish ahead of time for a party? Hibachi steak bites are best enjoyed fresh off the pan. However, you can prep everything in advance (cut meat, make sauce, chop garnishes) and cook just before serving. If absolutely necessary, you can cook them up to an hour ahead and keep them warm in a 200°F oven, though they won’t be quite as perfect as fresh.
What’s the best way to achieve that smoky hibachi flavor without a special grill? A cast iron skillet is your best friend here. Get it scorching hot, use a high smoke-point oil, and work in small batches to maintain the temperature. For an extra touch of smokiness, you can add a drop or two of liquid smoke to the soy sauce.
How do I prevent my kitchen from getting too smoky? Smoke is inevitable with high-heat cooking, but you can minimize it by using oils with high smoke points, ensuring your meat is dry before cooking, and turning on your exhaust fan to high. Opening windows helps too. In my house, I temporarily disconnect the smoke detector in the kitchen (just don’t forget to reconnect it afterward!).
Can I make this dish with chicken or shrimp instead? Absolutely! For chicken, use boneless thighs cut into bite-sized pieces and cook until they reach 165°F internally. For shrimp, cook just until they turn pink and opaque, about 2 minutes per side. The flavoring process remains the same.
Nutritional Information
For those watching their intake, here’s the approximate nutritional breakdown per serving (¼ of recipe, steak only without sauce):
| Nutrient | Amount |
|---|---|
| Calories | 310 |
| Protein | 29g |
| Fat | 21g |
| Saturated Fat | 7g |
| Carbohydrates | 2g |
| Sodium | 720mg |
| Fiber | 0g |
| Sugar | 0g |
Remember that these values will vary based on your specific ingredients and portion sizes.
Final Thoughts
Creating restaurant-quality hibachi steak bites at home has been one of my most satisfying culinary achievements. There’s something magical about the sizzle of the pan, the mouthwatering aroma that fills the kitchen, and the look of delight on everyone’s faces when they taste that first perfectly seasoned bite.
While it may seem intimidating at first, hibachi cooking is actually one of the more approachable “restaurant techniques” to master at home. With just a few quality ingredients, the right equipment, and attention to temperature and timing, you’ll be amazed at what you can create.
So fire up that cast iron, prepare your ingredients, and get ready for a hibachi experience that might just be better than what you’d get at a restaurant—and certainly more affordable! Your family and friends will be impressed, your taste buds will thank you, and you’ll have yet another standout recipe in your culinary arsenal.
Happy cooking!