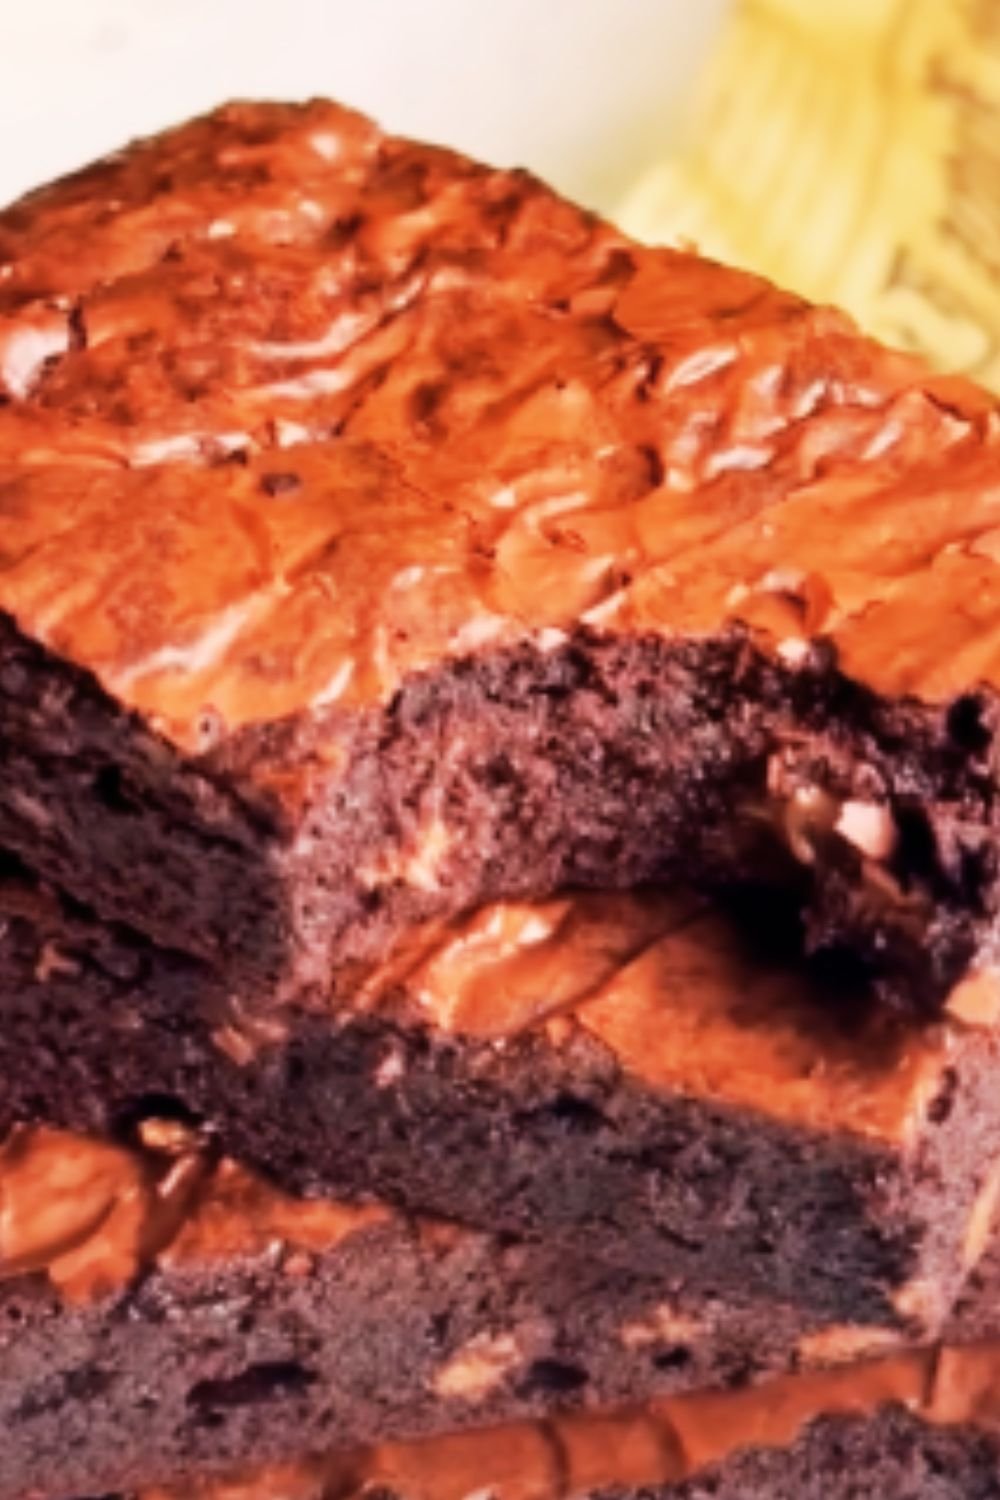
There’s something magical about biting into a warm, freshly-baked brownie. That perfect crackly top giving way to a rich, fudgy center is one of life’s simple pleasures. I’ve spent years perfecting my homemade brownie recipe, and today I’m sharing all my secrets with you. Trust me when I say that once you make these from scratch, you’ll never look at box mixes the same way again.
Why Homemade Brownies Beat Store-Bought Every Time
Before diving into the recipe, let me tell you why making brownies from scratch is absolutely worth the (minimal) extra effort:
- Real ingredients mean real flavor. No artificial additives or preservatives.
- Customizable texture – make them as fudgy or cakey as you prefer.
- Adjustable sweetness – control exactly how sweet your treats will be.
- Endless variations – add any mix-ins your heart desires.
- Bragging rights – there’s nothing like saying “I made these from scratch.”
When I first started baking, I relied heavily on boxed mixes. They were convenient and reliable, but once I discovered how simple and infinitely better homemade brownies are, I never looked back. The difference in taste is extraordinary.
Essential Ingredients for Perfect Brownies
Let’s break down what makes a truly exceptional brownie. The quality of your ingredients matters, especially when working with such a simple recipe.
Chocolate Selection
The chocolate you choose forms the backbone of your brownies’ flavor profile:
| Chocolate Type | Best For | Flavor Notes |
|---|---|---|
| Unsweetened Chocolate | Deep, intense brownies | Pure cocoa flavor, requires additional sugar |
| Bittersweet (60-70%) | Balanced brownies | Rich with moderate sweetness |
| Semisweet (50-60%) | Sweeter brownies | Familiar chocolate flavor, crowd-pleaser |
| Cocoa Powder | When used with butter | Intense chocolate flavor, fudgier texture |
I prefer using a combination of high-quality bittersweet chocolate and cocoa powder for the most complex flavor. The chocolate provides richness while the cocoa intensifies the chocolate flavor without adding too much fat.
The Role of Fats in Brownies
| Fat: | Effect on Brownies: |
|---|---|
| Butter | Rich flavor, slightly more cakey texture |
| Oil | Fudgier texture, longer shelf life |
| Both | The perfect balance of flavor and texture |
My recipe uses mostly butter for that incomparable flavor, with a touch of oil to ensure the brownies stay moist for days (if they last that long!).
Sugar Choices
| Sugar Type | Effect on Brownies |
|---|---|
| Granulated | Creates that classic crackly top |
| Brown | Adds moisture and caramel notes |
| Powdered | Results in a softer, more delicate texture |
I’ve found that a combination of granulated and light brown sugar creates the perfect balance of texture and flavor. The granulated sugar is essential for that shiny, crackly top we all love.
The Ultimate Fudgy Brownie Recipe
Now let’s get to the recipe that has won me countless compliments and requests for more. This makes a 9×9 inch pan of brownies, which serves about 16 people (or just me on a really bad day—kidding… mostly).
Ingredients
- 170g (3/4 cup) unsalted butter
- 115g (4 oz) high-quality bittersweet chocolate, chopped
- 200g (1 cup) granulated sugar
- 100g (1/2 cup) light brown sugar, packed
- 3 large eggs, room temperature
- 2 tsp vanilla extract
- 1 tbsp espresso powder (optional, but enhances chocolate flavor)
- 95g (3/4 cup) all-purpose flour
- 30g (1/4 cup) Dutch-processed cocoa powder
- 3/4 tsp salt
- 1 tbsp vegetable oil
- 170g (1 cup) mix-ins of choice (chocolate chips, nuts, etc.), optional
Equipment Needed
- 9×9 inch baking pan
- Parchment paper
- Mixing bowls (heat-safe and regular)
- Whisk
- Rubber spatula
- Measuring cups and spoons

Step-by-Step Instructions
- Prepare your pan: Preheat your oven to 350°F (175°C). Line your baking pan with parchment paper, leaving overhang on the sides for easy removal.
- Melt chocolate and butter: In a heat-safe bowl, combine butter and chopped chocolate. Melt together using either:
- Microwave: Heat in 30-second intervals, stirring between each until smooth
- Double boiler: Place bowl over simmering water, stirring until melted
- Mix wet ingredients: In a large bowl, whisk together granulated sugar, brown sugar, and eggs until fully combined. This will take about 1-2 minutes of vigorous whisking. Add the vanilla extract and espresso powder (if using).
- Combine wet and melted chocolate: Pour the slightly cooled chocolate-butter mixture into the egg mixture, whisking constantly as you pour. This prevents the eggs from scrambling. Whisk until completely incorporated and glossy.
- Add dry ingredients: Sift the flour, cocoa powder, and salt directly over the wet ingredients. Using a rubber spatula, fold everything together with gentle strokes until just combined. Small streaks of flour are fine at this stage.
- Add mix-ins: If using, fold in chocolate chips, nuts, or other add-ins until evenly distributed. Be careful not to overmix.
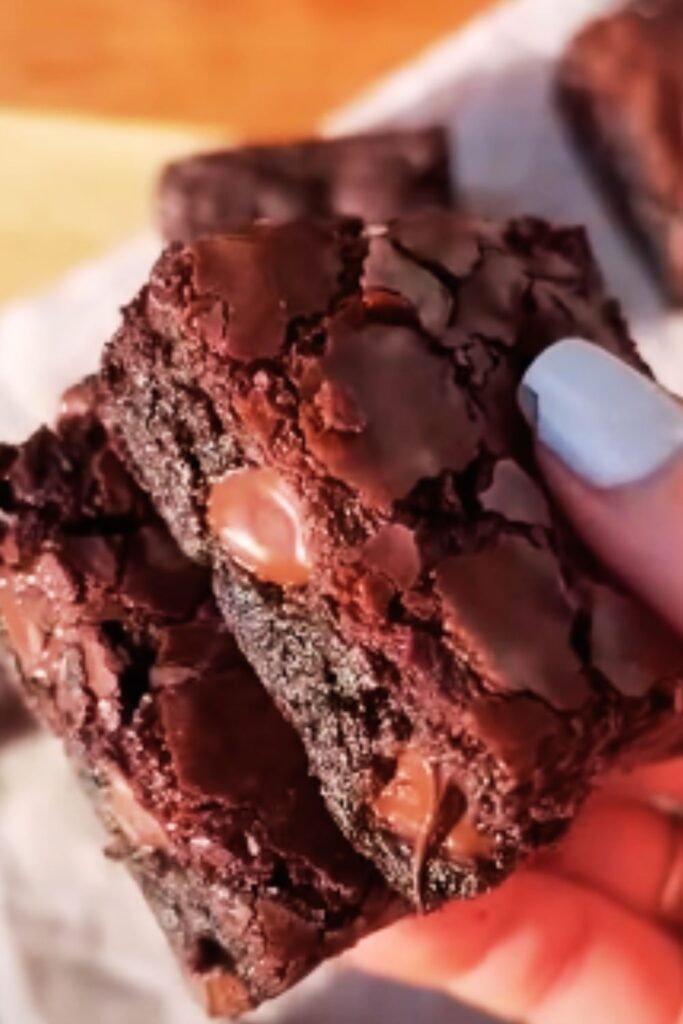
- Bake: Pour the batter into your prepared pan, smoothing the top with a spatula. Bake for 25-30 minutes. The perfect brownie will have a shiny, crackly top and a toothpick inserted into the center should come out with a few moist crumbs (not wet batter).
- Cool properly: This is crucial! Let the brownies cool in the pan for at least 1 hour. For clean cuts, refrigerate for another hour after cooling at room temperature.
- Slice and serve: Use the parchment overhang to lift the brownies out of the pan. With a sharp knife, cut into squares. For the cleanest cuts, wipe your knife between slices and use a gentle sawing motion.
The Science Behind Perfect Brownies
Understanding the science has helped me troubleshoot and perfect my recipe over the years:
The Mixing Method Matters
Unlike many baked goods, brownies actually benefit from a bit of air incorporation during the sugar and egg mixing stage. This creates that distinctive crackly top by forming a meringue-like crust. However, once you add the flour, minimal mixing is key to avoid developing gluten, which would make your brownies tough instead of tender.
Baking Time is Everything
The difference between fudgy and cakey brownies often comes down to baking time:
| Baking Time | Result |
|---|---|
| 20-25 minutes | Super fudgy, almost gooey center |
| 25-30 minutes | Perfect fudgy-but-set texture |
| 30-35 minutes | More cakey brownies |
I’ve found that the perfect time for my recipe is exactly 28 minutes in my oven, but every oven is different. Start checking at the 25-minute mark by gently shaking the pan. The center should be mostly set with just a slight jiggle.
Temperature Effects
Here’s a surprising tip I’ve learned: melting your butter and chocolate together helps create that fudgy texture, as it coats the flour particles and prevents too much gluten development. And letting the mixture cool slightly before adding it to the eggs ensures you don’t accidentally scramble them.
Common Brownie Problems and Solutions
| Brownie Issue | Cause | Solution |
|---|---|---|
| Too cakey | Too much flour or leavening | Reduce flour by 2 tbsp, ensure no baking powder is used |
| Too dry | Overbaking | Check 5 minutes earlier next time |
| No crackly top | Sugar and eggs not whisked enough | Whisk sugar and eggs vigorously for 1-2 minutes |
| Sinks in middle | Underbaked or opened oven door | Bake longer, avoid opening oven during first 20 minutes |
| Tough texture | Overmixing after adding flour | Use gentle folding technique with spatula |
Brownie Variations to Try
Once you’ve mastered the basic recipe, the world of brownie variations opens up. Here are some of my favorites:
Flavor Additions
| Add to basic recipe: | Amount: |
|---|---|
| Peanut butter swirl | 1/4 cup slightly warmed peanut butter, swirled on top before baking |
| Mint chocolate | 1/2 tsp mint extract + 1 cup mint chocolate chips |
| Mexican chocolate | 1 tsp cinnamon + pinch of cayenne pepper |
| Salted caramel | 1/3 cup caramel sauce swirled on top + flaky sea salt |
| Coffee | Increase espresso powder to 1 tbsp |
Texture Variations
| Mix-in: | Amount: |
|---|---|
| Chopped nuts (walnuts, pecans) | 3/4 cup |
| Chocolate chips | 1 cup |
| Crushed cookies | 1 cup |
| Dried cherries | 1/2 cup |
| Coconut flakes | 1/2 cup |
| Toffee bits | 1/2 cup |
I particularly love adding toasted walnuts and a swirl of tahini on top for a sophisticated twist. The nuttiness complements the chocolate beautifully.
How to Store Brownies
Proper storage ensures your brownies stay fresh and delicious:
| Storage Method | Duration | Notes |
|---|---|---|
| Room temperature | 3-4 days | Store in airtight container |
| Refrigerator | 1 week | Wrap tightly, bring to room temp before eating |
| Freezer | 3 months | Wrap individual brownies, thaw at room temp |
Pro tip: For that freshly-baked taste after storage, microwave a refrigerated brownie for 10-15 seconds. It’s almost as good as straight from the oven!
Serving Suggestions
Transform your brownies from great to extraordinary with these serving ideas:
- Warm brownie with a scoop of vanilla ice cream
- Drizzled with warm ganache or caramel sauce
- Served with fresh raspberries or strawberries
- Topped with a dollop of lightly sweetened whipped cream
- As the base for a brownie sundae with multiple toppings
- Crumbled over yogurt for a decadent breakfast treat (I won’t tell anyone)

Nutritional Considerations and Substitutions
While brownies are definitely a treat, there are ways to adapt the recipe for various dietary needs:
Gluten-Free Brownies
Replace the all-purpose flour with:
- A 1:1 gluten-free flour blend
- Almond flour (use 25% less)
- Oat flour (makes slightly cakier brownies)
I’ve found that gluten-free brownies actually have an advantage—less gluten means less chance of tough brownies!
Vegan Brownies
Replace animal products with:
- Butter → vegan butter or coconut oil
- Eggs → flax eggs (1 tbsp ground flaxseed + 3 tbsp water per egg)
- Chocolate → ensure you use dairy-free chocolate
Reduced Sugar Options
While sugar is important for the brownie’s structure, you can:
- Reduce total sugar by up to 25% for a less sweet treat
- Replace up to 50% with coconut sugar for a lower glycemic option
- Add an extra egg if reducing sugar significantly to maintain moisture
Q&A Section: Your Brownie Questions Answered
Q: Why do my brownies always turn out cakey instead of fudgy?
This usually happens because of too much flour or too much air being incorporated. For fudgier brownies: measure your flour accurately (preferably by weight), don’t overmix after adding flour, and slightly underbake them. Also, recipes with a higher ratio of fat to flour will yield fudgier results.
Q: Do I really need to use both cocoa powder and chocolate?
No, but I highly recommend it for the best flavor and texture. Cocoa powder contributes intense chocolate flavor without adding extra fat, while melted chocolate provides richness and helps create that wonderful texture. If you must choose one, go with melted chocolate for fudgy brownies or cocoa powder (with extra butter) for more intensely flavored brownies.
Q: My brownies never get that shiny, crackly top. What am I doing wrong?
The crackly top comes from properly dissolving the sugar in the eggs, creating a meringue-like layer on top. Try whisking your eggs and sugar vigorously for 1-2 minutes until the mixture lightens in color. Also, using granulated sugar (not just brown sugar) helps achieve this effect.
Q: Can I double this recipe for a larger batch?
Absolutely! Double all ingredients and use a 9×13 inch pan. You’ll need to add about 5-10 minutes to the baking time, but still look for the same visual cues—crackly top, mostly set center with a slight jiggle.
Q: How can I tell when brownies are done without overbaking them?
This is tricky because the toothpick test works differently for brownies than for cakes. Insert a toothpick in the center—for fudgy brownies, it should come out with a few moist crumbs attached (not clean, but not covered in wet batter either). The edges should be set, and the center should be just slightly jiggly. Remember that brownies continue cooking slightly after removal from the oven.
Q: Why do you add espresso powder? Does it make the brownies taste like coffee?
Espresso powder doesn’t make the brownies taste like coffee—it actually enhances and deepens the chocolate flavor. It’s a trick professional bakers use! If you’re concerned, start with just 1 teaspoon. I promise you won’t taste coffee, just more intense chocolate.
Q: My brownies always stick to the pan. How can I prevent this?
Always line your pan with parchment paper with overhang on at least two sides. This creates handles to lift the entire brownie slab out after cooling. If you don’t have parchment, you can grease and flour the pan, but parchment is foolproof.
Q: Can I use Dutch-processed and natural cocoa powder interchangeably?
In brownies, usually yes, since this recipe doesn’t rely on chemical leaveners that would be affected by the acidity difference. Dutch-processed cocoa has a smoother, less bitter flavor, while natural cocoa is more acidic and intense. I prefer Dutch-processed for its rich color and smooth flavor, but either will work.
Final Thoughts
Making perfect homemade brownies isn’t just about following a recipe—it’s about understanding how each ingredient and technique contributes to the final result. I hope this guide has given you not just instructions, but the knowledge to create brownies exactly the way you like them.
The real secret to amazing brownies is making them with care and sharing them with people you love. There’s something deeply satisfying about watching someone’s face light up when they bite into a homemade brownie that’s still slightly warm from the oven.
So preheat that oven, grab your mixing bowls, and get ready to experience chocolate bliss. Your journey to brownie perfection starts now—and I’d love to hear how your creations turn out!