There’s something magical about the combination of ham and cheese. When these two ingredients come together, especially when wrapped in a crispy coating, they create an irresistible treat that disappears from serving platters within minutes. I’ve been making these ham and cheese sticks for years, tweaking the recipe until I found the perfect balance of flavors and textures. Today, I’m excited to share my ultimate version with you.
These crispy, gooey sticks of deliciousness are versatile enough for any occasion – from casual family movie nights to sophisticated cocktail parties. The beauty lies in their simplicity combined with that “wow” factor when guests bite into the crunchy exterior to discover the molten cheese and savory ham inside.
Why You’ll Love This Recipe
Before diving into the details, let me share why these ham and cheese sticks have become my go-to appetizer:
- They require simple, easy-to-find ingredients
- The prep can be done ahead of time
- They cook in just minutes
- The contrast between the crispy exterior and melty interior is mind-blowing
- They’re endlessly customizable with different cheeses and seasonings
- Both kids and adults devour them equally
- They’re perfect for entertaining or quick family snacks
Ingredients You’ll Need
For approximately 24 ham and cheese sticks, you’ll need:
| Ingredient | Quantity | Notes |
|---|---|---|
| Spring roll wrappers | 12 sheets | Cut in half diagonally to make 24 triangles |
| High-quality ham | 12 slices | Thinly sliced, good quality deli ham works best |
| Cheese sticks | 8 sticks | Mozzarella or cheddar, cut into thirds (24 pieces) |
| Eggs | 2 large | Beaten, for sealing the wrappers |
| Vegetable oil | 4 cups | For deep frying |
| All-purpose flour | 2 tablespoons | For dusting |
| Water | 1/4 cup | To help seal wrappers if needed |
For the Optional Seasoning Mix:
| Ingredient | Quantity | Notes |
|---|---|---|
| Garlic powder | 1 teaspoon | For extra flavor |
| Dried oregano | 1/2 teaspoon | Adds an Italian touch |
| Paprika | 1/2 teaspoon | For color and mild spice |
| Black pepper | 1/4 teaspoon | Freshly ground is best |
| Salt | 1/4 teaspoon | To taste |
For the Dipping Sauce Options:
| Sauce Type | Base Ingredients | Flavor Additions |
|---|---|---|
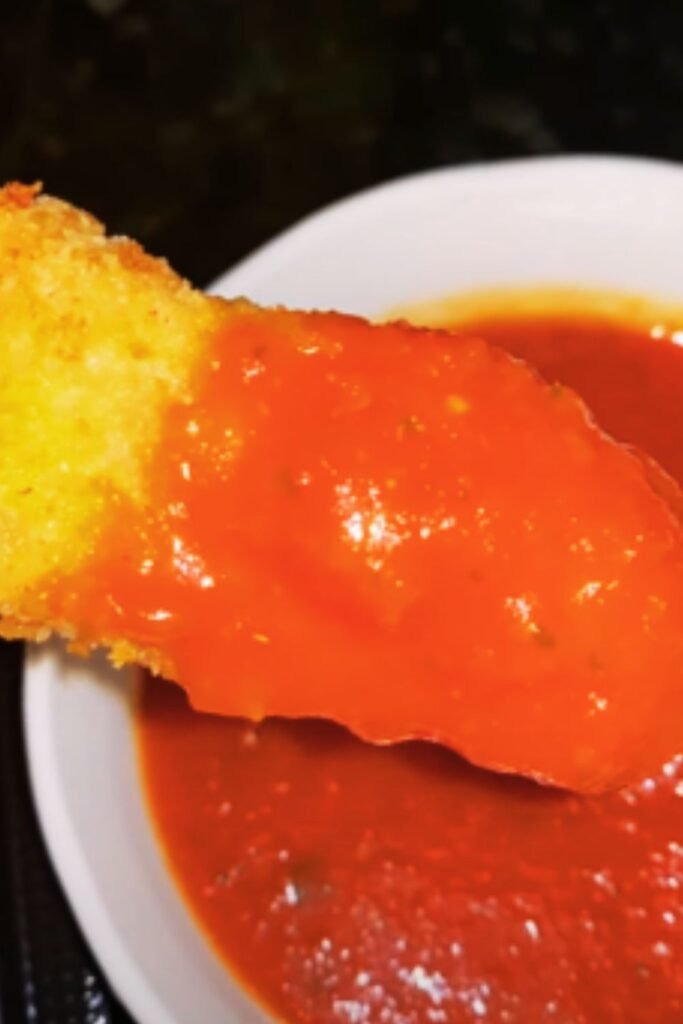
| Classic Marinara | Tomato sauce, olive oil, garlic | Oregano, basil, salt, pepper |
| Honey Mustard | Dijon mustard, honey | Mayonnaise, lemon juice |
| Ranch | Sour cream, mayonnaise | Dill, parsley, garlic powder, onion powder |
| Sweet Chili | Sweet chili sauce | Lime juice, cilantro |
Essential Equipment
- Deep fryer or deep heavy-bottomed pot
- Cooking thermometer (to monitor oil temperature)
- Paper towels for draining
- Tongs for handling the sticks while frying
- Cooling rack
- Small bowls for beaten egg wash

Step-by-Step Instructions
Preparation Phase
- Prepare your work surface: Create a clean, spacious work area. Have all ingredients measured and ready to go.
- Cut the cheese: If using whole cheese sticks, cut each into three equal pieces. You need 24 pieces total.
- Prepare the ham: Cut each slice of ham in half. Each piece should be large enough to wrap around a cheese stick piece.
- Make the egg wash: Beat the eggs in a small bowl. This will serve as the “glue” for sealing your wrappers.
- Mix the seasoning: If using, combine garlic powder, oregano, paprika, black pepper, and salt in a small bowl.
Assembly Process
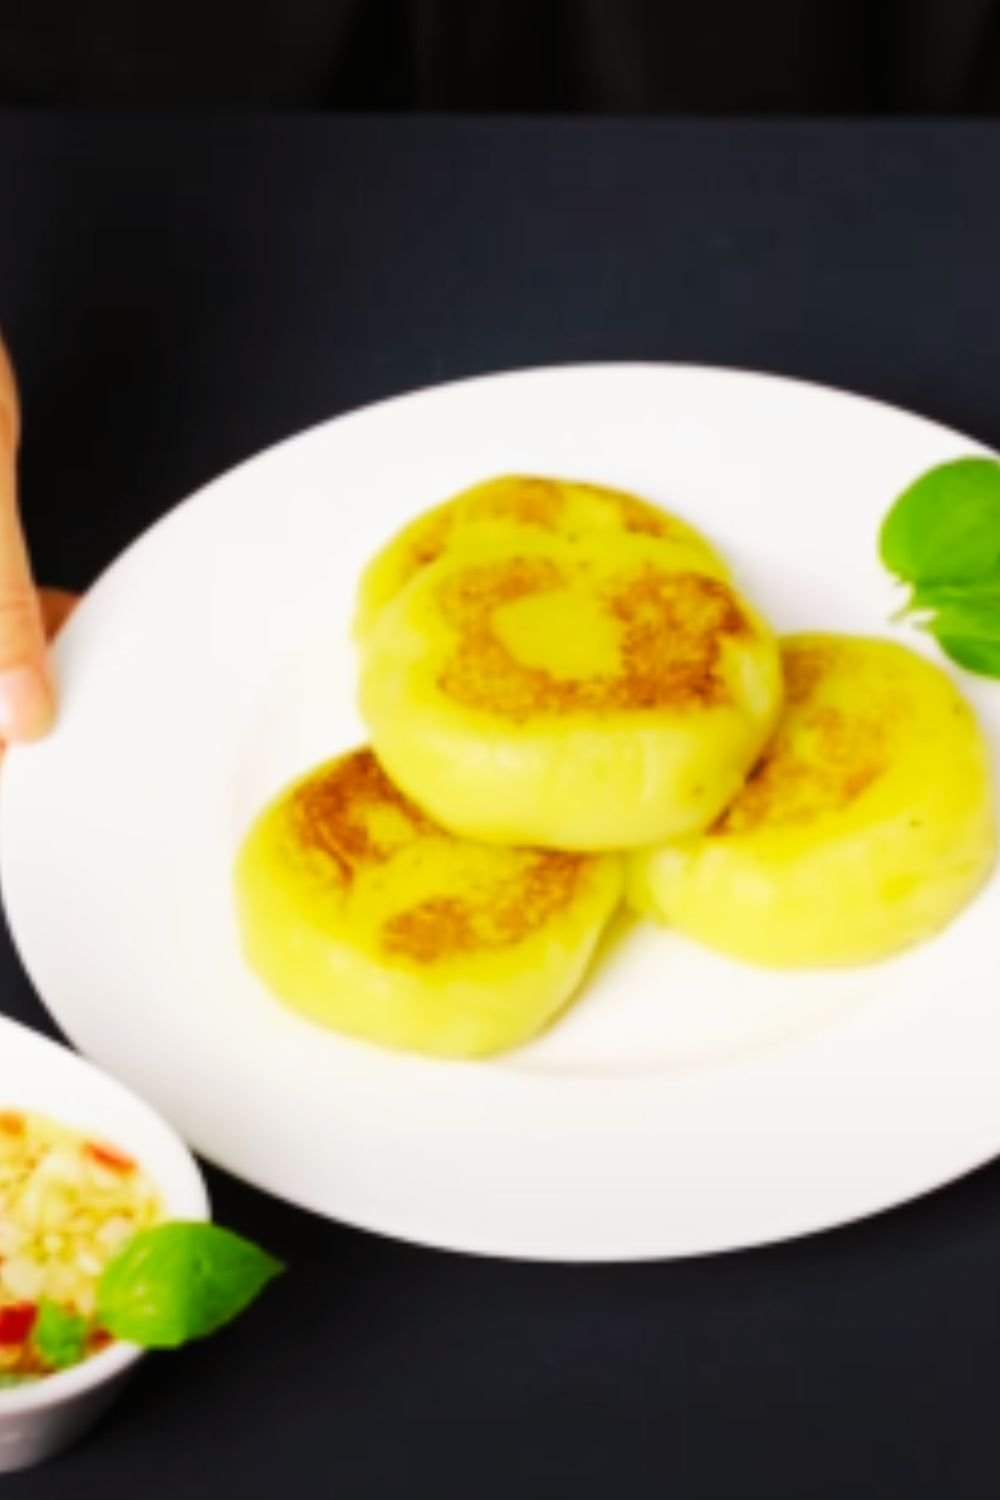
- Lay out a wrapper: Place one spring roll wrapper with the point facing you (like a diamond shape).
- Add ham and cheese: Place a piece of ham in the center of the wrapper, sprinkle with a pinch of the seasoning mix if using, and place a cheese stick piece on top.
- Begin wrapping: Fold the bottom point of the wrapper over the ham and cheese.
- Fold sides: Fold in the left and right corners toward the center.
- Complete the roll: Roll upward toward the remaining point, creating a tight cylinder. The cheese should be completely enclosed.
- Seal the edges: Brush the final point and edges with egg wash before completing the roll. Press gently to ensure a good seal.
- Set aside: Place the completed stick on a plate and cover with a slightly damp cloth to prevent drying out. Repeat until all sticks are assembled.
Cooking Instructions
- Heat the oil: In a deep fryer or heavy pot, heat oil to 350°F (175°C). Maintaining this temperature is crucial for crispy, not greasy, results.
- Test the oil: Drop a small piece of wrapper into the oil. If it bubbles vigorously and rises to the surface, your oil is ready.
- Cook in batches: Carefully lower 3-4 sticks into the oil at a time, avoiding overcrowding which lowers the oil temperature.
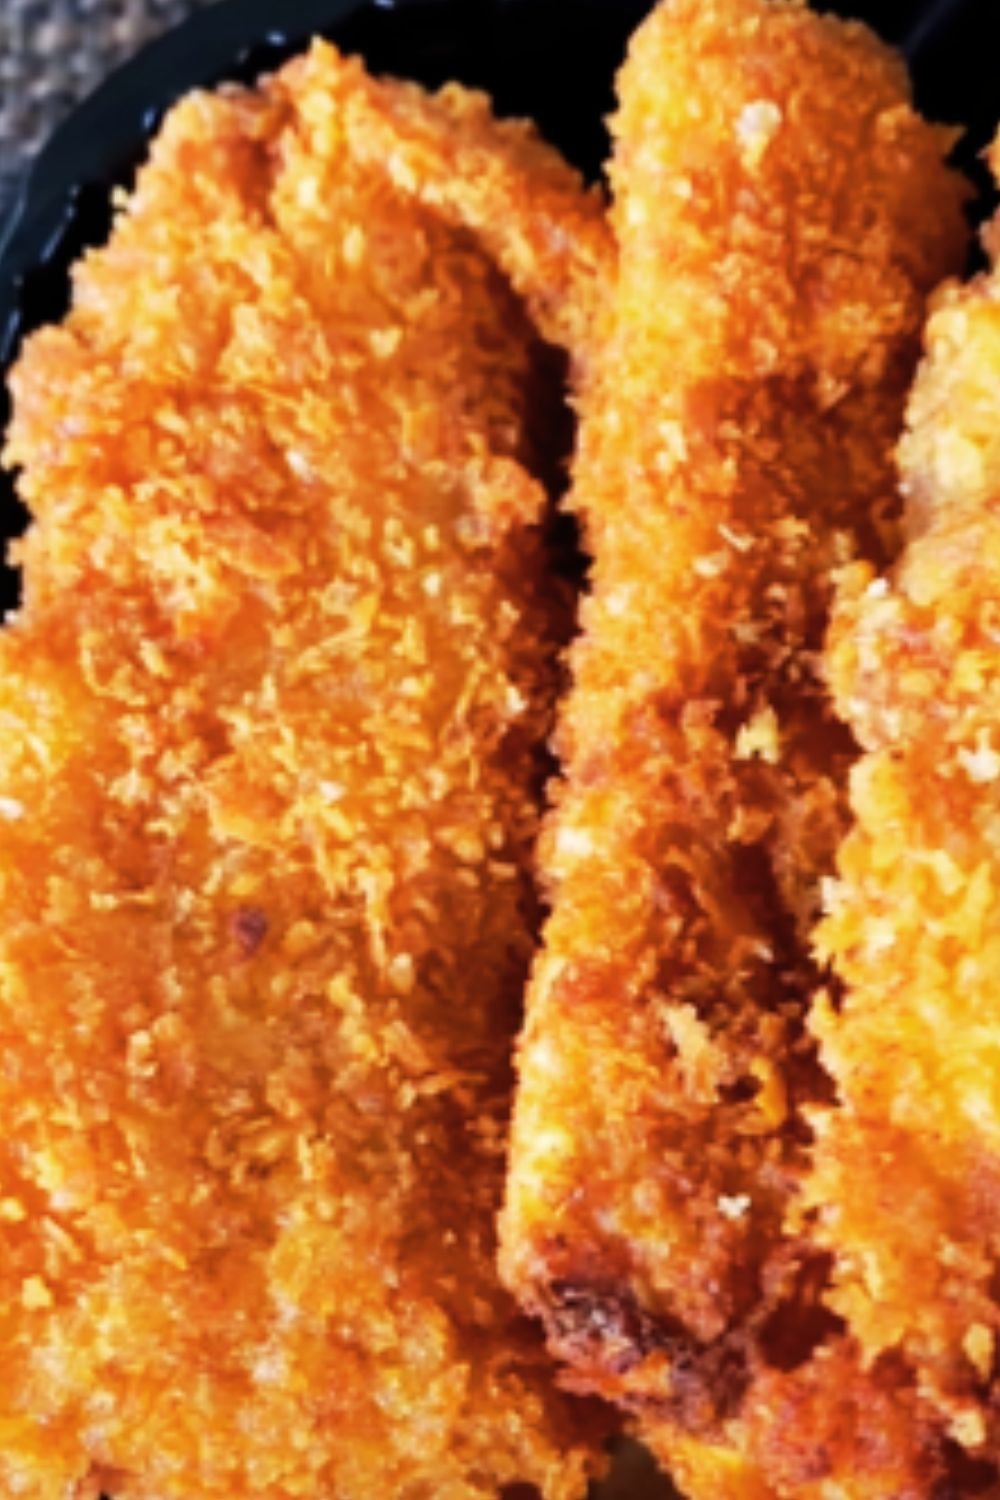
- Monitor cooking time: Fry for 2-3 minutes, turning occasionally, until golden brown on all sides.
- Drain excess oil: Remove with tongs and place on paper towels or a wire rack to drain.
- Continue with remaining batches: Maintain oil temperature between batches for consistent results.
Pro Tips For Perfect Ham and Cheese Sticks
After years of making these delightful appetizers, I’ve learned some valuable lessons:
- Choose the right cheese: Mozzarella provides that classic stretch, while cheddar offers more flavor. For the adventurous, try pepper jack or provolone.
- Wrapper integrity is key: Double-check all seals before frying to prevent cheese leakage. If a wrapper tears during assembly, start over with a new one.
- Oil temperature management: Too cool, and your sticks absorb excess oil. Too hot, and they burn before the cheese melts. A cooking thermometer is invaluable here.
- Freezer trick: If you have time, place the assembled (uncooked) sticks in the freezer for 15-20 minutes before frying. This helps the cheese melt at the perfect rate during cooking.
- Wrapper alternatives: If spring roll wrappers aren’t available, you can use won ton wrappers (overlapping as needed) or even egg roll wrappers cut to size.
- Make-ahead option: Assemble the sticks up to 24 hours ahead and store covered in the refrigerator, or freeze for longer storage (up to 1 month).
Variations to Try
The basic ham and cheese stick is just the beginning. Here are some delicious variations I’ve experimented with:
Different Fillings
| Base Combination | Add-Ins | Flavor Profile |
|---|---|---|
| Ham + Swiss | Dijon mustard | Classic French |
| Ham + Mozzarella | Fresh basil leaf | Italian-inspired |
| Ham + Cheddar | Pickled jalapeño slices | Spicy Southwest |
| Ham + Brie | Fig jam | Gourmet sweet-savory |
| Turkey + Provolone | Pesto spread | Lighter alternative |
| Prosciutto + Fontina | Sage leaf | Sophisticated Italian |
Coating Options
For even more texture and flavor, try one of these coating methods after frying:
- Herb Dusting: Mix dried parsley, grated Parmesan, and a touch of garlic powder. Sprinkle over hot sticks immediately after frying.
- Sesame Crust: Brush wrappers with egg wash and dip in sesame seeds before frying for a nutty exterior.
- Panko Layer: For extra crunch, dip sealed sticks in egg wash then in panko breadcrumbs before frying.
Serving Suggestions
These ham and cheese sticks are versatile enough to complement many occasions:
Casual Family Night
- Serve alongside a vegetable platter with ranch dip
- Pair with a simple green salad for a more complete meal
- Include other finger foods like chicken wings or potato skins
Elegant Entertaining
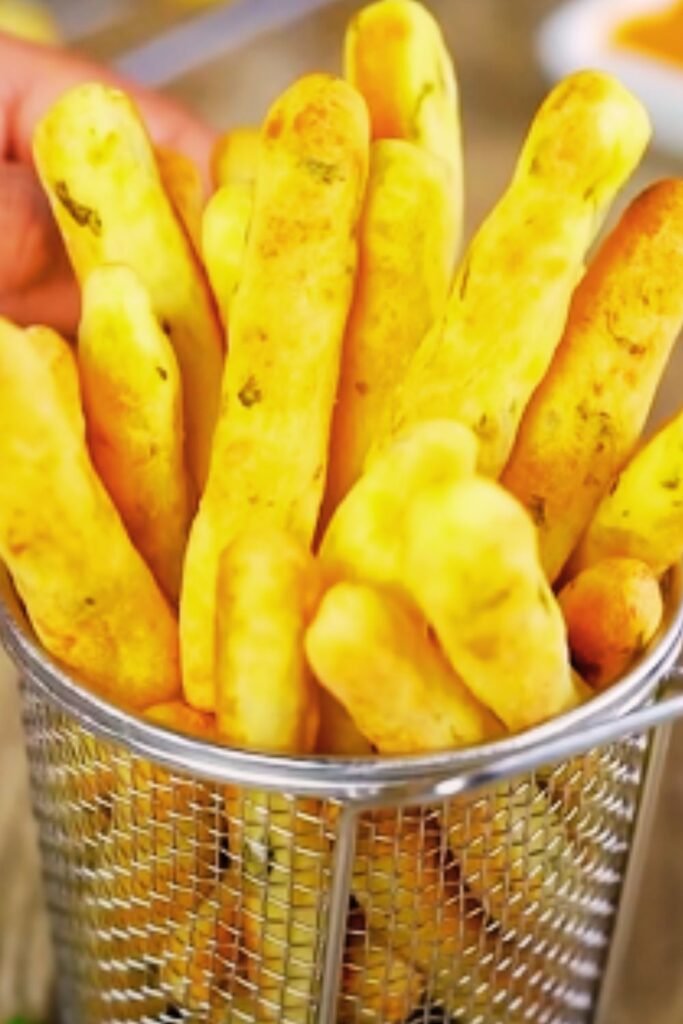
- Arrange vertically in a tall glass or decorative container
- Garnish the serving platter with fresh herbs and lemon wedges
- Include gourmet dipping sauces in small individual ramekins
- Serve on a wooden board with olives, nuts, and dried fruits
Game Day Spread
- Position near other handheld foods for easy eating while watching
- Provide plenty of napkins (these can be deliciously messy!)
- Keep warm in a low oven (200°F) covered loosely with foil if needed
Kids’ Party
- Cut into smaller pieces for little hands
- Serve with milder dips like ketchup or mild ranch
- Pair with fresh fruit for balance
Nutritional Information
While these are definitely a treat rather than an everyday health food, here’s the approximate nutritional breakdown per stick:
| Nutrient | Amount per Stick | % Daily Value* |
|---|---|---|
| Calories | 120 | 6% |
| Total Fat | 7g | 9% |
| Saturated Fat | 3g | 15% |
| Cholesterol | 25mg | 8% |
| Sodium | 250mg | 11% |
| Total Carbohydrate | 8g | 3% |
| Dietary Fiber | <1g | 2% |
| Sugars | <1g | – |
| Protein | 6g | 12% |
*Based on a 2,000 calorie diet
Storage and Reheating
Made too many? Not to worry! These ham and cheese sticks can be stored and reheated with fairly good results:
Refrigerator Storage
- Allow any leftover cooked sticks to cool completely
- Store in an airtight container with paper towels between layers
- Refrigerate for up to 3 days
Freezer Options
For uncooked sticks:
- Arrange in a single layer on a baking sheet and freeze until solid (about 2 hours)
- Transfer to freezer bags or containers, separating layers with parchment paper
- Freeze for up to 1 month
- Cook directly from frozen, adding 1-2 minutes to frying time
For cooked sticks:
- Cool completely, then freeze in a single layer
- Once frozen, transfer to containers or freezer bags
- Store for up to 2 weeks
- Reheat from frozen (instructions below)
Reheating Methods
| Method | Instructions | Results |
|---|---|---|
| Oven | 375°F for 8-10 minutes | Best for crispy texture |
| Air Fryer | 350°F for 3-4 minutes | Excellent crispiness |
| Microwave | 30 seconds on 70% power | Quick but sacrifices crispness |
| Toaster Oven | Medium setting for 3-4 minutes | Good compromise of convenience and texture |
Avoid reheating in oil, as this often leads to soggy results or burst wrappers.
Common Issues and Solutions
Even with the best intentions, sometimes things don’t go as planned. Here are solutions to common ham and cheese stick problems:
Troubleshooting Guide
| Problem | Possible Cause | Solution |
|---|---|---|
| Cheese leaking during frying | Inadequate sealing | Double-check all edges are firmly sealed with egg wash |
| Wrappers browning too quickly | Oil too hot | Reduce temperature to 325°F-340°F |
| Wrappers too pale | Oil not hot enough | Increase temperature to 350°F-360°F |
| Sticks unwrapping during frying | Not enough egg wash | Be generous with egg wash on seams |
| Soggy texture | Not drained properly | Drain on wire rack instead of paper towels |
| Ham and cheese not hot enough | Sticks too thick | Make thinner rolls or increase frying time slightly |
The History Behind Ham and Cheese Sticks
This seemingly modern appetizer actually has roots in multiple culinary traditions. The concept of wrapping meat and cheese in dough dates back centuries across various cultures:
- Filipino lumpia often contains similar ingredients
- Cuban croquetas feature ham and cheese in a different form
- Italian supplì sometimes incorporate prosciutto and mozzarella
- Chinese spring rolls inspired the wrapper technique
The version we enjoy today likely evolved as global culinary techniques merged in American kitchens during the mid-20th century. The appetizer gained particular popularity during the 1970s and 1980s cocktail party era, when handheld foods were especially trendy.
Frequently Asked Questions
Q: Can I bake these instead of frying? Yes! While the texture won’t be quite the same, you can bake them at 425°F for 12-15 minutes until golden brown. Brush with melted butter or oil before baking for better browning.
Q: What’s the best cheese to use for maximum stretch? For that classic cheese pull, whole-milk mozzarella is your best bet. Some brands are specifically marketed as “high melt” or “extra stretchy” for recipes like this.
Q: My wrappers keep tearing. What am I doing wrong? Spring roll wrappers can dry out quickly. Keep unused wrappers covered with a damp cloth while working, and don’t overfill each wrapper.
Q: Can I make these vegetarian? Absolutely! Replace the ham with thin slices of grilled vegetables like zucchini or eggplant, or use meat alternatives designed for sandwiches.
Q: How do I keep cheese from exploding out during frying? The three key factors are: 1) Make sure all seams are well-sealed with egg wash, 2) Don’t overfill with cheese, and 3) Consider freezing the assembled sticks for 15 minutes before frying.
Q: Can I use puff pastry instead of spring roll wrappers? Yes, though the result will be different—more like a ham and cheese croissant stick. Cut puff pastry into rectangles, wrap around ham and cheese, seal edges, and bake according to pastry package directions until golden.
Q: Are these suitable for gluten-free diets? Standard spring roll wrappers contain gluten. Look for rice paper wrappers as an alternative, though they’ll produce a different texture. Several companies now make gluten-free egg roll and spring roll wrappers that would work well.
Q: How far in advance can I make these for a party? You can assemble them up to 24 hours ahead and refrigerate them covered with plastic wrap. For best results, fry them just before serving. If necessary, you can fry up to 2 hours ahead and keep warm in a 200°F oven.
Final Thoughts
Ham and cheese sticks exemplify how simple ingredients can transform into something extraordinary with the right technique. The contrast between the crispy exterior and melty, savory interior creates an irresistible bite that keeps people coming back for more.
What I love most about this recipe is its adaptability. Whether you’re feeding picky children or sophisticated dinner guests, these golden-brown morsels of goodness rarely disappoint. They’re ideal for those moments when you need something impressive without hours of kitchen labor.
I encourage you to start with the basic recipe, then experiment with your own flavor combinations. Perhaps you’ll discover the next family favorite variation! And remember—the best appetizers are those shared with people you care about, so enjoy the process of making and serving these delightful treats.
Share your experience making these ham and cheese sticks in the comments below. I’d love to hear what variations you tried and how they turned out!