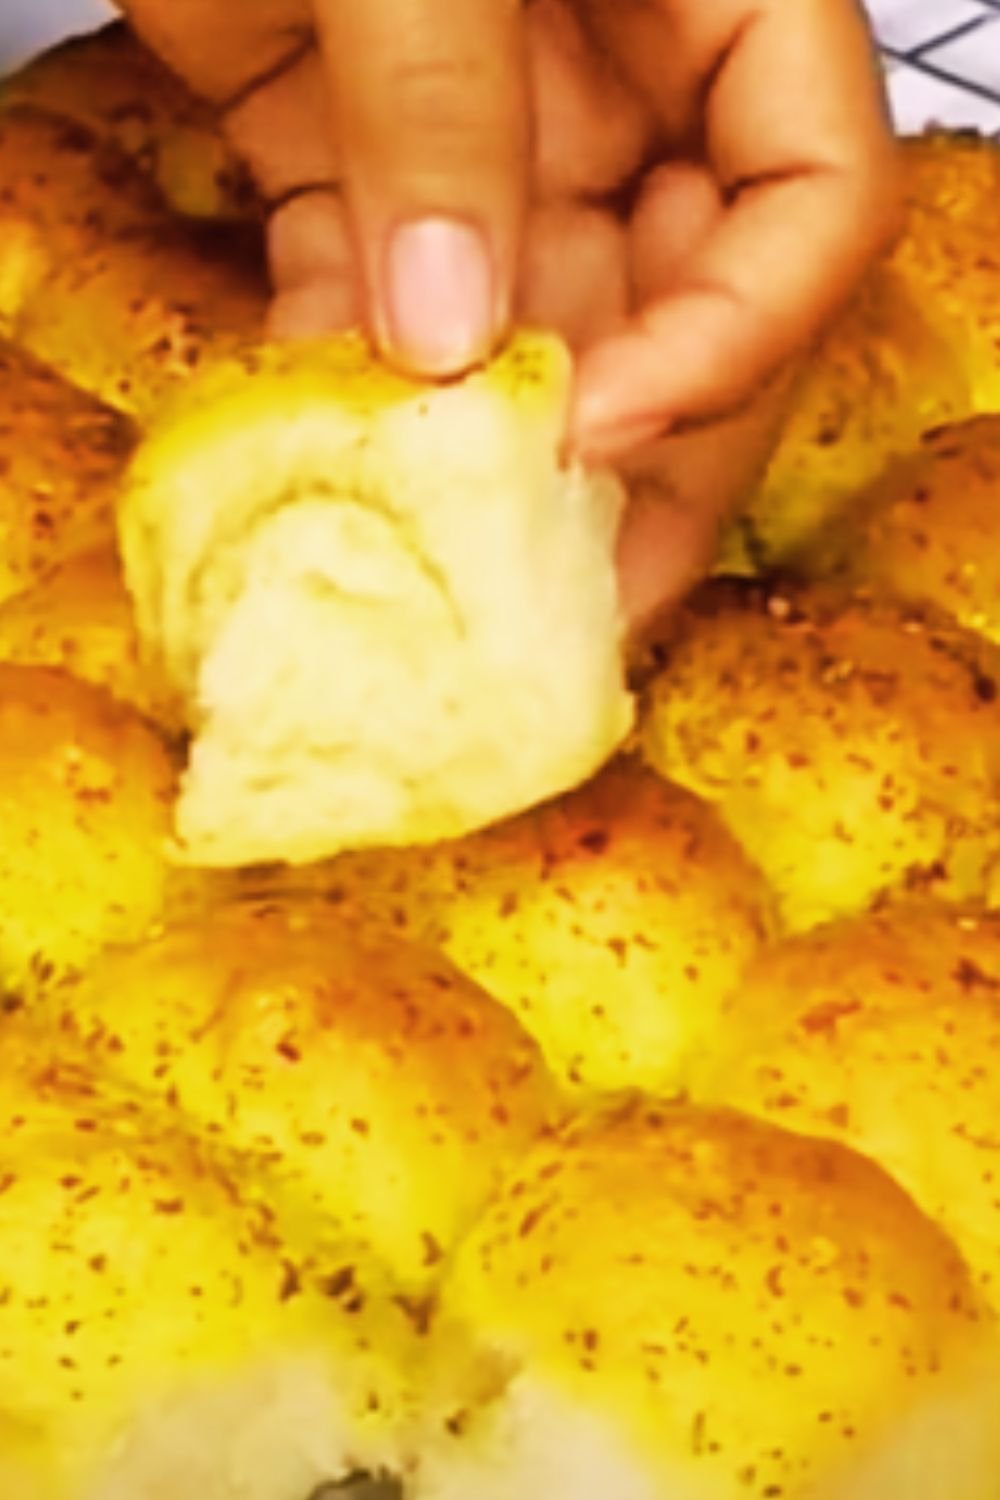
There’s something absolutely magical about the aroma of freshly baked bread wafting through your home. It creates a sense of warmth and comfort that’s unmatched by any scented candle. I’ve been baking bread for over fifteen years now, and let me tell you, homemade dinner rolls are my specialty and absolute pride and joy. These soft, fluffy pillows of goodness have graced my dinner table for countless family gatherings, and they never fail to impress.
Today, I’m sharing my perfected homemade dinner rolls recipe that will elevate any meal from ordinary to extraordinary. These aren’t just any dinner rolls – they’re tender, buttery, and melt-in-your-mouth delicious. The kind that makes you reach for “just one more” until half the batch has mysteriously disappeared.
Why Make Homemade Dinner Rolls?
Before diving into the recipe, let me tell you why making your own dinner rolls is absolutely worth the effort:
- Superior Taste: Nothing compares to the flavor of freshly baked bread – no preservatives, just pure, wholesome ingredients.
- Customizable: Adjust the flavors to your preference by adding herbs, cheese, or various seasonings.
- Satisfaction: There’s an immense sense of pride when you place a basket of homemade rolls on the table.
- Therapeutic: Kneading dough can be incredibly relaxing and serves as a wonderful stress reliever.
- Cost-Effective: Making your own rolls costs a fraction of what you’d pay for quality bakery rolls.
I still remember my grandmother teaching me how to knead dough when I was just eight years old. She would say, “You’re not just making bread; you’re creating memories.” And she was right. Some of my fondest memories involve baking bread with loved ones.
Essential Ingredients
To make these heavenly dinner rolls, you’ll need:
| Ingredient | Amount | Purpose |
|---|---|---|
| Active dry yeast | 2¼ teaspoons (1 packet) | Leavening agent that helps the dough rise |
| Warm water | ¼ cup (105-115°F) | Activates the yeast |
| Whole milk | 1 cup | Adds richness and tenderness to the dough |
| Unsalted butter | ¼ cup (4 tablespoons) | Provides flavor and keeps the rolls moist |
| Granulated sugar | ¼ cup | Feeds the yeast and adds slight sweetness |
| Large eggs | 2 | Contributes to structure and richness |
| Salt | 1½ teaspoons | Enhances flavor and controls yeast activity |
| All-purpose flour | 4½-5 cups | Forms the structure of the rolls |
| Additional melted butter | 2-3 tablespoons | For brushing on top before and after baking |
Each ingredient plays a crucial role in creating the perfect dinner roll texture and flavor. Quality ingredients really do make a difference here, especially when it comes to the flour and butter.
Special Equipment Needed
While you can certainly make dinner rolls with minimal equipment, having these tools will make the process much easier:
- Stand mixer with dough hook attachment: Makes kneading effortless
- Large mixing bowl: For rising the dough
- Rolling pin: Helpful for shaping the dough
- Baking pan: 9×13 inch or similar size
- Pastry brush: For applying melted butter
- Kitchen thermometer: To ensure proper water temperature for yeast
Don’t worry if you don’t have all these items. I’ve made these rolls countless times using just my hands and basic kitchen tools. The stand mixer just makes the process less labor-intensive.
Step-by-Step Instructions
Preparing the Dough
- Activate the yeast: In a small bowl, combine warm water (105-115°F) with 1 teaspoon of the sugar. Sprinkle the yeast on top and let it sit for 5-10 minutes until foamy. If your yeast doesn’t foam, it may be dead, and you’ll need to start over with fresh yeast.
- Prepare the wet ingredients: In a microwave-safe bowl or saucepan, heat the milk and butter until the butter is almost melted. Let it cool to lukewarm (about 110°F). If it’s too hot, it can kill the yeast.
- Combine ingredients: In the bowl of a stand mixer fitted with the dough hook (or a large mixing bowl if working by hand), combine the activated yeast mixture, milk mixture, remaining sugar, eggs, and salt. Mix until well combined.
- Add flour gradually: Add 4 cups of flour, one cup at a time, mixing on low speed between additions. The dough will be sticky at this point.
- Knead the dough: Increase the mixer speed to medium-low and continue adding flour, 2 tablespoons at a time, until the dough clears the sides of the bowl but still sticks slightly to the bottom. Knead for 5-7 minutes until smooth and elastic. If kneading by hand, turn the dough onto a floured surface and knead for 8-10 minutes.
First Rise
- Let it rise: Transfer the dough to a lightly oiled bowl, turning once to coat all sides. Cover with plastic wrap or a clean kitchen towel. Let rise in a warm, draft-free place for about 1-1½ hours, or until doubled in size.

I typically turn my oven on for just a minute to warm it slightly, then turn it off and place the dough inside with the door closed. This creates the perfect environment for rising dough.
Shaping the Rolls
- Prepare baking pan: While the dough is rising, butter a 9×13 inch baking pan or line it with parchment paper.
- Punch down and divide: Once the dough has doubled, punch it down to release air bubbles. Turn it out onto a lightly floured surface. Using a bench scraper or knife, divide the dough into 15-18 equal pieces (depending on how large you want your rolls).
- Shape the rolls: To shape each roll, take a piece of dough and pull the edges toward the center, creating surface tension on what will become the top of the roll. Pinch the gathered edges together, then place the roll seam-side down. Cup your hand over the dough and gently roll it in a circular motion on the countertop to create a smooth ball.
- Arrange in pan: Place the shaped rolls in the prepared baking pan, spacing them evenly apart. They should be close but not touching.
Second Rise
- Final rise: Cover the pan loosely with plastic wrap or a clean kitchen towel. Let the rolls rise for another 30-45 minutes, or until puffy and nearly doubled.
- Preheat oven: About 20 minutes before baking, preheat your oven to 375°F (190°C).
Baking
- Brush with butter: Just before baking, gently brush the tops of the rolls with melted butter.
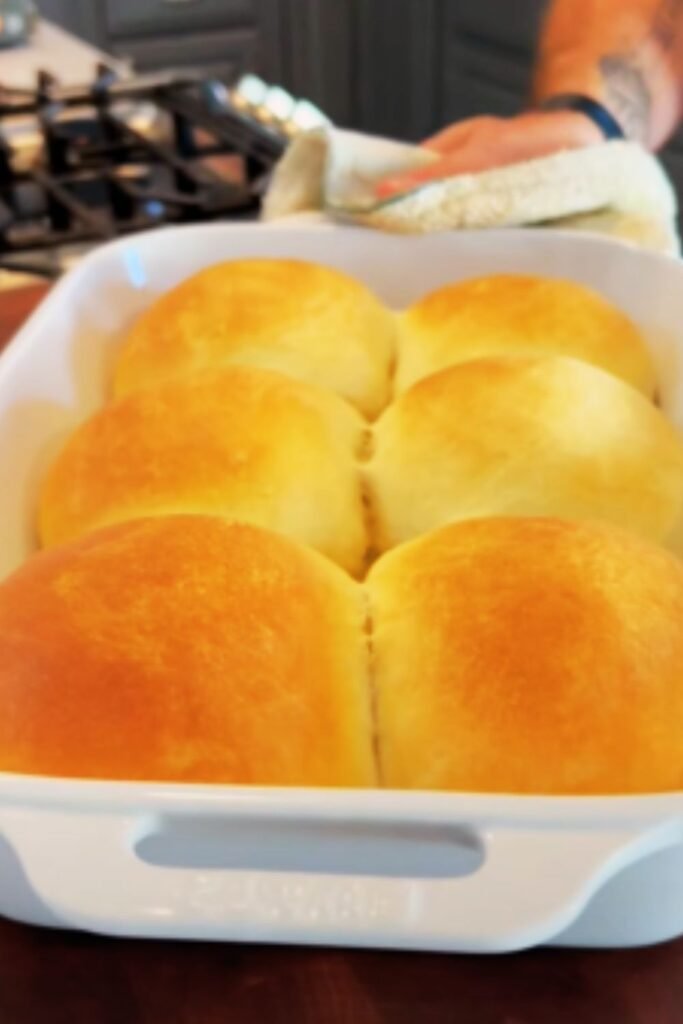
- Bake: Place the rolls in the preheated oven and bake for 18-22 minutes, or until golden brown on top. If they’re browning too quickly, tent with foil.
- Final touch: Remove from the oven and immediately brush with more melted butter for a soft, shiny top. Let cool in the pan for 5 minutes before transferring to a wire rack.
Troubleshooting Common Issues
Even experienced bakers encounter problems sometimes. Here are solutions to the most common dinner roll dilemmas:
| Problem | Possible Cause | Solution |
|---|---|---|
| Rolls didn’t rise | Dead yeast or too cold environment | Make sure yeast is fresh and provide a warm spot for rising |
| Too dense | Not enough rising time or too much flour | Allow proper rising time and measure flour carefully |
| Rolls too dark | Oven temperature too high | Use an oven thermometer to verify temperature and lower if needed |
| Rolls too light | Not baked long enough | Bake until internal temperature reaches 190°F |
| Rolls too dry | Overbaked or too much flour | Reduce baking time or use less flour next time |
| Uneven browning | Uneven oven heat | Rotate the pan halfway through baking |
Variations to Try
Once you’ve mastered the basic dinner roll recipe, try these delicious variations:
Herb and Garlic Rolls
Add 2 teaspoons of minced garlic and 1 tablespoon each of fresh chopped rosemary and thyme to the dough during the mixing stage.
Cheese Rolls
Fold in 1 cup of shredded cheddar or parmesan cheese after the first rise, just before shaping the rolls.
Honey Wheat Rolls
Replace 2 cups of all-purpose flour with whole wheat flour and use honey instead of sugar for a nuttier, slightly sweeter roll.
Pumpkin Dinner Rolls
Add ½ cup of pumpkin puree to the wet ingredients and reduce milk to ¾ cup. Add ½ teaspoon each of cinnamon, nutmeg, and ginger for a seasonal treat.
Make-Ahead and Storage Tips
These dinner rolls are perfect for planning ahead:
Make-Ahead Options:
- Refrigerate the dough: After the first rise, punch down the dough, cover it tightly, and refrigerate for up to 24 hours. Let it come to room temperature before shaping.
- Freeze the dough: After the first rise, shape the rolls, place them on a baking sheet, and freeze until solid. Transfer to a freezer bag and freeze for up to 1 month. Thaw in the refrigerator overnight, then let rise at room temperature before baking.
- Freeze baked rolls: Cool completely, then wrap tightly in foil and place in a freezer bag. Freeze for up to 3 months. Thaw at room temperature and reheat in a 300°F oven for 10 minutes.
Storage Tips:
- Store cooled rolls in an airtight container at room temperature for up to 3 days.
- For longer storage, refrigerate for up to a week.
- To refresh stale rolls, sprinkle with a little water and heat in a 300°F oven for 5-7 minutes.
Serving Suggestions
Homemade dinner rolls pair beautifully with so many meals:
- Serve alongside hearty soups and stews to soak up those delicious broths
- Accompany holiday meals like Thanksgiving turkey or Christmas ham
- Split and use for mini sandwiches with leftover roasted meats
- Serve with honey butter or herb-infused compound butter for an extra special touch
- Use as the base for sliders or mini breakfast sandwiches
- Serve with pasta dishes to soak up every last bit of sauce
My favorite way to enjoy these rolls is fresh from the oven with a generous spread of good quality butter and a sprinkle of flaky sea salt. Simple perfection!
Nutritional Information
For those who are nutrition-conscious, here’s an approximate breakdown per roll (based on 18 rolls per batch):
| Nutrient | Amount per Roll |
|---|---|
| Calories | 150-165 |
| Carbohydrates | 25-28g |
| Protein | 4-5g |
| Fat | 4-5g |
| Fiber | 1g |
| Sodium | 200-225mg |
| Sugar | 3-4g |
These values may vary slightly depending on exact measurements and specific brands used.
Why This Recipe Works
After years of testing different dinner roll recipes, I’ve found that this specific combination of ingredients and techniques yields consistently excellent results. Here’s why:
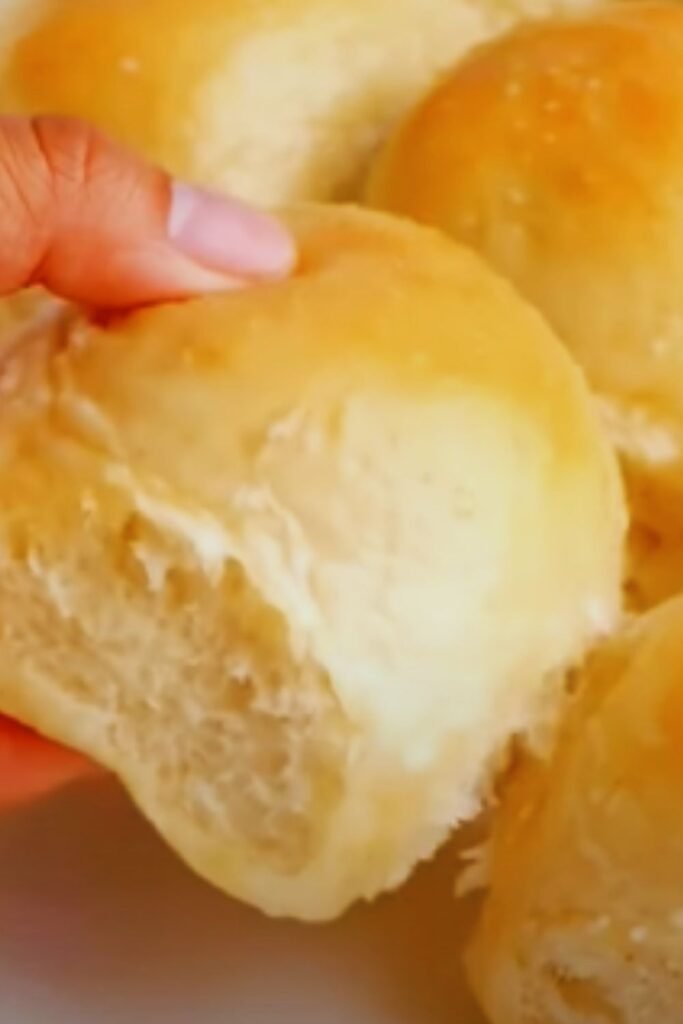
- The milk and butter create a tender crumb that stays soft for days
- Using active dry yeast with a proofing step ensures proper rising
- The precise flour-to-liquid ratio creates the perfect texture
- Two rises develop flavor and ensure fluffy results
- Brushing with butter before and after baking creates a soft, flavorful crust
I’ve made these rolls for countless holiday gatherings, and they always disappear within minutes. My brother-in-law once ate seven in one sitting! That’s when I knew this recipe was truly special.
Frequently Asked Questions
Can I make these rolls with bread flour instead of all-purpose flour? Yes, bread flour will work wonderfully and will actually give you an even chewier texture. You might need slightly less flour overall since bread flour absorbs more liquid.
How do I know when my dough has been kneaded enough? The dough should be smooth and elastic. Try the window pane test: take a small piece of dough and stretch it between your fingers. It should stretch thin enough to see light through it without tearing.
Can I use instant yeast instead of active dry yeast? Absolutely! Use the same amount but skip the proofing step. Simply add the instant yeast directly to the dry ingredients.
Why didn’t my rolls rise? The most common culprits are expired yeast, liquid that’s too hot (which kills the yeast), or a too-cold rising environment. Make sure your yeast is fresh and your liquids are warm, not hot.
Can I make these rolls dairy-free? Yes, substitute the milk with almond milk or another plant-based milk and use a vegan butter substitute. The texture might be slightly different, but they’ll still be delicious.
How can I make these rolls ahead for a special occasion? Follow the make-ahead instructions above. My preferred method is to shape the rolls, arrange them in the baking pan, cover, and refrigerate overnight. The next day, let them come to room temperature (about 1-2 hours) and rise before baking.
Can I halve this recipe? Yes, all ingredients can be halved for a smaller batch. Use one whole egg or beat one egg and use half of it.
What’s the secret to getting that perfect round shape? The “pull and pinch” method described in the shaping instructions creates surface tension that results in perfectly round rolls. Practice makes perfect with this technique!
My rolls are too pale on top but fully baked inside. What happened? Try moving your oven rack to a higher position or turning on the broiler for the last minute of baking (watch carefully!). Also, make sure you’re using enough butter when brushing the tops before baking.
Final Tips for Perfect Dinner Rolls
After years of baking these rolls, here are my top tips for success:
- Measure flour correctly: Spoon flour into measuring cups and level off with a knife rather than scooping directly with the measuring cup, which compacts the flour.
- Be patient with rising: Good bread can’t be rushed. Allow proper rising time for the best texture.
- Keep dough at the right consistency: It should be slightly tacky but not stick to your fingers. If it’s too sticky, add a little more flour; if it’s too dry, add a teaspoon of water at a time.
- Don’t skip the butter brush: Brushing with butter before and after baking not only adds flavor but also keeps the tops soft.
- Create a warm environment for rising: If your kitchen is cold, heat your oven to its lowest setting for a minute, turn it off, and use it as a proofing box.
- Use a kitchen scale if possible: For the most consistent results, weigh your ingredients, especially the flour.
- Don’t rush the second rise: This is crucial for light, fluffy rolls.
There’s something deeply satisfying about placing a basket of homemade dinner rolls on the table. It speaks of care, attention to detail, and love – the ingredients that make any meal special. I hope these rolls become a tradition in your home as they have in mine.
I’d love to hear how these rolls turn out for you! Happy baking!
