Have you ever bitten into something so delicious that it literally made you close your eyes and savor the moment? That’s exactly what happens when you try these Buttery Garlic Cheese Bombs. I discovered this recipe a few years ago at a family gathering, and I’ve been obsessed ever since. These little morsels of joy have become my go-to appetizer for parties, game nights, and even quiet evenings at home when I want to treat myself to something special.
What Are Garlic Cheese Bombs?
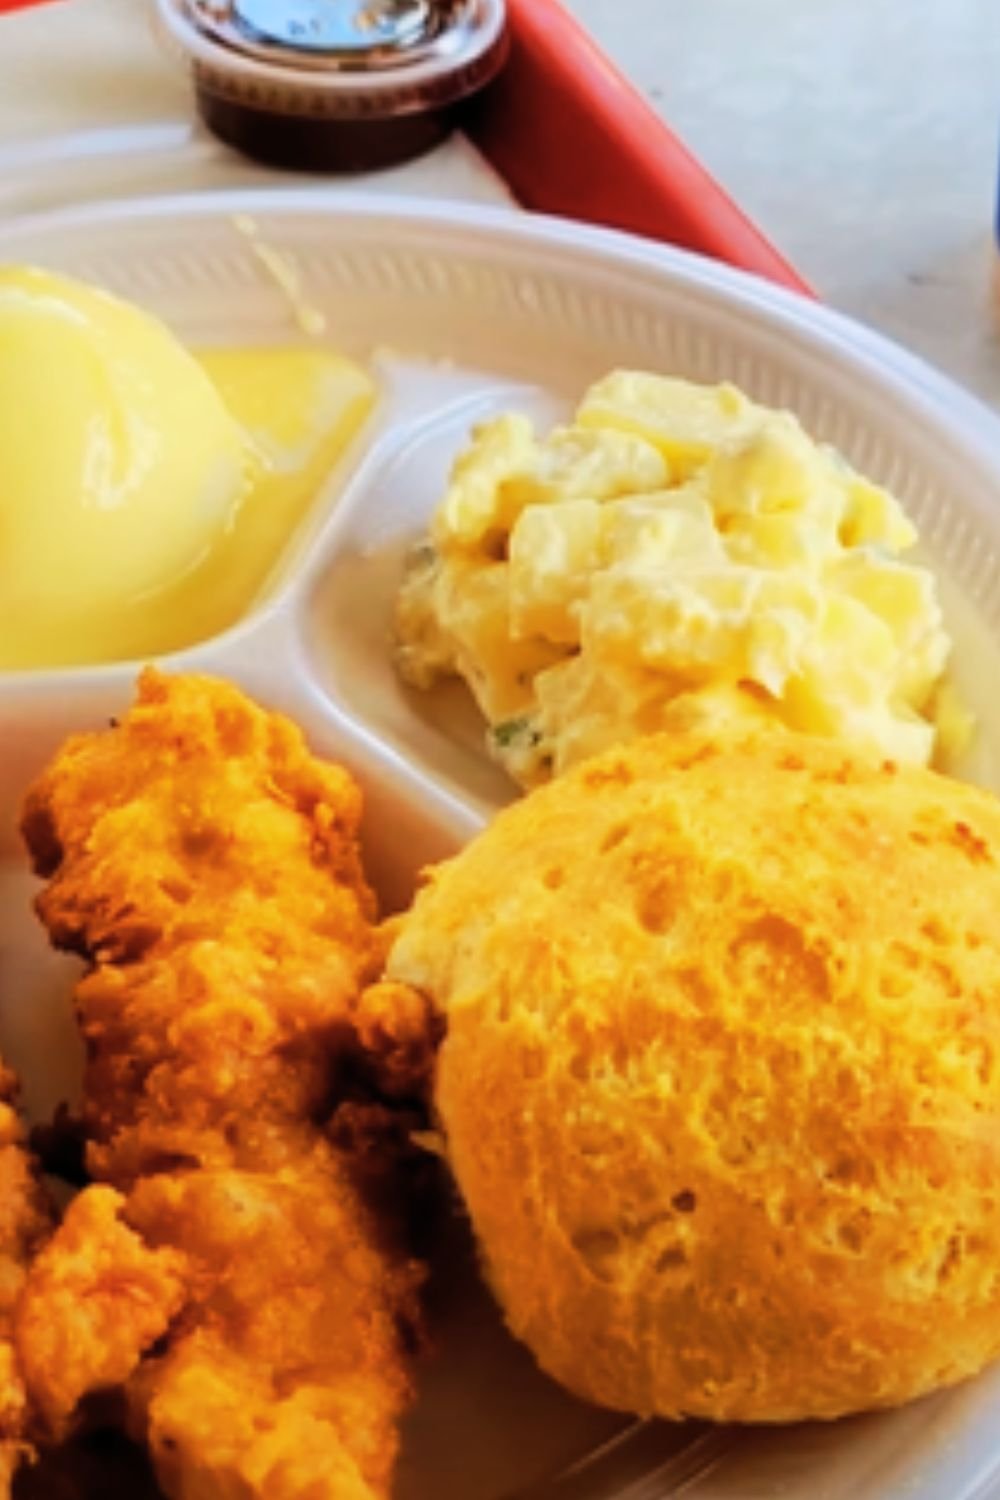
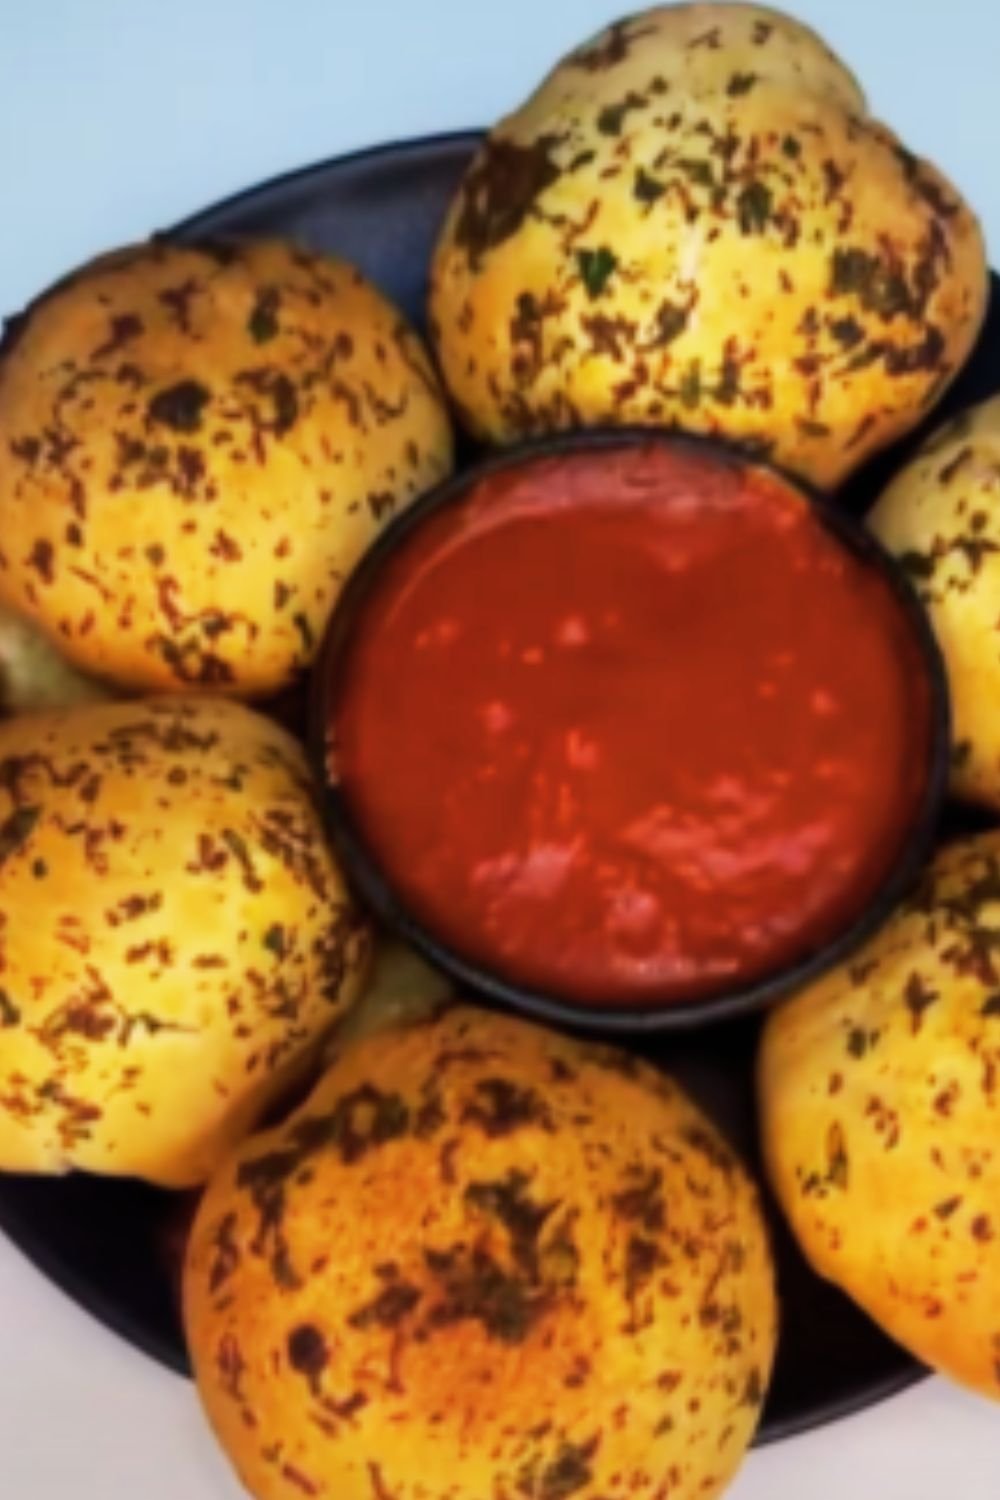
Before we dive into the recipe, let me explain what these heavenly treats actually are. Garlic cheese bombs are essentially bite-sized pieces of dough stuffed with cheese, brushed with a garlic butter mixture, and baked until golden and bubbly. When you bite into one, the gooey cheese stretches and oozes out—creating that “bomb” effect that gives them their name.
What makes them truly special is the combination of flavors and textures: the soft, pillowy dough, the rich, melty cheese, and the aromatic garlic butter that infuses every bite with flavor. They’re simple to make but deliver a complexity of taste that will have everyone asking for your secret recipe.
Why You’ll Love This Recipe
I’ve made these cheese bombs for countless gatherings, and here’s why they always disappear within minutes:
- They require minimal ingredients that you probably already have in your kitchen
- The prep time is surprisingly short (perfect for last-minute entertaining)
- They’re customizable with different cheese varieties and add-ins
- They’re universally loved—I’ve never met anyone who could resist them
- They’re equally perfect as an appetizer, side dish, or snack
Ingredients You’ll Need
For this recipe, I’ve broken down the ingredients into two sections: the bombs themselves and the irresistible garlic butter topping.
For the Cheese Bombs:
- 1 tube (16.3 oz) refrigerated biscuit dough (I prefer the larger “Grand” size)
- 8 oz mozzarella cheese, cut into 16 cubes (about 1-inch cubes)
- 1/4 cup fresh parsley, finely chopped
- 1/4 cup grated Parmesan cheese (for coating)
For the Garlic Butter Topping:
- 4 tablespoons unsalted butter
- 3 cloves garlic, minced (about 1 tablespoon)
- 1 teaspoon Italian seasoning
- 1/2 teaspoon sea salt
- 1/4 teaspoon red pepper flakes (optional, for heat lovers)
Equipment Needed
One thing I love about this recipe is that it doesn’t require fancy equipment. Here’s what you’ll need:
- Baking sheet
- Parchment paper or silicone baking mat
- Small microwave-safe bowl
- Pastry brush
- Cutting board and knife
- Measuring spoons and cups
Step-by-Step Instructions
Now for the fun part! Let me walk you through creating these delectable cheese bombs step-by-step:
Preparation Phase
- Preheat your oven to 375°F (190°C). Line a baking sheet with parchment paper or a silicone mat.
- Open the tube of biscuit dough and separate the biscuits. Each tube typically contains 8 biscuits.
- Cut each biscuit in half to create 16 pieces total.
- Flatten each piece of dough in the palm of your hand until it’s about 2-3 inches in diameter.
Stuffing the Bombs
- Place a cube of mozzarella in the center of each flattened piece of dough.
- Sprinkle a small amount of chopped parsley over the cheese.
- Carefully wrap the dough around the cheese, pinching the edges firmly to seal completely. This step is crucial—any openings will allow the cheese to leak out during baking!
- Roll each ball between your palms to ensure it’s well-sealed and round.
- Place the sealed bombs on the prepared baking sheet, about 2 inches apart.
Creating the Garlic Butter
- In a small, microwave-safe bowl, melt the butter (about 30 seconds in the microwave).
- Add the minced garlic, Italian seasoning, salt, and red pepper flakes (if using) to the melted butter.
- Stir well to combine all ingredients.
Final Touches Before Baking
- Using a pastry brush, generously coat each dough ball with the garlic butter mixture.
- Sprinkle the Parmesan cheese evenly over the butter-brushed bombs.
Baking to Perfection
- Bake in the preheated oven for 15-18 minutes, or until the bombs are golden brown.
- Remove from the oven and let cool for 5 minutes (trust me, biting into these immediately is a recipe for a burned mouth!).
- Brush any remaining garlic butter over the hot bombs for an extra flavor boost.
- Garnish with additional fresh parsley if desired.

Flavor Variations to Try
Over the years, I’ve experimented with numerous variations of these cheese bombs. Here are some of my favorites that you might want to try:
Cheese Options:
- Cheddar for a sharper flavor
- Pepper jack for a spicy kick
- Gouda for a smoky dimension
- Brie for ultimate creaminess
- Mozzarella and pepperoni for a pizza-inspired bomb
Seasoning Twists:
- Add 1/2 teaspoon of ranch seasoning to the butter
- Use rosemary and thyme instead of Italian seasoning
- Mix in 1 teaspoon of pesto for a fresh, herby flavor
- Add 1 teaspoon of honey for a sweet-savory profile
- Sprinkle with everything bagel seasoning before baking
Tips for Perfect Cheese Bombs Every Time
Through much trial and error, I’ve learned some secrets to making these cheese bombs absolutely foolproof:
Dough Management
- Keep the dough cold until you’re ready to use it—warm dough is harder to work with
- If the dough feels sticky, dust your hands with a little flour
- Don’t overwork the dough or it will become tough when baked
Cheese Considerations
- Freeze the cheese cubes for 15 minutes before stuffing—this helps prevent premature melting and leakage
- Cut cheese into cubes rather than using shredded cheese for a better “bomb” effect
- Use cheese that melts well—some fancy artisanal cheeses don’t melt as smoothly
Sealing Technique
- Double-check for any small openings in the dough before baking
- If you see any potential weak spots, pinch them closed again
- The bottom seam should be placed face-down on the baking sheet
Baking Wisdom
- Every oven is different, so start checking at the 12-minute mark
- Look for golden color, not time, as your doneness indicator
- If the tops are browning too quickly, tent loosely with foil
Nutritional Information
For those who like to keep track of what they’re eating, here’s a breakdown of the nutritional content per cheese bomb (approximate values):
| Nutrient | Amount per Serving (1 bomb) |
|---|---|
| Calories | 165 kcal |
| Protein | 6g |
| Fat | 10g |
| Saturated Fat | 5g |
| Carbohydrates | 12g |
| Fiber | 0.5g |
| Sugar | 2g |
| Sodium | 380mg |
| Calcium | 120mg |
| Iron | 0.5mg |
Make-Ahead and Storage Tips
One of the things I love about this recipe is how well it works for meal prep and parties. Here’s what I’ve learned about making them ahead and storing them:
Make-Ahead Options:
- Prepare the bombs up to the point of baking, then refrigerate for up to 24 hours
- Freeze the unbaked bombs for up to 1 month
- If freezing, place them on a baking sheet until solid, then transfer to a freezer bag
- The garlic butter can be made up to 3 days in advance and stored in the refrigerator
Reheating and Storage:
- Store leftover baked bombs in an airtight container in the refrigerator for up to 3 days
- Reheat in a 350°F oven for 5-7 minutes or in the microwave for 15-20 seconds
- Freezing already baked bombs is possible but may affect the texture slightly
- If freezing baked bombs, thaw in the refrigerator overnight before reheating
Serving Suggestions
These versatile little flavor bombs pair wonderfully with so many dishes and occasions. Here are some of my favorite ways to serve them:
As an Appetizer:
- Serve with marinara sauce for dipping
- Pair with a fresh green salad for a light lunch
- Arrange on a platter with anti-pasto items like olives and roasted peppers
As a Side Dish:
- Accompany a bowl of tomato soup for the ultimate comfort food experience
- Serve alongside pasta dishes instead of traditional garlic bread
- Pair with grilled meats for a crowd-pleasing barbecue side
For Special Occasions:
- Game day spread—these are always the first to disappear!
- Holiday appetizer table—they’re festive and easy to eat while mingling
- Movie night snack—substantial enough to feel like a treat
- Potluck contribution—they travel well and can be reheated on site

The Science Behind the Perfect Cheese Pull
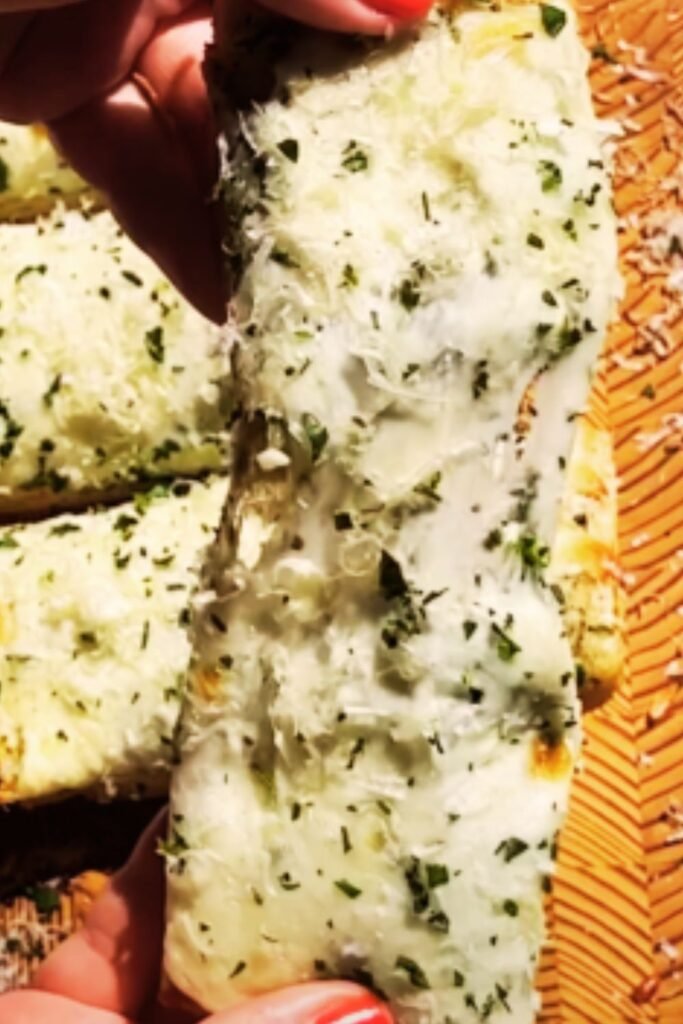
I’ve always been fascinated by what makes certain foods so satisfying. With these cheese bombs, it’s definitely the cheese pull—that magical moment when you pull a piece apart and the cheese stretches into long, gooey strands.
The science behind the perfect cheese pull comes down to proteins. Mozzarella, in particular, has a protein structure that allows it to stretch when heated. When cheese melts, these proteins relax and align into strands. The higher the moisture content and the lower the age of the cheese, the better the stretch.
This is why fresh mozzarella gives you that Instagram-worthy cheese pull, while aged parmesan (which has less moisture) tends to melt into a more compact form. By encasing the cheese in dough, we’re also creating a mini steam chamber that helps the cheese melt perfectly without drying out.
Common Problems and Solutions
Even though this recipe is relatively simple, I’ve encountered a few hiccups along the way. Here are the most common issues and how to fix them:
Problem: Cheese is leaking out during baking
Solution: Make sure your seals are completely closed. If you’re still having issues, try using slightly less cheese or freezing the cheese cubes before assembly.
Problem: The bombs are browning too quickly but aren’t cooked through
Solution: Lower your oven temperature to 350°F and bake for a little longer, or tent with foil once they reach your desired color.
Problem: The dough seems raw in the center
Solution: Make sure you’re flattening the dough enough before adding the cheese. Too thick dough won’t cook through before the cheese starts to burn.
Problem: The garlic taste is too strong
Solution: Sauté the minced garlic in the butter for 1 minute before brushing it on. This mellows the garlic flavor while maintaining the aromatics.
Problem: The bombs stick to the pan
Solution: Always use parchment paper or a silicone baking mat. If you don’t have either, grease the pan very well.
Cost Analysis
I’m always mindful of my grocery budget, so I like to break down the cost of my recipes. Here’s an approximate cost analysis for these cheese bombs (prices may vary by location):
| Ingredient | Approximate Cost |
|---|---|
| Refrigerated biscuit dough | $2.50 |
| Mozzarella cheese (8 oz) | $3.00 |
| Fresh parsley | $0.99 |
| Parmesan cheese | $1.50 |
| Butter | $0.75 |
| Garlic | $0.30 |
| Italian seasoning | $0.20 |
| Salt and red pepper flakes | $0.05 |
| Total | $9.29 |
At approximately $9.29 for 16 cheese bombs, that’s about $0.58 per bomb—much more economical than appetizers from a restaurant or pre-made frozen options!
Frequently Asked Questions
Over the years, I’ve received many questions about this recipe. Here are the most common ones:
Q: Can I use homemade dough instead of refrigerated biscuit dough? Yes! If you have a favorite pizza dough or bread dough recipe, feel free to use that instead. Just make sure to portion it into 16 equal pieces and flatten each one before adding the cheese.
Q: My family doesn’t like garlic. Can I omit it? Absolutely. You can replace the garlic with herbs or even a touch of honey for a different flavor profile. A herb butter with rosemary and thyme makes an excellent substitute.
Q: Can I make these in an air fryer? Yes! I’ve had great success making these in an air fryer. Cook them at 350°F for about 6-8 minutes, checking frequently as air fryers can vary in temperature.
Q: How do I know when they’re done? The cheese bombs should be golden brown on the outside. If you’re unsure, you can carefully pull one apart to check that the dough is cooked through—it should be light and fluffy, not dense or doughy.
Q: Why did my cheese disappear inside the bomb? This sometimes happens when the cheese melts into the dough completely. Using a cheese with higher moisture content like fresh mozzarella and making sure your dough seal is tight can help prevent this.
Q: Can I make these for vegetarians? The basic recipe is already vegetarian! Just make sure the cheeses you use contain vegetarian rennet if serving to strict vegetarians.
Q: What if I don’t have Italian seasoning? You can make your own by combining equal parts dried basil, oregano, rosemary, and thyme.
Q: Can I add meat to these? Absolutely! Small pieces of cooked bacon, pepperoni, or ham make excellent additions. Just make sure any meat is pre-cooked and add it alongside the cheese cube.
My Personal Experience with This Recipe
I first encountered a version of these cheese bombs at my cousin’s holiday party. She called them “garlic knots on steroids,” which made everyone laugh. But after one bite, I was completely hooked. I immediately asked for the recipe and have been perfecting my own version ever since.
What I love most is how impressively these simple ingredients transform into something that feels special. I’ve served them at everything from casual football watch parties to elegant dinner gatherings, and they’re always met with the same enthusiasm.
My niece, who is notoriously picky, requests these every time she visits. She calls them “pizza balls” and has even learned to help me make them, which has become our special kitchen tradition.
There’s something deeply satisfying about watching someone take their first bite of these cheese bombs—the look of surprise and delight as the cheese stretches and the flavors combine. It’s those moments that remind me why I love cooking and sharing recipes like this one.
Final Thoughts
These Buttery Garlic Cheese Bombs represent everything I love about cooking: simple ingredients transformed into something extraordinary, the ability to customize based on what you have or prefer, and the joy that comes from sharing delicious food with others.
Whether you’re an experienced home cook or just beginning your culinary journey, this recipe is accessible, forgiving, and guaranteed to impress. The combination of soft, pillowy dough, gooey melted cheese, and aromatic garlic butter creates an irresistible bite that will have everyone reaching for more.
So the next time you’re looking for an appetizer that delivers maximum impact with minimal effort, give these cheese bombs a try. I guarantee they’ll earn a permanent spot in your recipe collection, just as they have in mine.
Happy cooking, and even happier eating!