Have you ever found yourself standing in the snack aisle, eyeing those expensive bags of pita chips and thinking, “I could probably make these at home”? Well, you absolutely can—and I’m here to show you how! After years of perfecting my technique, I’ve discovered that homemade pita chips aren’t just economical; they’re infinitely more delicious than their store-bought counterparts.
When I first started making pita chips at home, I was amazed by how simple the process was and how much better they tasted. The satisfying crunch, the perfect seasoning distribution, and the freshness you just can’t get from a bag that’s been sitting on a shelf for months—it all adds up to snack perfection.
In this comprehensive guide, I’ll walk you through everything you need to know about creating crispy, flavorful pita chips in your own kitchen. From selecting the right pita bread to exploring creative seasoning combinations, and even troubleshooting common problems, you’ll soon be a pita chip pro. Let’s dive in!
The History and Origin of Pita Chips
Before we get into the nitty-gritty of making pita chips, I think it’s worth taking a moment to appreciate where they came from. Pita bread itself has been a staple in Middle Eastern and Mediterranean cuisine for thousands of years. The ingenious idea of transforming leftover pita into crunchy chips likely evolved as a practical solution to prevent food waste—something our ancestors were remarkably good at.
Traditional Middle Eastern cuisine has long featured various forms of toasted or fried bread as accompaniments to dips like hummus and baba ganoush. While the modern, commercially packaged pita chip is a relatively recent invention, its roots run deep in these ancient culinary traditions.
What I find fascinating is how this simple concept—taking day-old bread and transforming it into something new and delicious—transcends cultures. From Italian crostini to Spanish migas to Mexican tostadas, cooks around the world have found clever ways to reinvent stale bread. Pita chips are part of this global tradition of culinary resourcefulness.
Why Homemade Pita Chips Reign Supreme
When I first started making my own pita chips, I was struck by just how superior they were to the store-bought version. Here’s why I believe homemade is the only way to go:
- Freshness: There’s simply no comparison between chips made today and ones that have been sitting in a warehouse and on store shelves for weeks or months.
- Control over ingredients: Commercial pita chips often contain preservatives, excess sodium, and other additives. When you make them at home, you know exactly what’s going into them.
- Customization: Want extra garlic? Crazy about cumin? When you make your own, you can season them exactly to your preference.
- Texture perfection: You can make them as crispy or as chewy as you like—something that’s impossible with store-bought varieties.
- Cost-effectiveness: A bag of premium pita chips can cost $4-5, whereas making them at home costs a fraction of that amount.
- Reduced waste: Making pita chips is an excellent way to use up pita bread that’s starting to go stale, reducing food waste in your kitchen.
Essential Ingredients for Perfect Pita Chips
The beauty of pita chips lies in their simplicity. At their most basic, you need just three ingredients: pita bread, oil, and salt. However, the quality of these ingredients makes all the difference. Here’s what I recommend:
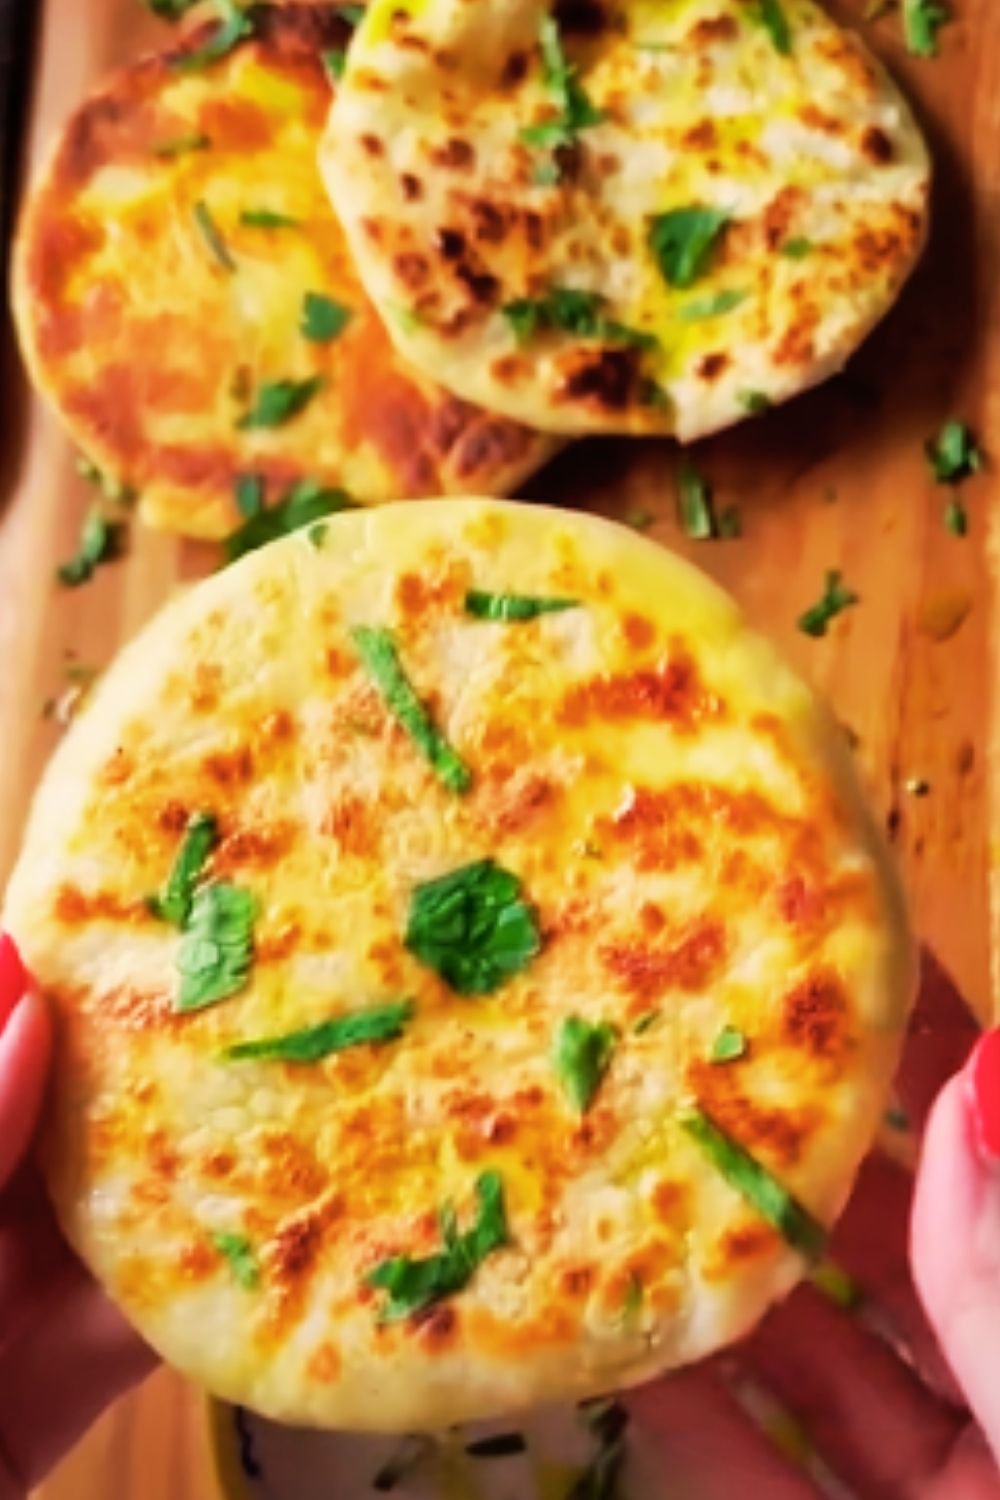
Pita Bread
: The foundation of your chips. Look for quality pita with a good pocket structure. While white pita is traditional, whole wheat offers a nuttier flavor and additional nutritional benefits. If possible, source fresh pita from a local Middle Eastern bakery for the best results.
Oil
: Extra virgin olive oil is my preference for its robust flavor and Mediterranean authenticity. However, you can also use regular olive oil, avocado oil, or even melted butter for a richer taste.
Salt
: Don’t underestimate the importance of good salt! Flaky sea salt is ideal for sprinkling over the chips just after baking, but kosher salt works well too.
Optional Flavor Enhancers
: This is where you can get creative. Some of my favorites include garlic powder, dried herbs (oregano, thyme, rosemary), spice blends (za’atar, baharat, Italian seasoning), nutritional yeast for a cheesy flavor, or a touch of cayenne for heat.
Equipment You’ll Need
The good news is that making pita chips doesn’t require specialized equipment. Here’s what I typically use:
- Sharp knife or kitchen scissors: For cutting the pita into triangles or strips
- Baking sheets: Preferably with a rim to prevent chips from sliding off
- Parchment paper or silicone baking mats: For easy cleanup and to prevent sticking
- Pastry brush: For evenly applying oil (though you can also use a spray bottle)
- Mixing bowl: If you’re tossing the pita with oil rather than brushing it on
- Cooling rack: Not essential but helps ensure maximum crispness
The Ultimate Pita Chip Recipe
Now that we’ve covered the basics, let’s get to the main event: my foolproof recipe for crispy, flavorful pita chips that will elevate your snacking experience to new heights.
Basic Crispy Pita Chips
Ingredients:
- 6 pita bread rounds (white or whole wheat)
- 1/4 cup extra virgin olive oil
- 1 teaspoon flaky sea salt (or to taste)
- Optional seasonings (see variations below)
Instructions:
- Preheat your oven to 375°F (190°C). Line two baking sheets with parchment paper.
- If using whole pita rounds, carefully split each pita in half horizontally to create two thin rounds from each. This step is crucial for achieving maximum crispness.
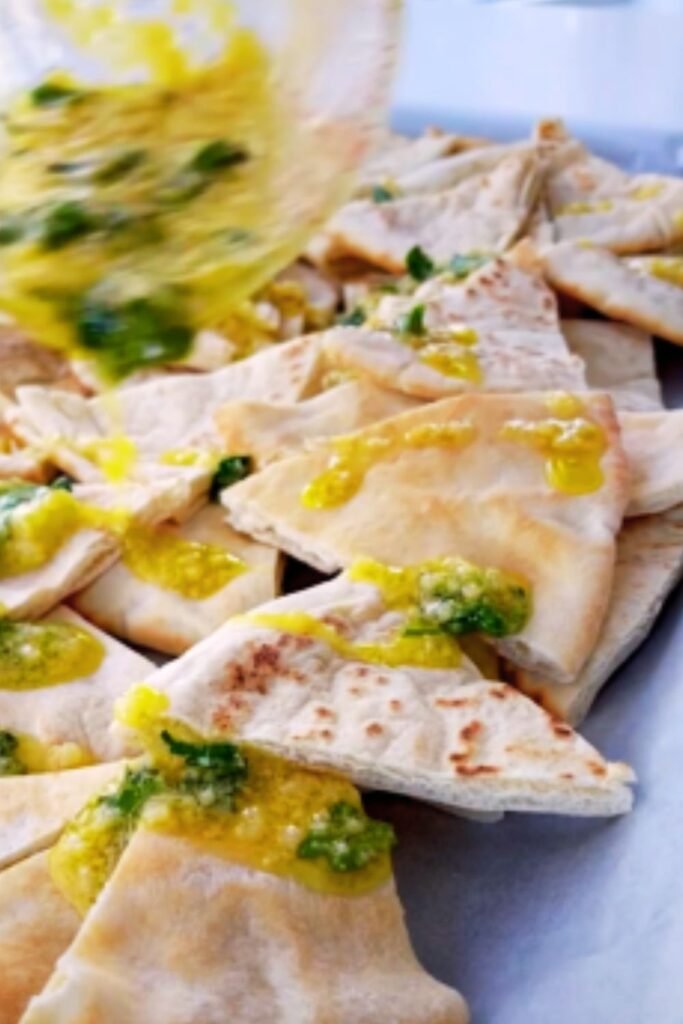
- Cut each pita half into triangles. I typically cut them into 8 triangles, like you would a pizza, but you can make them smaller or larger based on your preference.
- Place the pita triangles in a large bowl. Drizzle with olive oil and toss gently to ensure each piece is lightly coated on both sides. Alternatively, arrange the triangles on the baking sheets and brush each side with oil.
- Arrange the triangles in a single layer on the prepared baking sheets. Make sure they don’t overlap, as this will prevent them from crisping properly.
- Sprinkle with salt and any additional seasonings you desire.
- Bake for 8-12 minutes, rotating the baking sheets halfway through, until the chips are golden brown and crispy. Keep a close eye on them after the 8-minute mark, as they can go from perfectly crisp to burnt very quickly!
- Remove from the oven and let cool completely on the baking sheets or transfer to a cooling rack for even crispier results.
- Once cooled, store in an airtight container at room temperature for up to a week (though I doubt they’ll last that long!).
Nutritional Information Per Serving
Here’s the approximate nutritional breakdown for a typical serving of homemade pita chips (about 10 chips):
| Nutrient | Amount | % Daily Value |
|---|---|---|
| Calories | 130 | – |
| Total Fat | 7g | 9% |
| Saturated Fat | 1g | 5% |
| Trans Fat | 0g | – |
| Cholesterol | 0mg | 0% |
| Sodium | 240mg | 10% |
| Total Carbohydrates | 15g | 5% |
| Dietary Fiber | 1g | 4% |
| Sugars | 0g | – |
| Protein | 3g | – |
| Vitamin D | 0mcg | 0% |
| Calcium | 10mg | 1% |
| Iron | 0.7mg | 4% |
| Potassium | 70mg | 1% |
*Values are based on a 2,000 calorie diet. Your daily values may be higher or lower depending on your calorie needs.
Exciting Flavor Variations to Try
One of the joys of making your own pita chips is experimenting with different flavor profiles. Here are some of my favorite variations that have been hits at every gathering:
Mediterranean Herb
- 1 teaspoon dried oregano
- 1 teaspoon dried thyme
- 1/2 teaspoon garlic powder
- 1/4 teaspoon black pepper
- Pinch of dried rosemary
Spicy Chili Lime
- 1 teaspoon chili powder
- Zest of 1 lime
- 1/4 teaspoon cayenne pepper (adjust to taste)
- 1/2 teaspoon garlic powder
“Cheesy” (Dairy-Free Option)
- 2 tablespoons nutritional yeast
- 1/2 teaspoon garlic powder
- 1/4 teaspoon onion powder
- Pinch of turmeric for color
Sweet Cinnamon Sugar (Dessert Chips)
- 2 tablespoons granulated sugar
- 1 teaspoon ground cinnamon
- Use melted butter instead of olive oil
- Optional: drizzle with honey after baking
Za’atar Spice Blend
- 2 tablespoons za’atar (Middle Eastern spice blend)
- Extra drizzle of olive oil after baking
Smoky BBQ
- 1 teaspoon smoked paprika
- 1/2 teaspoon brown sugar
- 1/4 teaspoon garlic powder
- 1/4 teaspoon onion powder
- Pinch of cayenne
For any of these variations, simply mix the seasonings together and sprinkle over the oil-coated pita triangles before baking. The options are truly endless—feel free to get creative with your favorite spice combinations!
Alternative Cooking Methods
While baking is my preferred method for making pita chips, there are other techniques worth exploring:
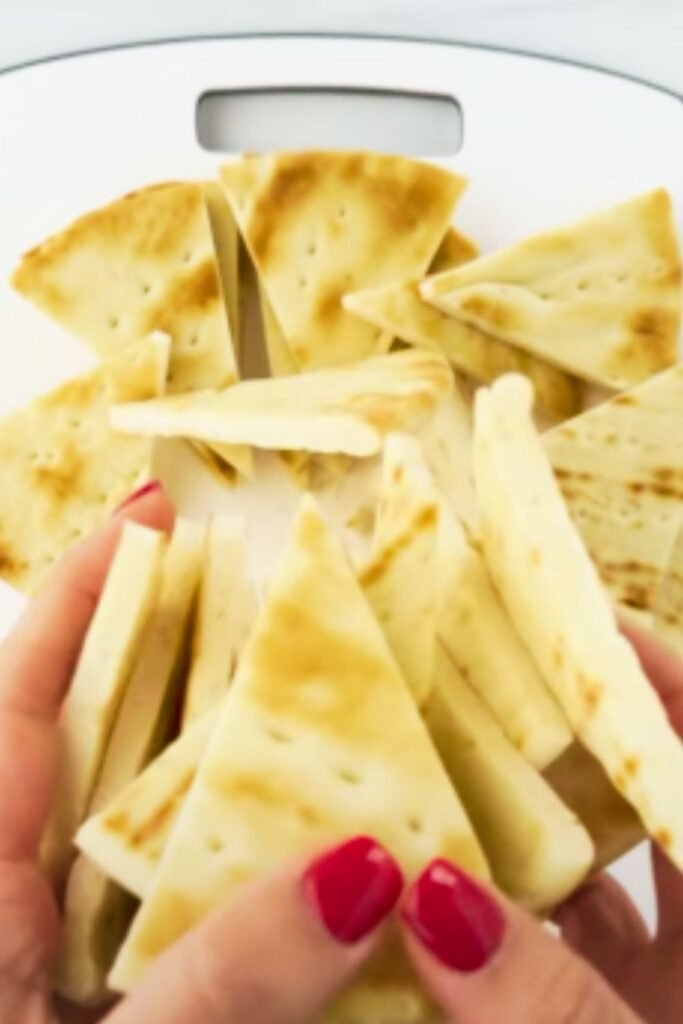
Air Fryer Method
If you own an air fryer, it makes quick work of pita chips and uses less energy than heating up your oven.
- Prepare the pita triangles as described in the basic recipe.
- Preheat your air fryer to 350°F (175°C).
- Place a single layer of pita triangles in the air fryer basket (you’ll need to work in batches).
- Cook for 3-5 minutes, shaking halfway through, until golden and crisp.
- Allow to cool completely before storing.
Stovetop Method
This method is faster but requires more attention:
- Heat 1/4 cup of olive oil in a large skillet over medium heat.
- Add pita triangles in a single layer (working in batches).
- Fry for 1-2 minutes per side until golden brown.
- Transfer to paper towel-lined plates to drain excess oil.
- Season immediately while still hot.
Microwave Method (for when you’re really in a hurry)
While not my first choice, this works in a pinch:
- Cut pita into triangles and arrange in a single layer on a microwave-safe plate.
- Microwave on high for 1 minute, then in 30-second intervals until crisp.
- Note: These won’t be as evenly crisp as baked or fried versions but will satisfy a sudden craving.
Perfect Pairings: What to Serve with Your Pita Chips
Pita chips are incredibly versatile and pair beautifully with a wide variety of dips and toppings. Here are some of my favorite serving suggestions:
Classic Dips
- Hummus (traditional, roasted red pepper, or any variation)
- Tzatziki (Greek yogurt and cucumber dip)
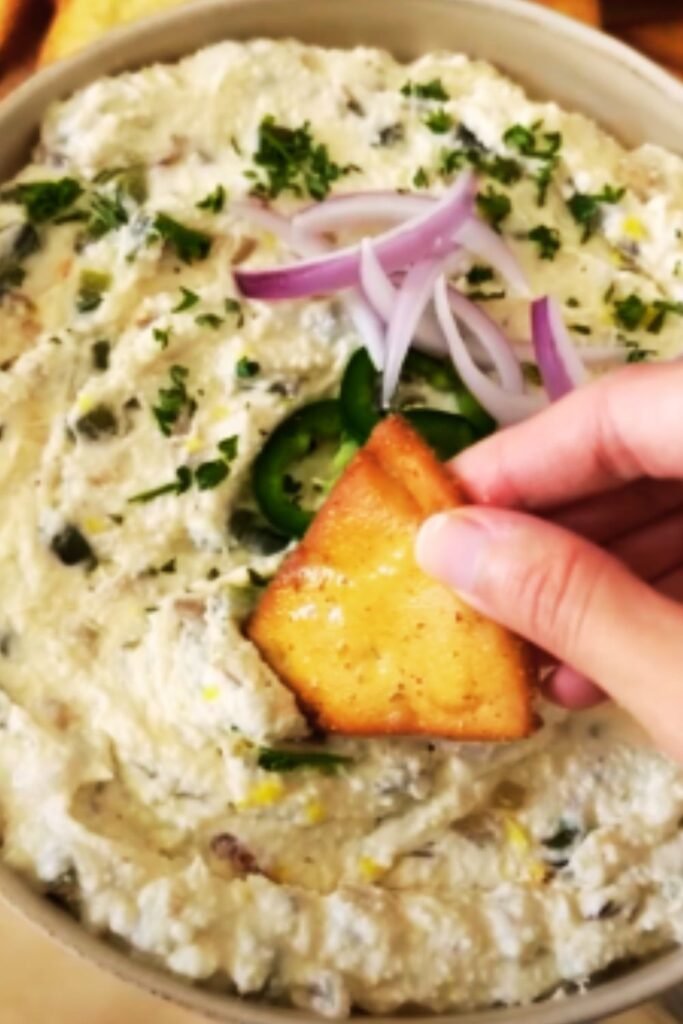
- Baba ganoush (smoky eggplant dip)
- Muhammara (roasted red pepper and walnut dip)
Mediterranean-Inspired Toppings
- Greek salad topping (diced cucumber, tomato, olives, and feta)
- Olive tapenade
- Sundried tomato spread
Fusion Options
- Guacamole
- Spinach artichoke dip
- Buffalo chicken dip
- French onion dip
Sweet Options (for cinnamon sugar chips)
- Chocolate hummus
- Fruit salsa
- Whipped mascarpone with honey
- Caramel dip
Create a Mezze Platter
For entertaining, I love creating a mezze platter centered around homemade pita chips. Arrange a variety of dips, olives, fresh vegetables, cheeses, and other Mediterranean-inspired small bites for an impressive appetizer spread that’s sure to impress.
Troubleshooting Common Pita Chip Problems
Even experienced pita chip makers encounter issues from time to time. Here are solutions to the most common problems:
Problem: Chips are chewy instead of crispy
Solution: Make sure you’ve split the pita into two thin layers before cutting. Bake at a slightly lower temperature (350°F) for a longer time to dry out the chips without burning them. Also, allow them to cool completely before storing.
Problem: Chips burn around the edges before the centers are crisp
Solution: Cut your triangles more uniformly, reduce oven temperature by 25 degrees, and position the rack in the middle of the oven rather than too close to the heating element.
Problem: Uneven browning
Solution: Rotate your baking sheets halfway through cooking and make sure you’re not overcrowding the pans. Each chip needs space around it for proper air circulation.
Problem: Seasoning falls off
Solution: Apply a light coating of oil first, then press the seasonings gently onto the surface. For intense flavor, add another light sprinkle of seasoning immediately after removing from the oven.
Problem: Chips become stale quickly
Solution: Make sure they’re completely cool before storing, use an airtight container, and consider adding a food-safe desiccant packet if you live in a humid climate.
Storing and Reviving Your Pita Chips
For maximum freshness and crispness, store your homemade pita chips in an airtight container at room temperature. They should maintain their quality for up to a week, though in my experience, they rarely last that long!
If your chips do start to lose their crunch, you can easily revive them:
- Preheat your oven to 350°F (175°C).
- Spread the chips in a single layer on a baking sheet.
- Bake for 3-5 minutes until they regain their crispness.
- Allow to cool completely before returning to storage.
Health Benefits of Homemade Pita Chips
When made with wholesome ingredients and eaten in moderation, pita chips can be part of a balanced diet. Here are some potential health benefits:
- Whole grain options: When made with whole wheat pita, they provide more fiber and nutrients than chips made from refined flour.
- Lower in fat: Compared to deep-fried potato chips, baked pita chips typically contain less fat, especially when you control the amount of oil used.
- Versatility with healthy dips: Pita chips are the perfect vehicle for nutritious dips like hummus, which provides protein and healthy fats.
- Portion control: Making your own allows you to be mindful of portion sizes and avoid the mindless munching that often happens with store-bought snacks.
- Reduced sodium: By controlling the amount of salt you add, you can significantly reduce sodium compared to commercial varieties.
Creative Ways to Use Pita Chips Beyond Dipping
While dipping is the most obvious way to enjoy pita chips, there are many other creative uses for these crunchy delights:
- Salad topper: Crush slightly and use as a crunchy topping for salads, especially Mediterranean-style salads like fattoush.
- Soup garnish: Float a few small pita chips on top of soups, particularly tomato or lentil varieties, for added texture.
- Crouton replacement: Use broken pita chips anywhere you’d normally use croutons.
- Breading alternative: Crush finely and use as a coating for baked fish or chicken for a crunchy crust.
- Casserole topping: Sprinkle crushed pita chips on top of casseroles during the last few minutes of baking for a crispy finish.
- Ice cream accompaniment: Cinnamon-sugar pita chips make a delicious garnish for ice cream, especially with flavors like vanilla or caramel.
Frequently Asked Questions
Q: Can I make pita chips without oil?
A: Yes, you can make oil-free pita chips, though they won’t be quite as crispy or flavorful. Instead of oil, lightly spray the pita with water and sprinkle with seasonings. Bake at a slightly lower temperature (350°F) for a little longer than the regular recipe.
Q: How do I know when my pita chips are done baking?
A: The chips should be golden brown and firm to the touch. They may still feel slightly flexible when hot but will crisp up significantly as they cool. If you’re unsure, remove one chip, let it cool for a minute, and test it.
Q: My pita bread doesn’t have pockets. Can I still make chips?
A: Absolutely! Some styles of pita don’t have the traditional pocket. Simply cut these into triangles and proceed with the recipe as written. They may even be easier to work with since you won’t need to split them.
Q: Can I use flavored pita bread?
A: Yes! Garlic, herb, or other flavored pita breads make excellent chips and give you a head start on seasoning. Just be mindful that they may brown more quickly if they contain ingredients like garlic or onion powder.
Q: Are pita chips gluten-free?
A: Traditional pita chips are not gluten-free as they’re made from wheat flour. However, you can apply the same techniques to gluten-free pita bread or flatbreads to create a gluten-free version.
Q: Can I make a large batch and freeze them?
A: While pita chips will keep well at room temperature for about a week, I don’t recommend freezing them as they tend to lose their crisp texture when thawed. It’s better to make smaller batches more frequently.
Q: What’s the best thickness to cut pita chips?
A: For the perfect balance of crunch and substance, aim for triangles that are about 1/8 inch thick. Too thin, and they’ll burn easily; too thick, and they’ll remain chewy in the center.
The Environmental Impact of Homemade Snacks
I believe it’s worth mentioning that making your own pita chips isn’t just better for your health and wallet—it’s also gentler on the environment. Commercial snack production involves significant resources for manufacturing, packaging, and transportation.
By making pita chips at home:
- You reduce packaging waste (especially if you buy your pita bread in minimal packaging or from a local bakery)
- You cut down on transportation emissions associated with shipped snack foods
- You can use up bread that might otherwise go to waste
- You have the option to source organic and local ingredients
These might seem like small actions, but collectively, our food choices make a significant impact on the planet.
Conclusion: The Joy of Homemade Pita Chips
After years of making and perfecting pita chips in my kitchen, I can confidently say that few snacks offer such a satisfying combination of simplicity, versatility, and deliciousness. There’s something deeply gratifying about transforming a humble flatbread into a crunchy, flavorful chip that rivals or surpasses anything you can buy in a store.
Whether you’re serving them alongside hummus at your next gathering, adding them to a lunchbox as a healthier alternative to potato chips, or simply enjoying them as an afternoon snack, homemade pita chips deserve a regular place in your culinary repertoire.
I encourage you to experiment with different seasonings and techniques until you find your perfect pita chip formula. The beauty of making them yourself is that you can customize every batch to suit your taste preferences and dietary needs.
So the next time you’re reaching for a bag of chips at the grocery store, consider picking up some pita bread instead. With just a few minutes of preparation and some basic ingredients you likely already have in your pantry, you’ll be rewarded with a fresher, tastier, and more wholesome snack that you can feel good about eating and sharing with others.
Happy baking!